
 Pin it
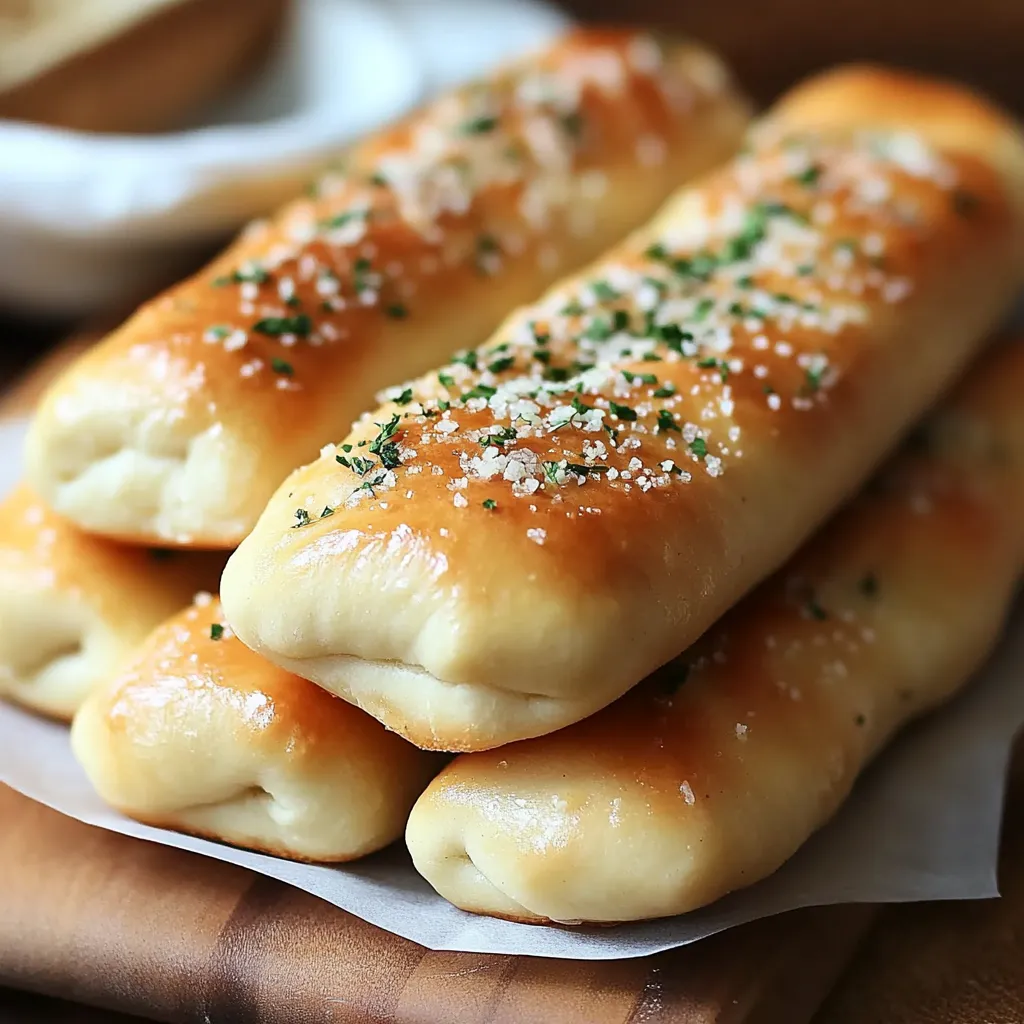
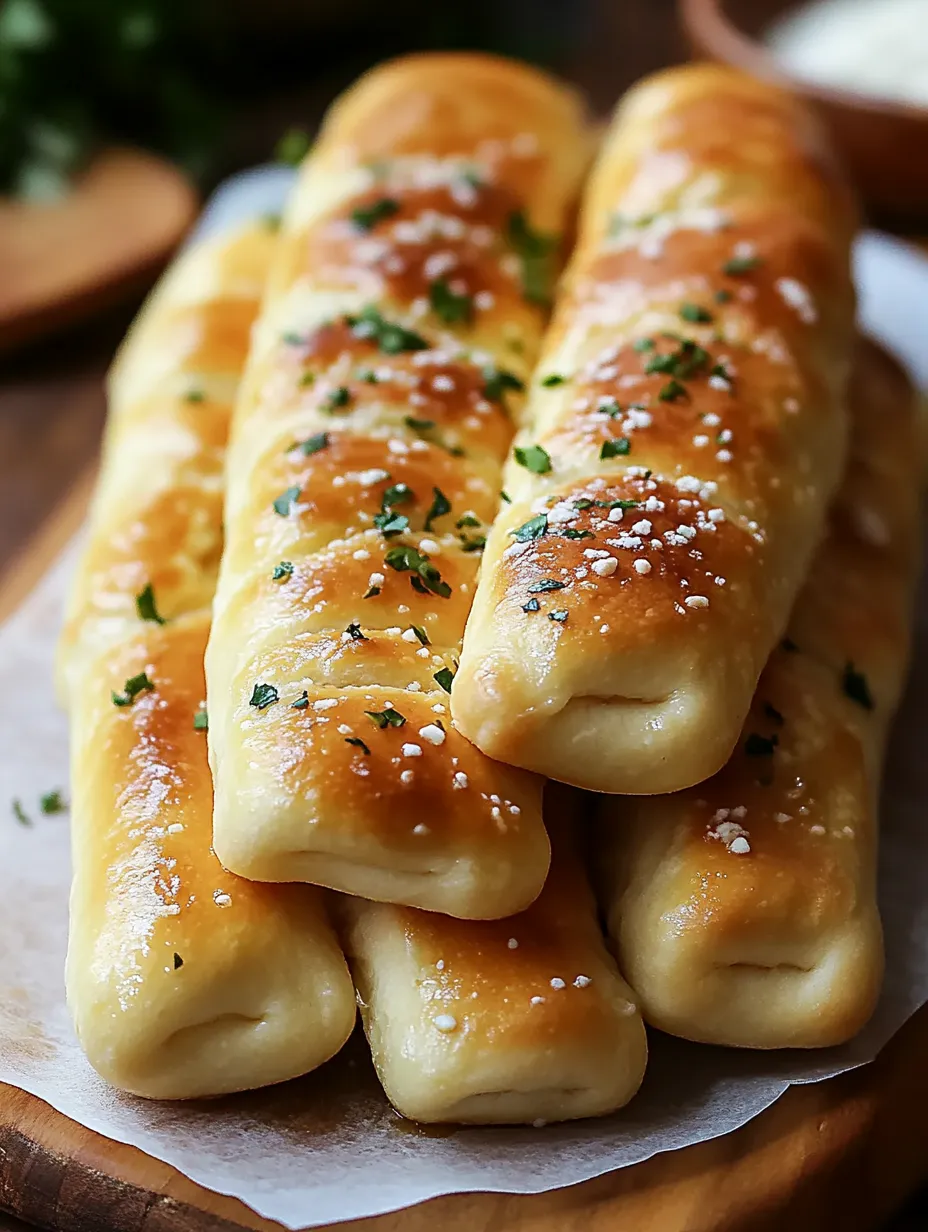
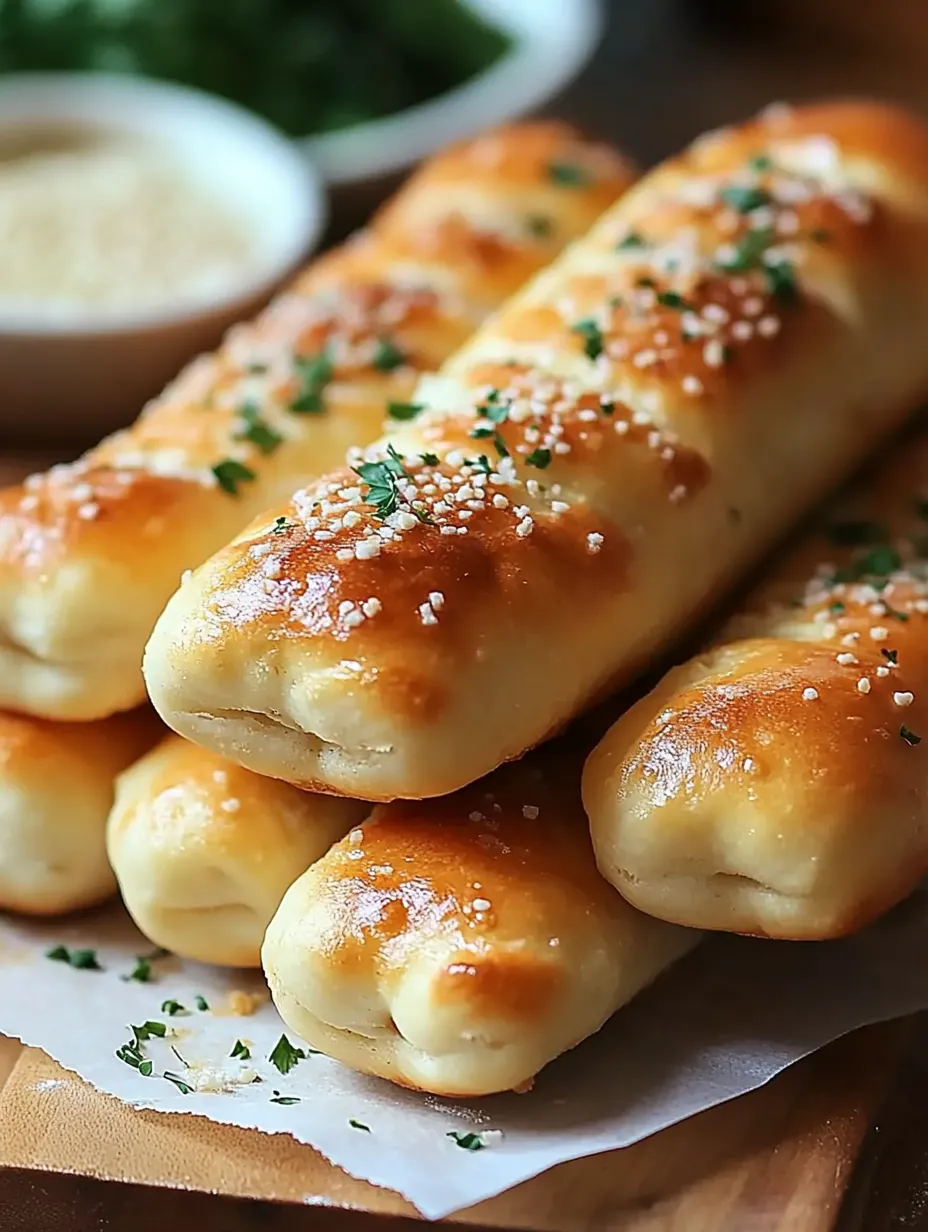
Olive Garden breadsticks capture the hearts (and stomachs) of diners with their irresistible combination of soft, pillowy texture and savory garlic butter coating. These iconic breadsticks have achieved cult status for good reason—they're the perfect balance of airy interior and flavorful exterior that keeps you reaching for "just one more." This homemade version faithfully recreates the restaurant favorite, from the subtle yeast-risen texture to that distinctive buttery garlic finish that makes them so addictive.
I first attempted to recreate these famous breadsticks after a particularly satisfying Olive Garden dinner where I found myself wondering if I could capture that same magic at home. After several test batches—each one getting closer to the original—I finally landed on this version that my family swears tastes just like the real thing. Now, rather than driving to the restaurant whenever the craving hits, we can enjoy these warm, garlicky delights straight from our own oven.
Simple Ingredient Selection
- Active dry yeast: Creates that perfect rise and distinctive yeasty flavor; make sure it's fresh for best results
- All-purpose flour: Provides structure while maintaining the soft, tender crumb that makes these breadsticks special
- Butter: Features in both the dough and topping, delivering richness and that signature buttery finish
- Garlic powder: Offers consistent garlic flavor throughout the topping without the risk of burning that comes with fresh garlic
- Sugar: Feeds the yeast and contributes to the subtle sweetness that balances the savory elements
The beauty of this recipe lies in its simplicity. While some copycat recipes call for specialty ingredients or complicated techniques, these breadsticks rely on basic pantry staples and straightforward methods. The key is in the proper handling of the dough and the generous application of garlic butter topping immediately after baking—a technique that ensures maximum flavor absorption.
Creating Perfect Breadsticks
- Activate The Yeast:
- Begin by combining warm water (110°F—no hotter or you'll kill the yeast), sugar, and active dry yeast in a small bowl. Allow this mixture to sit until it becomes frothy, about 5-10 minutes. This step is crucial as it ensures your yeast is alive and ready to create that perfect rise.
- Mix The Dough:
- In a large bowl or stand mixer, combine flour, softened butter, and salt. Add the activated yeast mixture and knead until smooth and elastic, about 8-10 minutes. The dough should pull away from the sides of the bowl but still feel slightly tacky to the touch. This kneading develops the gluten structure that gives the breadsticks their characteristic chew.
- First Rise:
- Transfer the dough to a lightly greased bowl, cover with a clean kitchen towel, and place in a warm, draft-free spot to rise until doubled in size, approximately 1 hour. This slow rise develops flavor and creates the light, airy texture that distinguishes Olive Garden breadsticks from denser varieties.
- Shape With Care:
- After the first rise, gently punch down the dough to release excess air bubbles. Divide it into 12-14 equal portions and roll each into a 6-7 inch rope. Place them on a parchment-lined baking sheet, leaving space between each for expansion. The uniform size ensures even baking and that authentic Olive Garden appearance.
- Second Rise:
- Cover the shaped breadsticks and allow them to rise again until puffy, about 20-30 minutes. This second rise is what gives these breadsticks their pillowy texture—don't rush it or you'll miss out on the signature softness.
- Bake To Golden Perfection:
- Bake in a preheated 400°F oven for 12-15 minutes, watching carefully toward the end. The breadsticks should be light golden brown but not dark—they should maintain their pale, soft appearance similar to the restaurant version.
- Apply The Signature Topping:
- While the breadsticks are baking, prepare the garlic butter by combining melted butter, garlic powder, and salt. As soon as the breadsticks come out of the oven, brush them generously with this mixture. The warm breadsticks will absorb the flavorful butter, creating that distinctive Olive Garden finish.
 Pin it
My favorite memory with these breadsticks involves a dinner party where I served them alongside homemade pasta. One guest, a self-proclaimed Olive Garden enthusiast, took a bite and immediately asked if I'd made a special trip to the restaurant before they arrived. When I revealed they were homemade, the look of surprise and delight on their face made all the effort worthwhile. That's when I knew this recipe was truly a successful copycat.
Serving Suggestions
Serve these warm breadsticks alongside your favorite Italian dishes like spaghetti, fettuccine Alfredo, or lasagna for an authentic restaurant experience at home. They make the perfect accompaniment to a hearty minestrone or Italian wedding soup, ideal for dipping into the flavorful broth. For a simple appetizer, arrange them in a cloth-lined basket with a side of marinara sauce for dipping. They also elevate a basic salad into a complete meal, especially when paired with a robust Caesar or Italian vinaigrette.
Creative Variations
Transform this basic recipe by adding grated Parmesan cheese to the butter mixture for a cheesy variation that's still true to the original spirit. Create a brunch-worthy version by incorporating herbs like rosemary or thyme into the dough before the first rise. For a heartier option, twist the dough with thinly sliced prosciutto before the second rise. Make them extra indulgent by brushing with truffle butter instead of regular garlic butter. For a sweeter take, omit the garlic and salt from the topping and instead brush with honey butter for a dessert-style breadstick.
 Pin it
Storage Solutions
Store any leftover breadsticks in an airtight container at room temperature for up to 2 days. To refresh them, wrap in aluminum foil and warm in a 300°F oven for about 5 minutes, then brush with a little extra garlic butter if desired. For longer storage, freeze the completely cooled breadsticks in a ziplock bag for up to a month. Thaw at room temperature and reheat as directed above. Alternatively, freeze the shaped dough after the first rise, then thaw overnight in the refrigerator, allow to come to room temperature, rise, and bake fresh when needed.
I've found that these breadsticks represent more than just a delicious side—they're part of creating that special restaurant experience at home. There's something deeply satisfying about pulling a tray of these warm, fragrant breadsticks from your own oven and watching your family or guests react with the same excitement they'd have at Olive Garden. This recipe offers not just the taste of those famous breadsticks, but also the warm, welcoming feeling that comes with them.
Frequently Asked Questions
- → Can I use instant yeast instead of active dry yeast?
- Yes, you can substitute instant yeast for active dry yeast in this recipe. Use the same amount (2¼ teaspoons), but you can skip the activation step and add the instant yeast directly to the dry ingredients. The rise time might be slightly shorter with instant yeast, so keep an eye on your dough.
- → Can I make the dough ahead of time?
- Absolutely! You can prepare the dough up to 24 hours ahead and store it in the refrigerator after the first rise. Punch down the dough, cover it tightly with plastic wrap, and refrigerate. When ready to bake, let the dough come to room temperature for about 30 minutes, then shape the breadsticks and proceed with the second rise and baking.
- → Why are my breadsticks dense instead of light and fluffy?
- Dense breadsticks can result from a few factors: insufficient kneading (which develops the gluten needed for structure), not enough rising time, or using cold ingredients. Make sure your water is warm (110°F), allow adequate time for both rises, and knead the dough until it's smooth and elastic. Also, be careful not to add too much flour during kneading as this can make the breadsticks tough.
- → Can I freeze these breadsticks?
- Yes, these breadsticks freeze well! For best results, freeze them after baking but before adding the garlic butter topping. Cool completely, then place in a freezer bag for up to 3 months. To serve, thaw at room temperature, reheat in a 350°F oven for 5 minutes, then brush with freshly prepared garlic butter.
- → How can I make these breadsticks more like the restaurant version?
- For an even closer match to Olive Garden's breadsticks, try these tips: use bread flour instead of all-purpose for extra chewiness, add a teaspoon of dough conditioner (like lecithin) for that commercial texture, brush with a little butter before baking as well as after, and sprinkle with a fine dusting of garlic salt rather than mixing it into the butter for that characteristic surface flavor.