
 Pin it
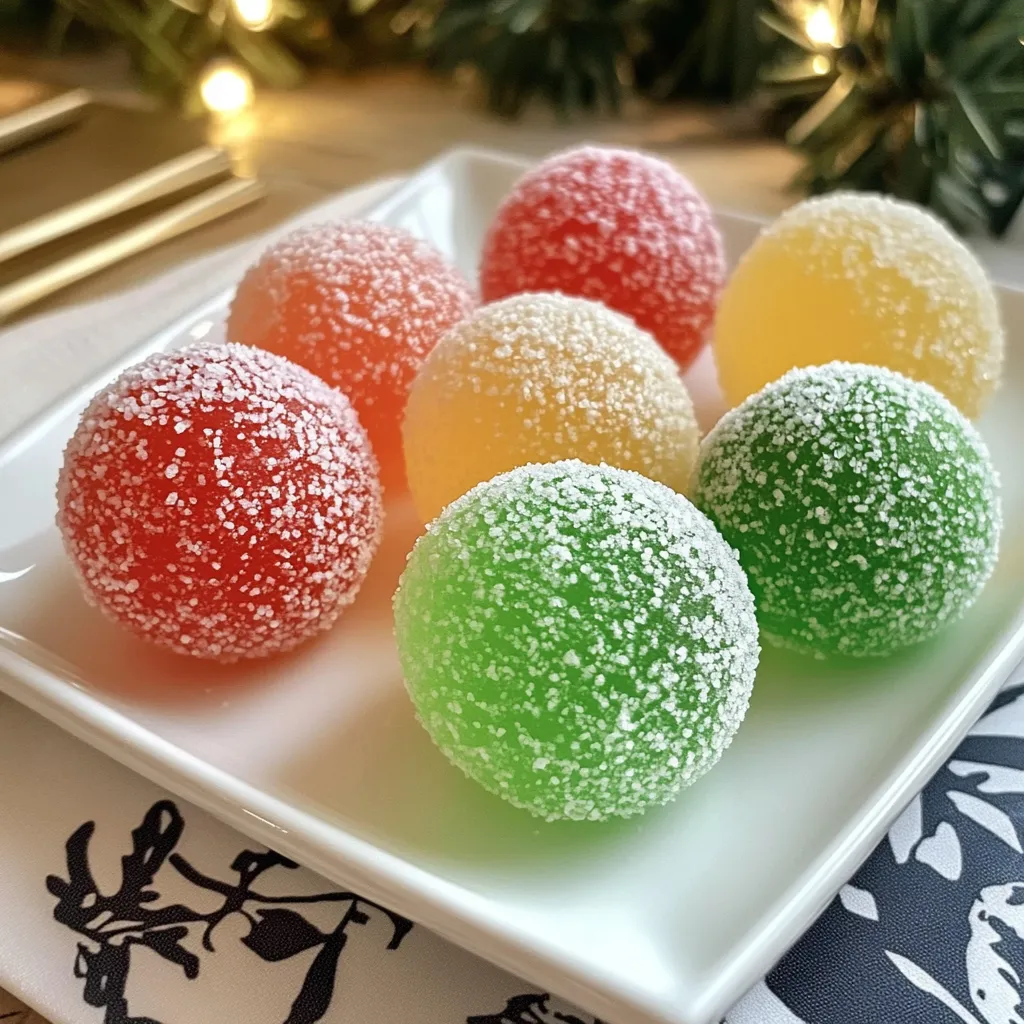
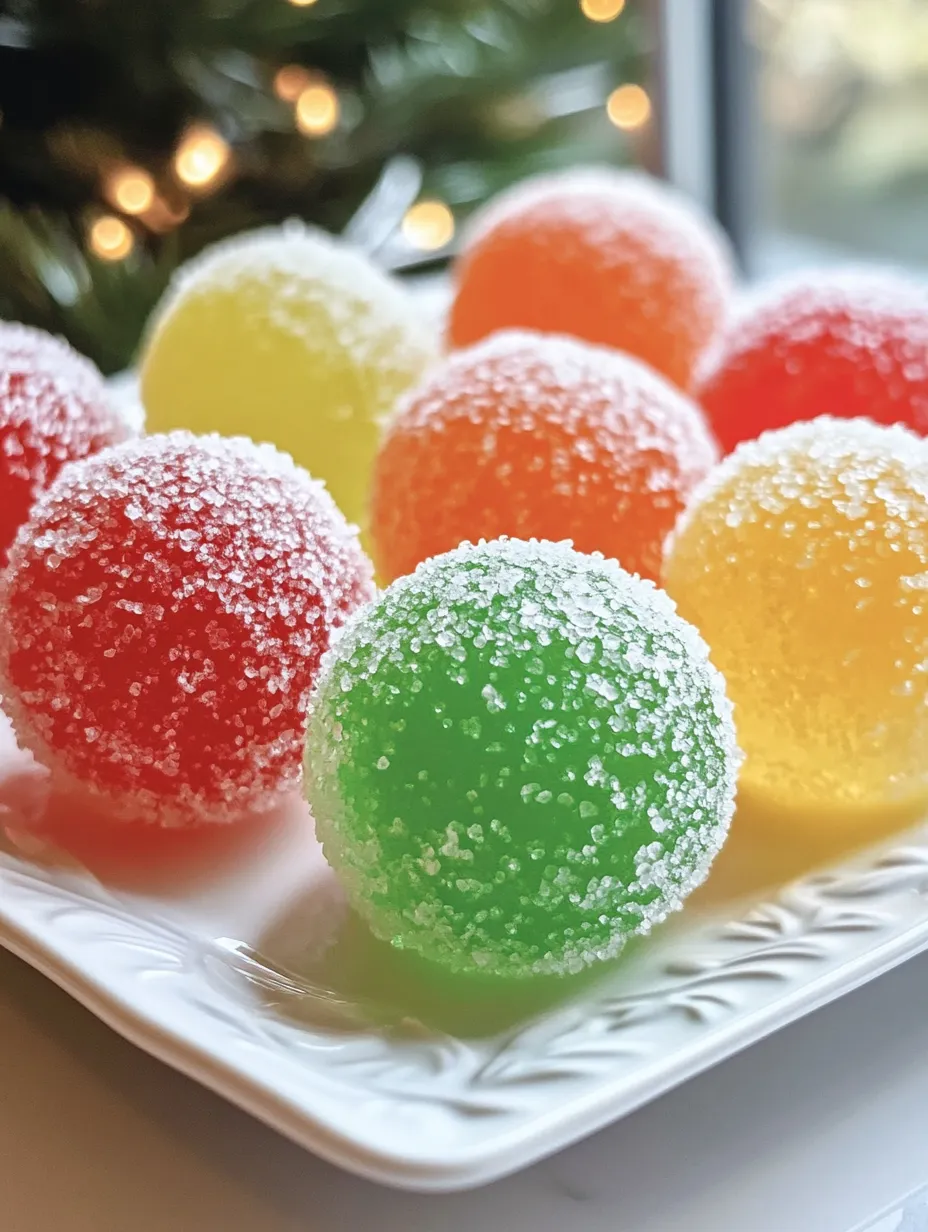
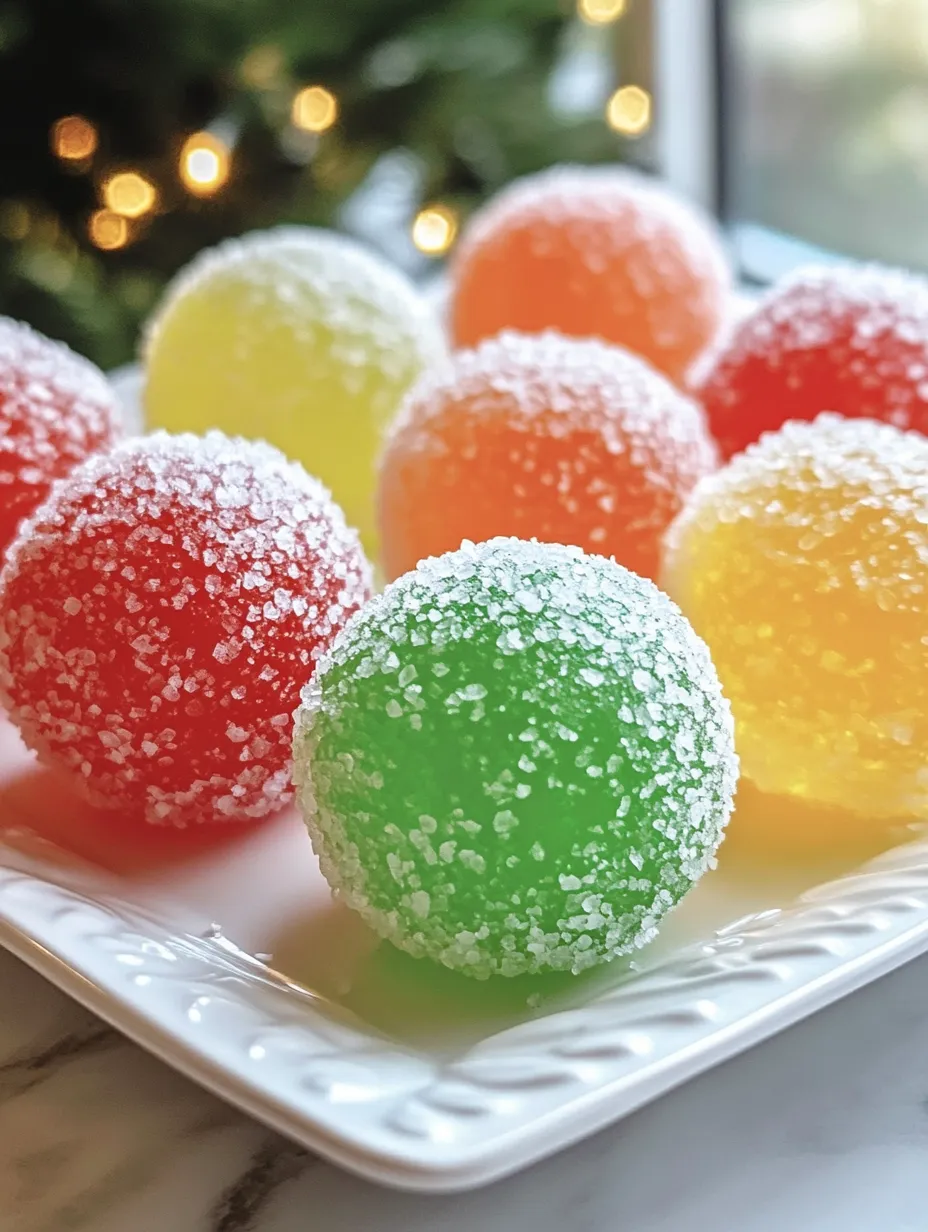
Mom's Christmas jello balls bring nostalgic holiday magic to your dessert table with their vibrant colors and playful, bite-sized appeal. These festive treats combine the jiggly sweetness of flavored gelatin with pillowy mini marshmallows, all coated in a delightful mixture of graham cracker crumbs, coconut, or nuts. The beauty of these no-bake delights lies in their versatility—you can customize the colors to match your holiday theme or stick with the traditional Christmas palette of red and green. Perfect for cookie exchanges, holiday potlucks, or nestled into gift boxes for special treats, these little balls of joy never fail to bring smiles to faces young and old.
This cherished recipe has been passed down through generations in our family, making an appearance at every Christmas gathering I can remember. My earliest memory of Mom's jello balls involves standing on a kitchen chair as a five-year-old, gleefully rolling the sticky mixture between my palms and dipping them into bowls of coconut and graham cracker crumbs. Those moments in the kitchen with my mother created holiday memories that have stayed with me for decades, and now I continue the tradition with my own children.
Simple Festive Ingredients
- Flavored gelatin: Creates the vibrant colors and base flavor; red (strawberry or cherry), green (lime), and yellow (lemon) provide a festive palette
- Mini marshmallows: Add a cloud-like sweetness and help create the perfect moldable texture
- Graham crackers: Offer a honeyed, slightly spiced coating option that complements the sweet gelatin
- Shredded coconut: Provides a snow-like appearance perfect for the season and adds wonderful texture
- Chopped nuts: Create a delightful crunch that contrasts beautifully with the soft interior (optional but recommended)
The beauty of this recipe lies in its simplicity and adaptability. While we traditionally use red, green, and yellow gelatin to create a holiday color scheme, you can choose any flavors that appeal to your family. The coating options are equally flexible—stick with the classic graham crackers and coconut or experiment with crushed candy canes or colored sugar for extra holiday sparkle.
Creating Perfect Jello Balls
- Dissolve The Gelatin:
- Begin by carefully dissolving each package of flavored gelatin in boiling water, stirring until completely clear with no granules remaining. Take your time with this step, as undissolved gelatin can create an unpleasant grainy texture in the finished product.
- Enrich The Mixture:
- Add cold water to the dissolved gelatin, which helps achieve the perfect consistency. Then incorporate the mini marshmallows while the mixture is still warm enough to partially melt them, creating pockets of extra sweetness throughout the jello balls.
- Chill Until Workable:
- Refrigerate the mixture until it reaches a sliceable consistency—firm enough to hold its shape when scooped but not fully set. This typically takes about an hour, though you'll want to check periodically as refrigerators vary. The mixture should feel like a very soft gelatin dessert.
- Prepare Your Coatings:
- While the gelatin chills, arrange your coating ingredients in wide, shallow bowls. This setup creates an assembly line that makes the rolling process efficient and minimizes mess. If children are helping, this is an excellent time to assign them coating duties.
- Form The Balls:
- Using a tablespoon or small cookie scoop, portion the gelatin mixture and roll it between slightly damp hands to form smooth balls. Work quickly, as the mixture will become stickier as it warms. If it becomes too difficult to handle, return it to the refrigerator for 15 minutes to firm up again.
- Coat With Delight:
- Roll each formed ball in your chosen coating, pressing gently to ensure good adhesion. This is where creativity shines—mix and match coatings for visual interest, or assign different colors of gelatin to specific coatings for a coordinated presentation.
- Chill To Set:
- Arrange the coated balls on a parchment-lined baking sheet and refrigerate until fully set, at least two hours or preferably overnight. This chilling time allows the flavors to meld and the texture to reach perfection—soft yet sliceable with a tender bite.
My favorite holiday memory involves my mother setting up the kitchen table with bowls of various coatings, each of us taking turns to shape and roll the colorful mixture. The competition to create the most perfectly round ball was fierce but friendly, punctuated by laughter and the occasional sampling of the ingredients. Years later, when I make these with my own children, that same joy fills our kitchen—a testament to how food traditions connect generations.
Serving Suggestions
Serve these vibrant treats on a crystal platter or vintage cake stand for a stunning holiday table centerpiece. Arrange them in alternating colors for maximum visual impact. For cookie exchanges, place individual jello balls in mini cupcake liners inside a festive tin. Create a dessert grazing board by surrounding the jello balls with Christmas cookies, chocolate-dipped pretzels, and fresh berries. For a special touch, arrange them in the shape of a Christmas tree on a rectangular platter, using different colors to create a decorated tree effect.
 Pin it
Creative Variations
Transform this basic recipe by adding a teaspoon of vanilla or almond extract to the gelatin mixture for depth of flavor. Create an adults-only version by substituting 1/4 cup of the cold water with rum or vodka. For a tropical twist, use pineapple and coconut gelatin flavors with a toasted coconut coating. Make them more festive with a coating of crushed candy canes or colored sanding sugar. For chocolate lovers, try rolling some of the balls in cocoa powder or finely chopped chocolate for a delightful contrast.
Storage Solutions
Store these jello balls in an airtight container in the refrigerator, where they'll keep beautifully for up to a week. Place parchment paper between layers to prevent sticking. For gifting, arrange them in decorative boxes with dividers similar to those used for truffles. These treats do not freeze well due to the gelatin content, so plan to enjoy them within their refrigerator shelf life. For transport to holiday gatherings, place them in a cooler with ice packs to maintain their perfect texture.
 Pin it
I've found that these colorful jello balls represent far more than just a sweet treat on our holiday table—they're a physical manifestation of family traditions passed through generations. Each year as we make them together, stories flow as freely as the laughter, connecting my children to grandparents and great-grandparents they may never have met. In our increasingly digital world, these hands-on food traditions become ever more precious, creating tangible links to our past while building memories for the future. This Christmas, I invite you to start (or continue) this delightful tradition in your own family.
Frequently Asked Questions
- → Can I use sugar-free gelatin for this recipe?
- Yes, you can substitute sugar-free gelatin in this recipe. The texture might be slightly different, but the jello balls will still set properly. You may need to adjust the chilling time slightly, as sugar-free gelatin sometimes sets a bit faster than regular gelatin.
- → How far in advance can I make these jello balls?
- These jello balls can be made up to 3 days in advance. Store them in an airtight container in the refrigerator with layers of wax paper between them to prevent sticking. The balls may absorb some moisture from their coatings over time, so they're best enjoyed within 2-3 days of making them.
- → Can I use different gelatin flavors than the ones suggested?
- Absolutely! While the recipe suggests red, green, and yellow gelatin for a Christmas theme, you can use any flavors and colors you prefer. Try blue raspberry for winter themes, orange for Halloween, or pink and purple for spring celebrations. Match the flavors to your family's preferences or to complement your holiday color scheme.
- → What if I don't like coconut or nuts? Are there other coating options?
- There are many alternatives for coating the jello balls. Try colored sugar sprinkles, crushed vanilla wafers, finely chopped dried fruit, crushed peppermint candies (for Christmas), or even chocolate sprinkles. You could also try a mix of cinnamon and sugar for a snickerdoodle-inspired coating.
- → Why are my jello balls too sticky to roll properly?
- If your jello mixture is too sticky to roll, it likely needs more time to set in the refrigerator. Return it to the fridge for another 15-30 minutes. If it's still too sticky, you can also try wetting your hands with cold water between rolling each ball, or lightly dusting your hands with a bit of the coating mixture to prevent sticking.