
 Pin it
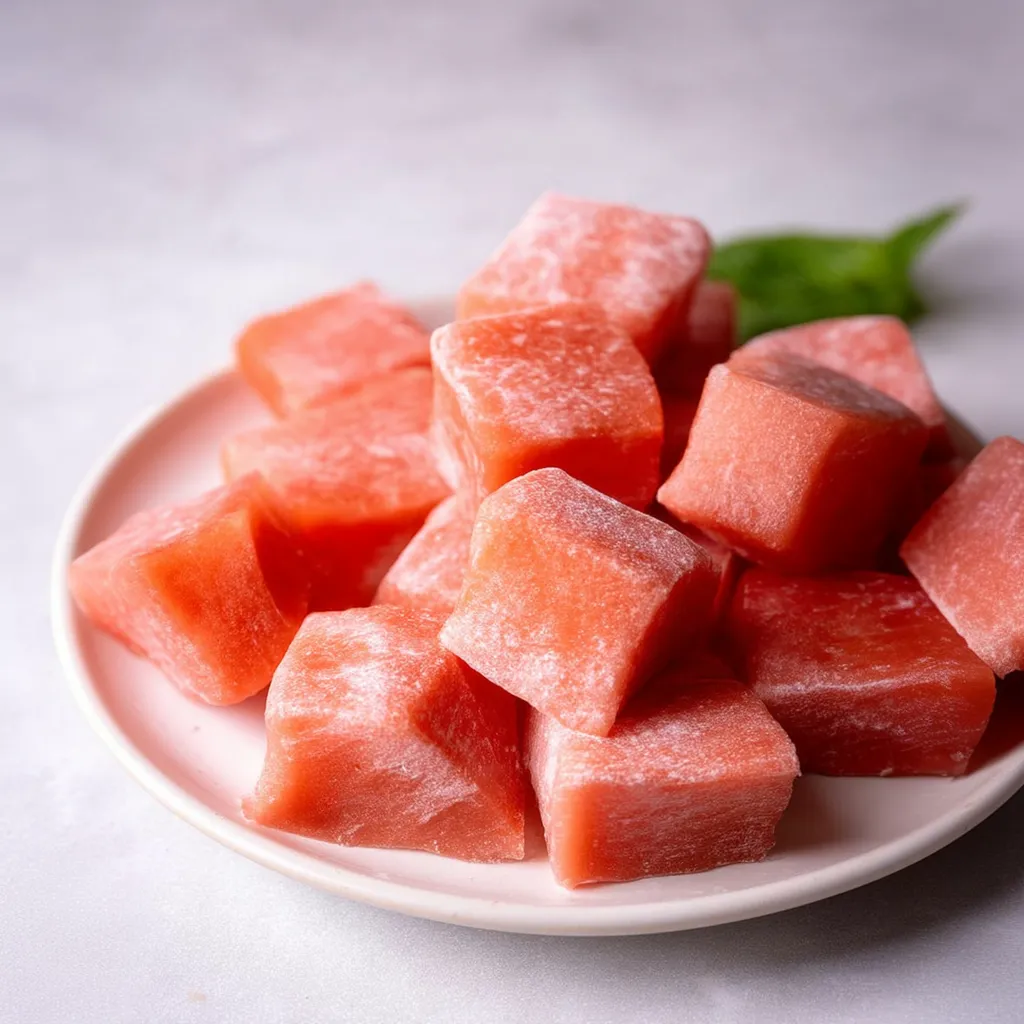
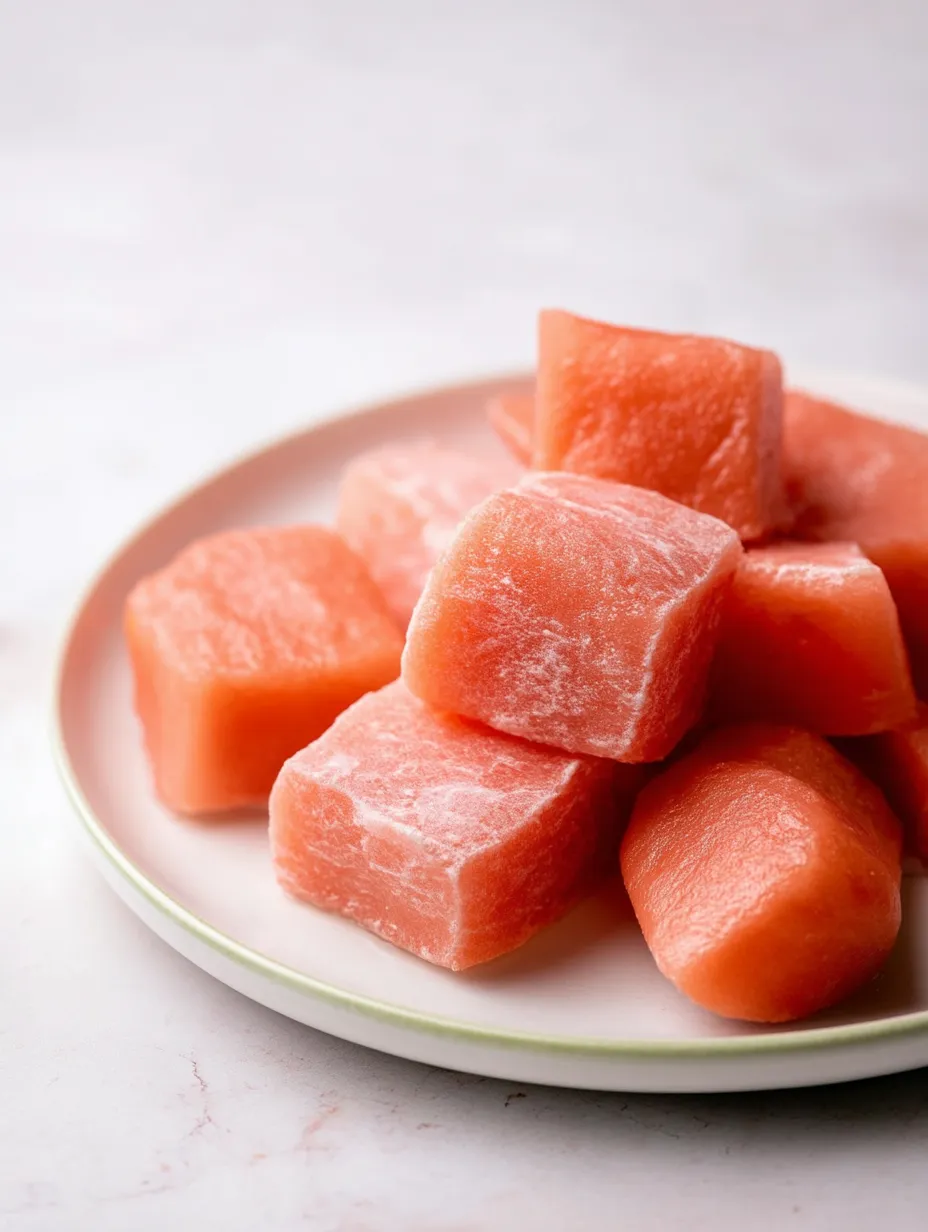
This naturally pink watermelon mochi brings the refreshing taste of summer into a soft, chewy Japanese-inspired treat. The delicate squares get their gorgeous color and subtle flavor from fresh watermelon juice, making them a perfect light dessert without any artificial dyes.
I first made these during a particularly hot summer when my family was craving something light and refreshing. The gentle pink color and soft texture were so delightful that they've become our signature summer dessert for gatherings.
Ingredients
- Glutinous rice flour: Creates that signature chewy mochi texture while keeping everything gluten free. Look for packages labeled sweet rice flour in Asian grocery stores for best results.
- Maple sugar: Adds natural sweetness without refined sugar. Its subtle flavor complements the watermelon perfectly.
- Tapioca starch: Helps achieve the perfect consistency and prevents sticking.
- Fresh watermelon juice: Provides both color and flavor. Strained juice works best for even cooking.
- Avocado oil: Prevents sticking and adds a subtle richness. Choose a high quality neutral oil.
Step-by-Step Instructions
- Prepare Watermelon Juice:
- Cut a ripe watermelon into cubes and blend until completely liquefied. Strain through a fine mesh sieve to remove all pulp and seeds which would interfere with the smooth texture. Measure exactly 3/4 cup for consistent results.
- Combine Dry Ingredients:
- Whisk together glutinous rice flour, maple sugar, and tapioca starch in a large bowl until completely uniform. Creating this dry foundation ensures the mochi will have the perfect texture throughout.
- Create The Batter:
- Form a well in the center of the dry ingredients and pour in the watermelon juice and 1 tablespoon of avocado oil. Whisk thoroughly from the center outward until you have a smooth pink batter with no lumps.
- Cook The Mochi:
- Heat the remaining tablespoon of avocado oil in a large nonstick pan over low-medium heat. Pour in the batter and stir continuously for 3 to 4 minutes as it transforms before your eyes. The mixture will thicken dramatically and develop a deeper pinkish orange hue as it cooks.
- Shape The Dough:
- Using lightly oiled hands, carefully gather the hot sticky dough from the pan and form it into a cohesive ball. Work quickly but carefully as the dough will be quite hot.
- Form Into A Square:
- Place the ball of mochi dough onto a piece of parchment paper and use the paper to help shape it into an even square. The parchment prevents sticking without adding too much extra flour which would affect the texture.
- Cool The Mochi:
- Transfer the parchment with your mochi square into a square container around 15cm x 15cm. Cover with a lid, not just plastic wrap, to prevent the surface from drying out and refrigerate for 1 to 2 hours until completely cooled and set.
- Cut Into Pieces:
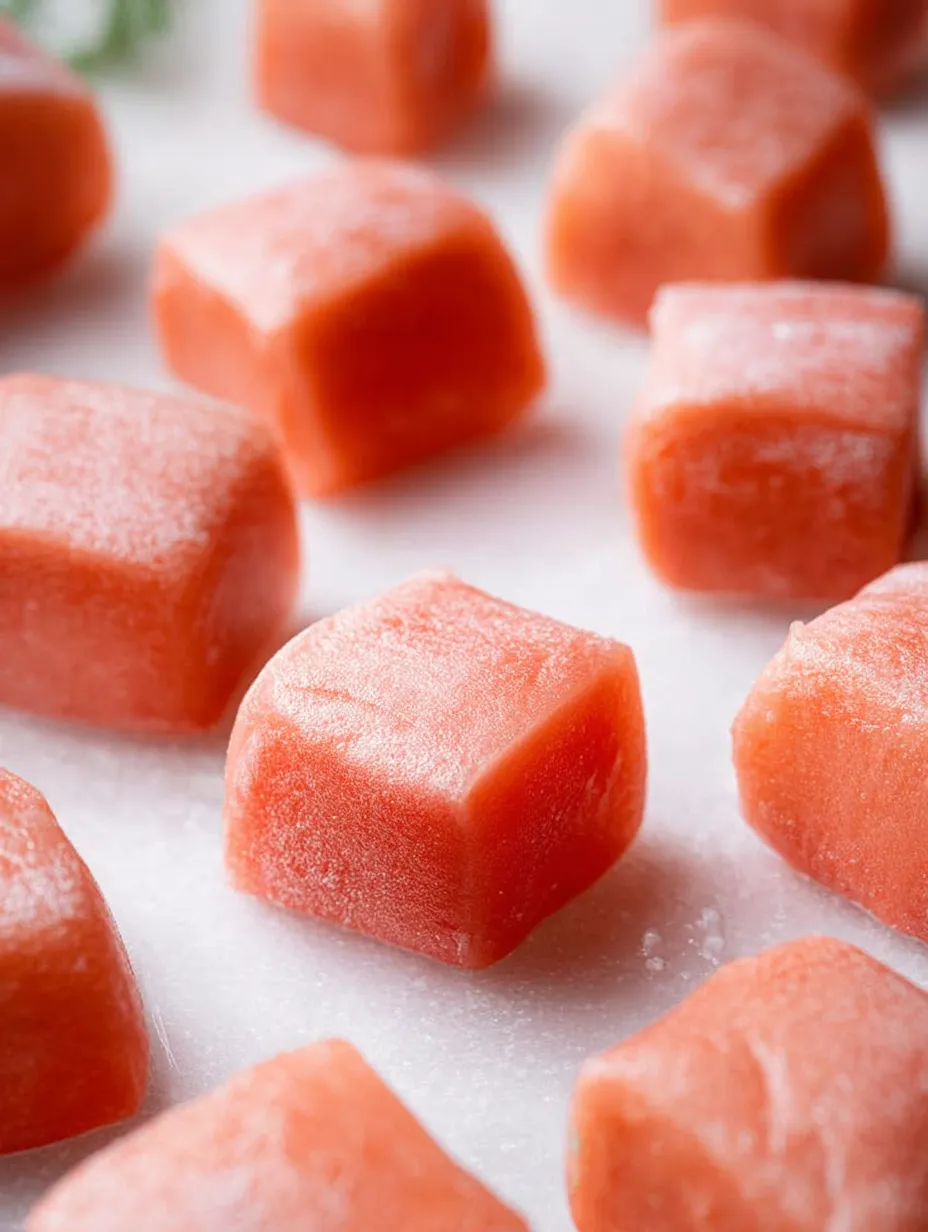
- Dust both sides of the cooled mochi square with additional glutinous rice flour. Use an oiled knife to cut into 20 even pieces, cleaning the knife between cuts if necessary.
- Dust And Serve:
- Roll each piece in more glutinous rice flour to prevent sticking, gently tapping off any excess. Arrange on a serving plate and enjoy immediately for the best texture.
 Pin it
The watermelon juice is truly the star ingredient here. I find that using the ripest, sweetest watermelon you can find makes all the difference in both color and flavor. One summer I made these with an heirloom yellow watermelon and they turned out a beautiful golden color with the same delightful texture.
Storage Tips
Mochi is best enjoyed fresh, but leftovers can be stored in the refrigerator for up to two days in an airtight container with a proper lid. The container needs to be completely sealed or the mochi will quickly dry out and harden. Before serving refrigerated mochi, let it come to room temperature for about 15 minutes and dust with additional rice flour if needed.
Texture Troubleshooting
The most critical moment in mochi making is the cooking stage. If your mochi feels too soft after cooling, it likely wasn't cooked long enough. The mixture should visibly change color and become significantly thicker before removing from heat. Conversely, if your mochi feels too firm or rubbery, it may have been overcooked or contained too much flour. The continuous stirring during cooking helps develop the perfect balance of elasticity and tenderness.
Flavor Variations
While this watermelon version is perfect for summer, the same technique works beautifully with other fruit juices. Try substituting strawberry puree, mango juice, or even blue butterfly pea flower tea for stunning naturally colored variations. You can also add small pieces of fresh fruit inside each mochi piece for a surprise burst of flavor. Just be sure to keep the liquid ratio the same to maintain the proper texture.
 Pin it
Frequently Asked Questions
- → How do I make the watermelon juice for mochi?
Blend cubed watermelon in a high-power blender until smooth, then strain through a mesh sieve to remove pulp and seeds. Measure 3/4 cup of juice for the recipe.
- → Can I use a different oil besides avocado oil?
Yes, you can substitute avocado oil with another neutral-flavored oil like grapeseed or light olive oil for similar results.
- → How do I prevent the mochi from sticking while shaping?
Oil your hands lightly before handling the mochi dough to prevent sticking. Using parchment paper while shaping also helps.
- → Can I store watermelon mochi leftovers?
Yes, store leftover mochi in a sealed container in the fridge for up to 2 days. However, note that it may harden slightly over time.
- → What is the purpose of dusting with rice flour?
Dusting the mochi with rice flour helps prevent the pieces from sticking together after cutting, making them easier to handle.