 Pin it
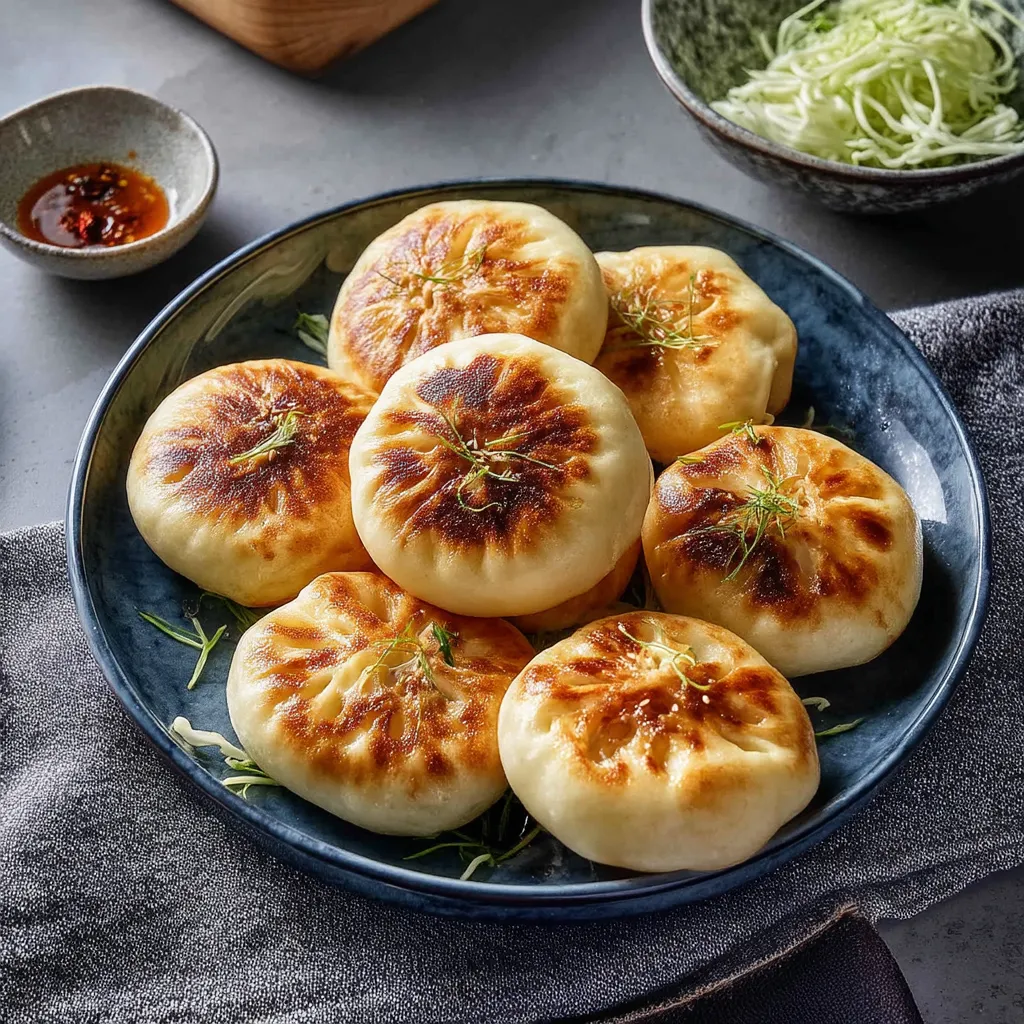
This hearty vegan pan-fried bun recipe brings the authentic taste of Taiwanese night markets right to your kitchen. Perfect for when you're craving those crispy-on-the-outside, chewy-on-the-inside buns that make street food so irresistible.
These buns have become my weekend project obsession ever since I returned from Taipei. I used to smuggle dozens back in my suitcase, but now I can enjoy that same authentic taste whenever the mood strikes without booking a flight.
Ingredients
Dough
- All purpose flour: 3 cups gives the perfect texture for that authentic chew
- Instant dry yeast: Ensures proper rising without the long wait
- Sugar: Provides just enough sweetness to balance the savory filling
- Salt: Enhances all flavors and strengthens the dough structure
- Roasted sesame seeds: Add wonderful nutty flavor throughout
- Warm soy milk: Activates the yeast and creates tender results
- Toasted sesame oil: Brings authentic aroma and richness
Filling
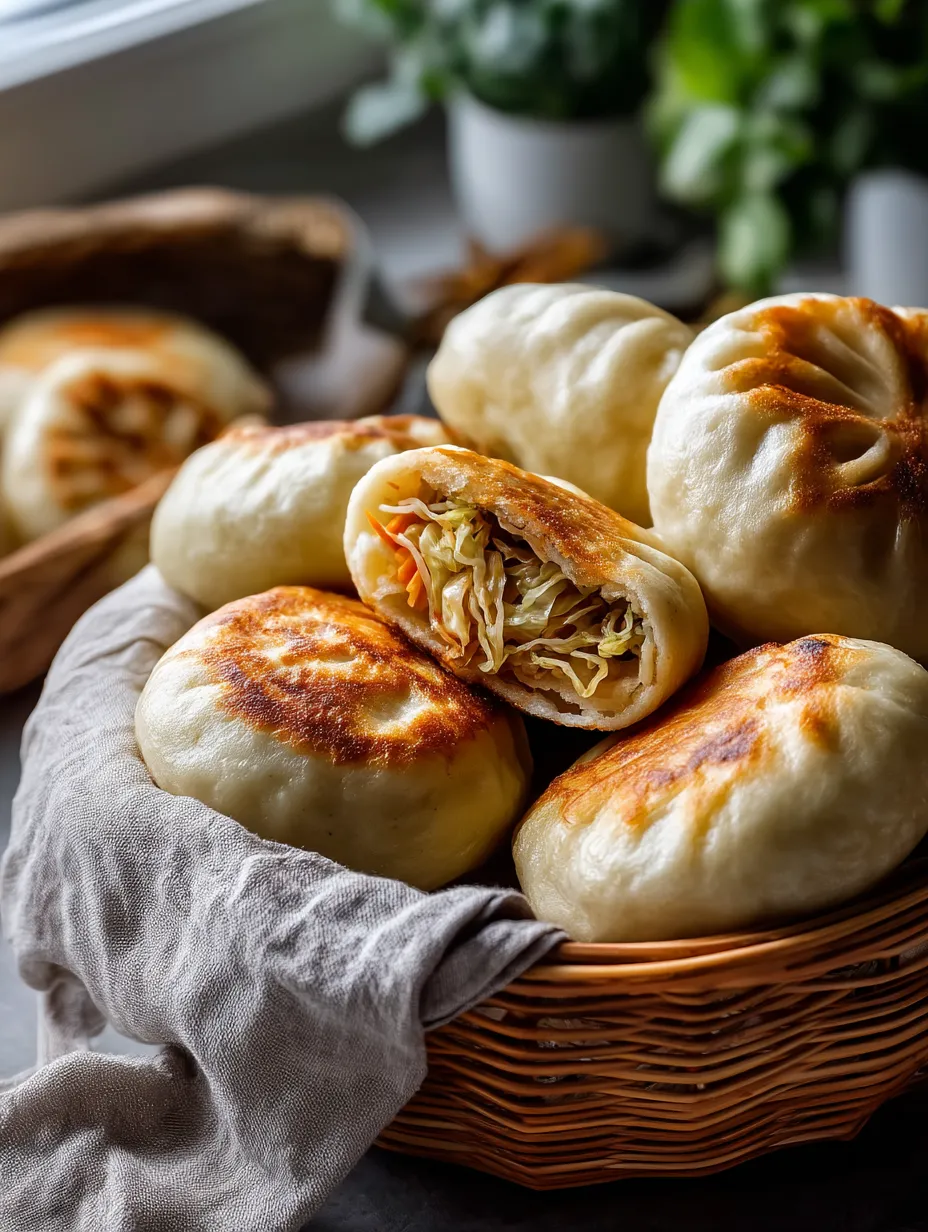
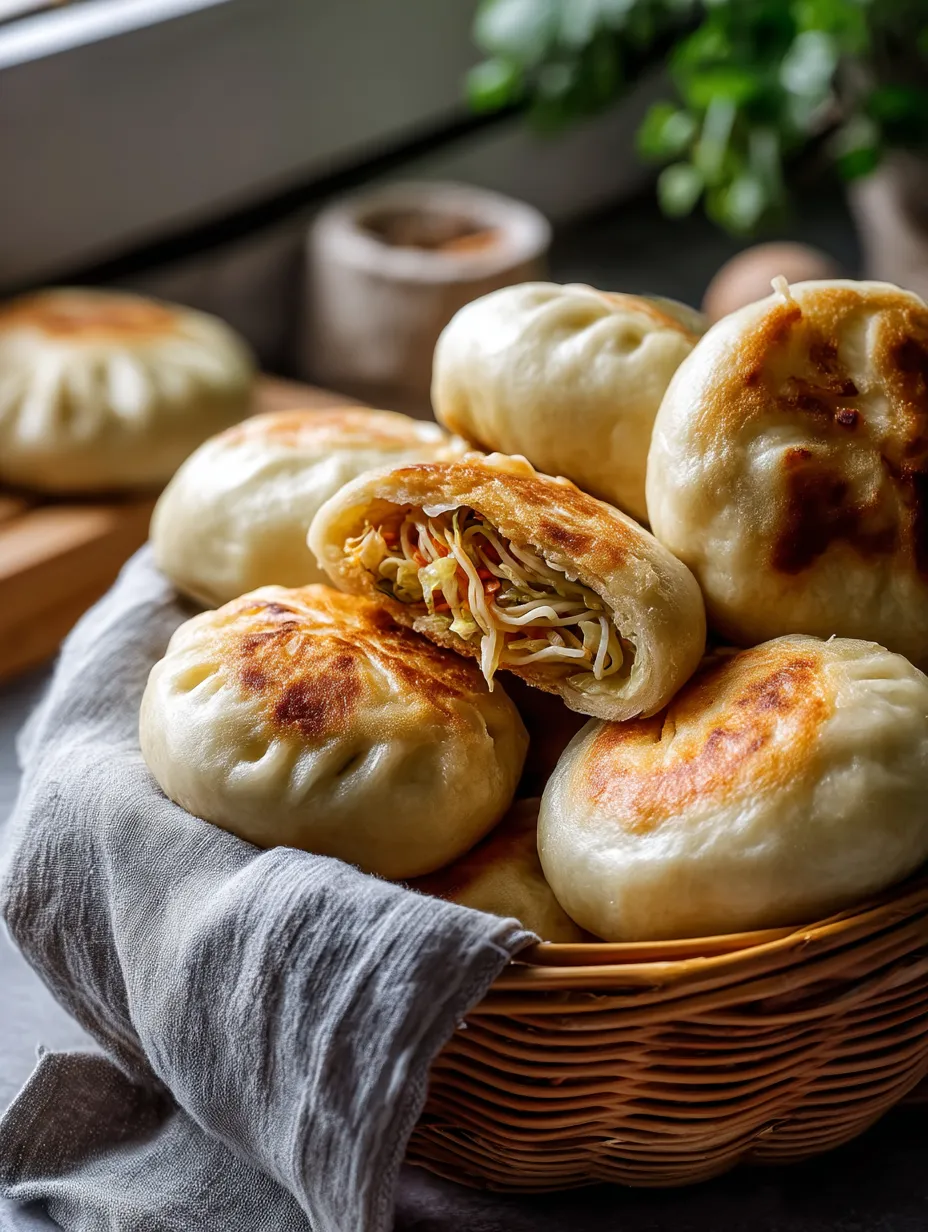
- Shredded cabbage: Makes a crisp base that cooks down perfectly
- Vermicelli noodles: Add the authentic bouncy texture essential to these buns
- Finely shredded carrots: Provide natural sweetness and color
- Chopped scallions: Bring freshness and aromatic punch
- Soy sauce: Delivers umami depth that makes these buns cravable
- Toasted sesame oil: Finishes the filling with traditional nutty warmth
Step-by-Step Instructions
- Mix the dough:
- Combine all dry ingredients in a large bowl and create a well in the center. Pour warm milk and oil into the well while mixing until you form a cohesive dough. Shape into a ball, place in a bowl, cover with a damp towel, and let rest for at least 2 hours until doubled in size. The long rest develops gluten for that perfect chewy texture.
- Prepare the filling:
- Soak vermicelli noodles in boiling water for 7–8 minutes until tender, then drain and chop into small pieces. Heat oil in a large pan over medium-high heat, then add chives, carrots, and cabbage. Cook for 4–5 minutes until vegetables soften. Add noodles, soy sauce, salt, and oil, continuing to cook for 2–3 more minutes. Transfer to a strainer to drain excess liquid while you prepare wrappers. The key is getting rid of excess moisture for perfect buns.
- Shape the wrappers:
- Stretch dough into a large ring, then slice into 16 equal pieces about 38g each. Roll each piece into a ball, then flatten slightly on a floured surface. Using a rolling pin, roll each piece into a 3–4 inch wrapper. Keep wrappers covered with a dry towel to prevent drying out. The thinner edges and slightly thicker center create the perfect texture balance.
- Assemble the buns:
- Place 2–3 tablespoons of filling in the center of each wrapper. With one hand, create pleats around the edge while pinching them together with your other hand. Once you've gone around the entire edge, pinch and twist to seal completely. Place on a flat surface and gently press down the top to flatten slightly. The pleats not only look beautiful but create textural contrast.
- Cook the buns:
- Heat a pan with a lid and add 1 tablespoon oil for every 4 buns. Place buns pleated side down and press gently. Cook over medium heat for 4–5 minutes until golden brown on bottom. Flip and cook until second side browns. Using the lid as protection, carefully pour in 1 tablespoon water per bun, cover immediately, and steam for 5–6 minutes until water evaporates. This dual cooking method creates the signature crispy exterior and chewy interior.
 Pin it
My grandmother taught me to always drain the filling thoroughly before assembling. The first time I made these, I skipped this step and ended up with soggy bottoms that fell apart. That extra five minutes with a strainer makes all the difference between good and great buns.
Make Ahead Magic
These buns are perfect for meal prep. After cooking, let them cool completely, then store in an airtight container in the refrigerator for up to 5 days. For longer storage, freeze them individually on a tray until solid, then transfer to freezer bags. This prevents them from sticking together, allowing you to grab just one or two whenever cravings hit.
 Pin it
Perfect Pairings
While these buns are delicious on their own, they shine when served with a simple dipping sauce. Mix soy sauce, a touch of rice vinegar, a pinch of sugar, and some chili oil for the perfect accompaniment. For a complete meal, serve alongside a light cucumber salad dressed with rice vinegar and sesame oil to balance the richness of the buns.
Troubleshooting Tips
If your dough feels too sticky, resist adding too much extra flour which can make the buns tough. Instead, lightly oil your hands when working with it. If the filling leaks during cooking, your heat might be too high or the seal not tight enough. Try lowering the heat slightly and ensuring a good pinch when sealing. When reheating, always add a little water to the pan to recreate the steam environment for the perfect texture.
Frequently Asked Questions
- → How do I prepare the dough for the buns?
Mix all dry ingredients in a bowl, create a well in the center, and pour in warm soy milk and oil. Mix until dough forms, shape into a ball, cover, and let the dough rise for at least 2 hours.
- → What is included in the filling?
The filling consists of cooked cabbage, vermicelli noodles, grated carrot, chopped scallions, soy sauce, sesame seeds, and sesame oil.
- → How do you cook vegan pan-fried buns?
Heat oil in a pan, place buns crease-side down, and cook until golden. Flip, cook the other side, then add water and steam with a lid until fully cooked.
- → Can I freeze the cooked buns?
Yes, you can freeze the buns. Place them on a tray to freeze individually, then transfer to a bag or container. Reheat before enjoying.
- → What dipping sauce pairs well with these buns?
A simple soy sauce mix with sugar, chili sauce, and sesame seeds makes a great dipping sauce for these buns.
- → How do I reheat refrigerated buns?
Reheat buns by pan-frying them with a splash of water, oven-toasting on low heat, or microwaving them with a small amount of water.
