
 Pin it
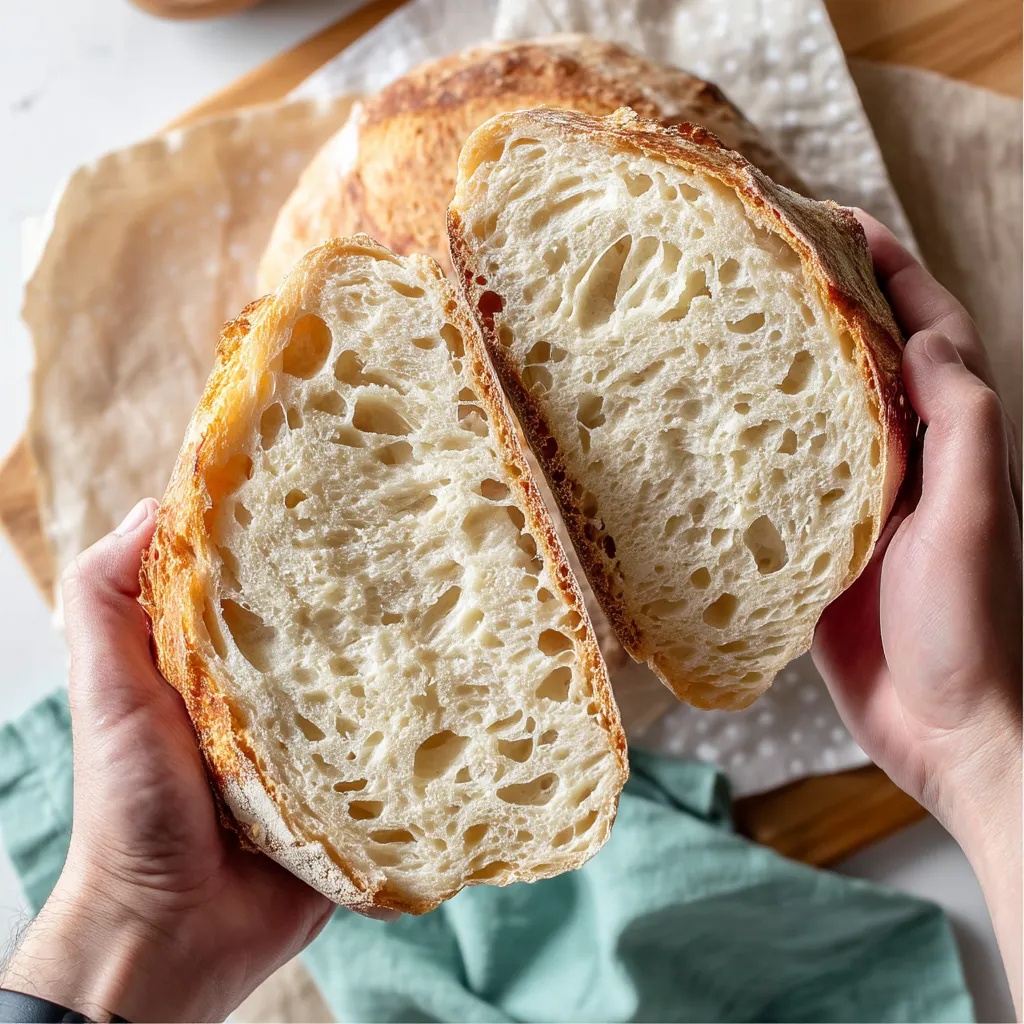
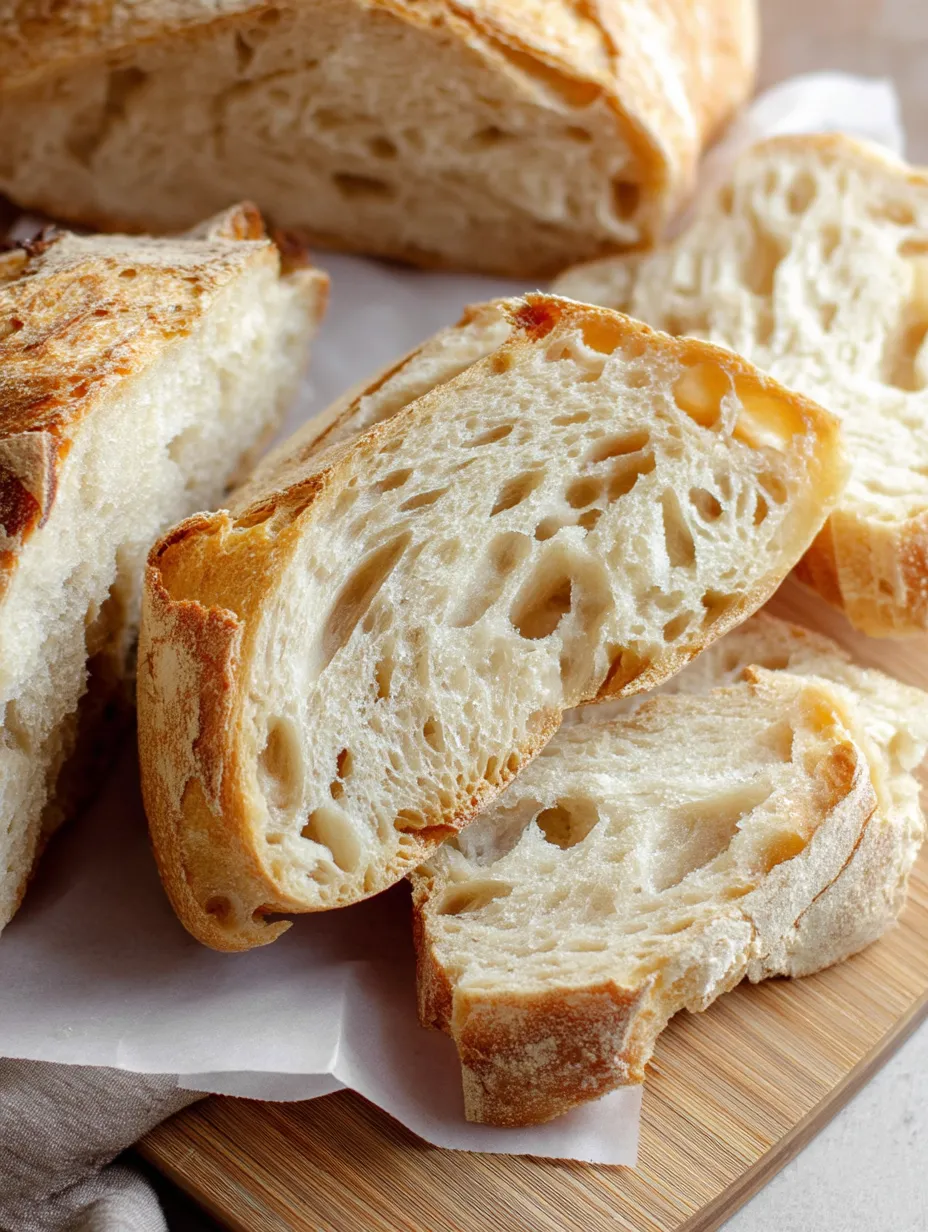
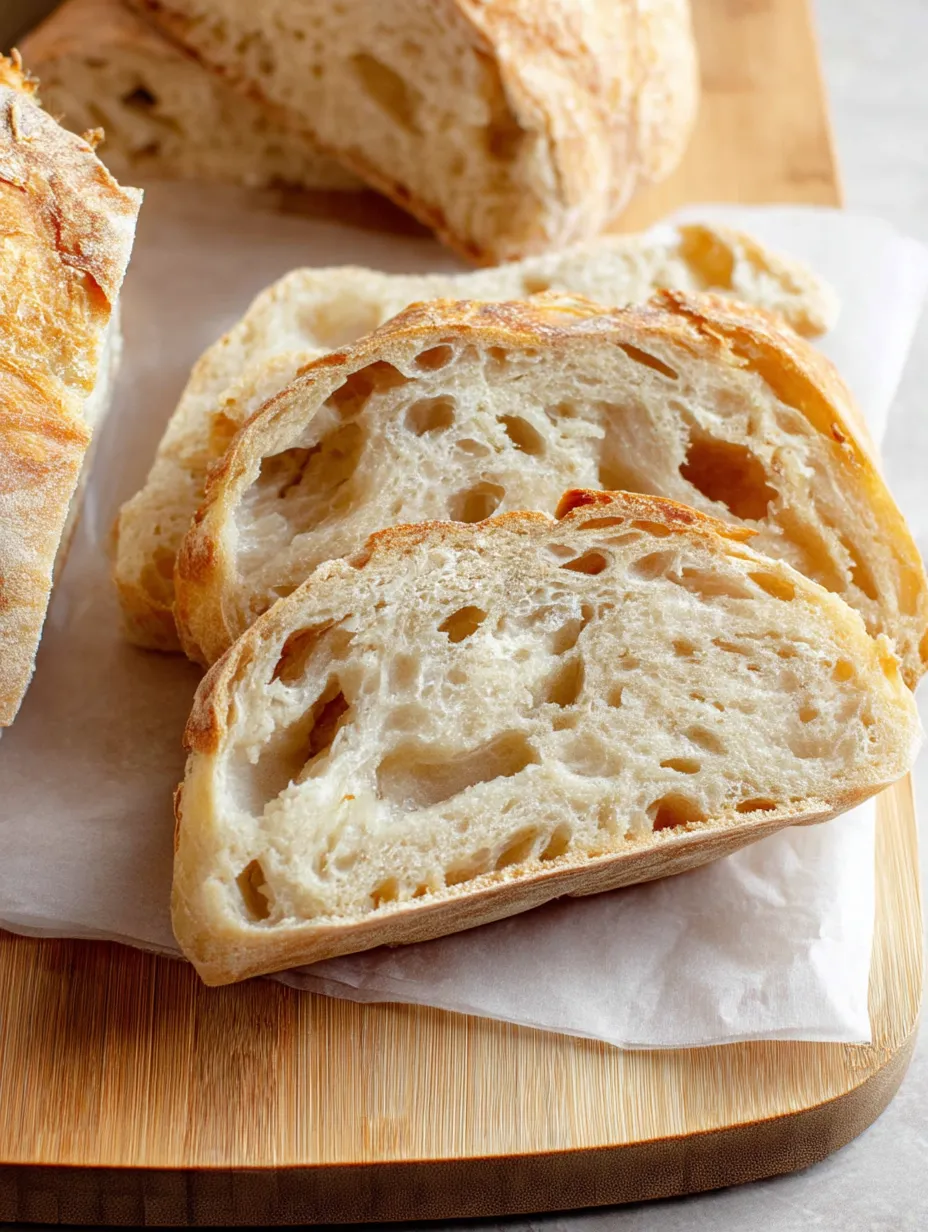
Flaky layers reminiscent of buttery croissants combine with the distinctive tang of sourdough in this exceptional fusion loaf. The beautiful contrast between crisp exterior and tender interior creates a bread experience unlike any other. Each slice reveals delicate butter layers that literally melt in your mouth while maintaining that satisfying chew sourdough lovers crave. This innovative recipe transforms everyday bread into something truly special that works beautifully for everything from morning toast to elegant sandwiches.
I discovered this recipe during a baking experiment gone wonderfully right. While making sourdough scones, I wondered what would happen if I incorporated grated butter into my regular bread dough. The first time I sliced into the finished loaf, I was astonished by the beautiful layers and rich, complex flavor. My family now requests this bread specifically for weekend breakfasts, claiming nothing from the bakery compares.
Crucial Components
- Active sourdough starter: provides both leavening power and that characteristic tangy flavor that makes this loaf so distinctive
- Bread flour: contains higher protein content which creates stronger gluten development, essential for supporting those delicate butter layers
- Cold unsalted butter: must remain in solid pieces throughout the dough to create separate layers that expand during baking
- Room temperature water: ensures the butter doesn't melt prematurely during mixing which would eliminate those precious layers
- Kosher salt: enhances flavor while helping control fermentation rate through osmotic pressure on the yeast
- Patience: becomes perhaps the most important ingredient, allowing proper fermentation at cool temperatures to maintain butter integrity
Bread Technique
- Build Your Levain:
- Begin by combining active sourdough starter with fresh flour and water in a clean container.
- Mix Initial Dough:
- Combine your ripe levain with water and salt in a large mixing bowl, stirring to disperse the levain fully.
- Rest For Hydration:
- Cover your mixing bowl with a damp cloth and allow the dough to rest for thirty minutes.
- Begin Strength Building:
- Perform your first set of stretch and folds by reaching under the dough, gently stretching upward without tearing.
- Incorporate Butter Gradually:
- After thirty minutes, grate half your cold butter directly onto the dough surface before your second set of stretch and folds.
- Maintain Cool Environment:
- Monitor your dough temperature carefully, aiming for 70-72°F throughout the process.
- Add Remaining Butter:
- During your third set of stretch and folds, incorporate the remaining cold butter pieces using the same technique.
- Complete Bulk Fermentation:
- After completing all butter additions and stretch and fold sequences, allow your dough to continue fermenting.
- Shape With Gentle Tension:
- Turn your dough onto a clean, unfloured work surface and use a bench scraper to create tension.
- Rest Before Final Shaping:
- Allow the pre-shaped dough to rest uncovered for thirty minutes.
- Create Final Shape:
- Gently shape your rested dough by folding edges toward the center, creating tension across the surface.
- Cold Ferment Overnight:
- Cover your shaped dough and refrigerate for 12-18 hours.
- Prepare For Baking:
- Preheat your Dutch oven at 450°F for twenty minutes.
- Bake With Steam:
- Carefully lower your dough into the preheated Dutch oven, cover, and reduce temperature to 425°F.
- Finish Uncovered:
- After twenty-five minutes, remove the lid and continue baking for twenty more minutes.
I find working with this dough particularly satisfying on winter mornings when my kitchen naturally maintains that perfect 70°F temperature. The first time I cut into a perfectly baked loaf, I was amazed by how the butter had created beautiful shimmering layers throughout. My daughter now specifically requests this bread for her birthday breakfast, served with homemade strawberry jam that seeps into all those delicious nooks and crannies.
 Pin it
Perfect Pairings
- Breakfast Toast:
- Serve thick-cut slices lightly toasted and topped with cultured butter and honey.
- Lunch Sandwiches:
- Create open-faced sandwiches with quality cheese and thinly sliced vegetables.
- Appetizer Option:
- Cut thin slices and toast until golden, then serve alongside a creamy cheese spread.
Delicious Variations
- Chocolate Version:
- Transform this bread into a chocolate lover's dream by incorporating high-quality dark chocolate pieces.
- Savory Twist:
- Add grated cheese and herbs to the dough during your final round of stretch and folds.
- Almond Variation:
- Spread a thin layer of almond cream across the dough before the final shaping.
Storage Solutions
- Short-Term Storage:
- Keep this bread at its absolute best by allowing it to cool completely before slicing.
- Freezing:
- Slice the entire loaf once completely cooled, then freeze individual slices with parchment paper between them.
 Pin it
Creating this bread connects me to a long tradition of bakers who have continually innovated with simple ingredients. There's something magical about watching those butter pieces transform into delicate layers that shatter when bitten. The process requires patience and attention, but the moment you pull that deeply golden loaf from the oven makes every careful temperature check worthwhile. When sharing this bread with friends, I always feel a special pride in having created something so beautiful from just flour, water, salt and butter.
Frequently Asked Questions
- → Why is temperature control so important for this Sourdough Croissant Bread?
- Temperature control is crucial because you need to maintain a delicate balance - warm enough for the sourdough to ferment properly (around 70-72°F) but cool enough to keep the butter solid in small pieces. If the dough gets too warm, the butter will melt and incorporate fully into the dough, losing the distinct flaky layers that make this bread special.
- → Can I use a stand mixer instead of hand folding?
- While hand folding is preferred to maintain the integrity of the butter pieces, you can use a stand mixer on low speed for the initial dough mixing. However, once you start adding butter, switch to hand folding to prevent the butter from being incorporated too thoroughly.
- → What if I don't have a Dutch oven?
- A Dutch oven creates steam that helps develop the crust, but you can also use a baking stone or steel with a separate pan of water placed on the bottom rack of your oven. Preheat the stone and oven, then slide your dough (on parchment) onto the hot stone and add a cup of hot water to the pan below.
- → Can I make this bread if I don't have a sourdough starter?
- This recipe specifically requires a sourdough starter. If you don't have one, you'd need to either obtain one from a friend, purchase one online, or make your own (which takes about a week). There's no quick substitute that will provide the same flavor and fermentation characteristics.
- → How do I know if my bread is properly proofed before baking?
- Your dough is ready to bake when it has increased in size by about 70%, feels slightly puffy, and jiggles when you gently shake the container. If you poke it gently with a floured finger, it should slowly spring back but leave a slight indentation. Underproofed dough will spring back quickly and completely, while overproofed dough will collapse or not spring back at all.