
 Pin it
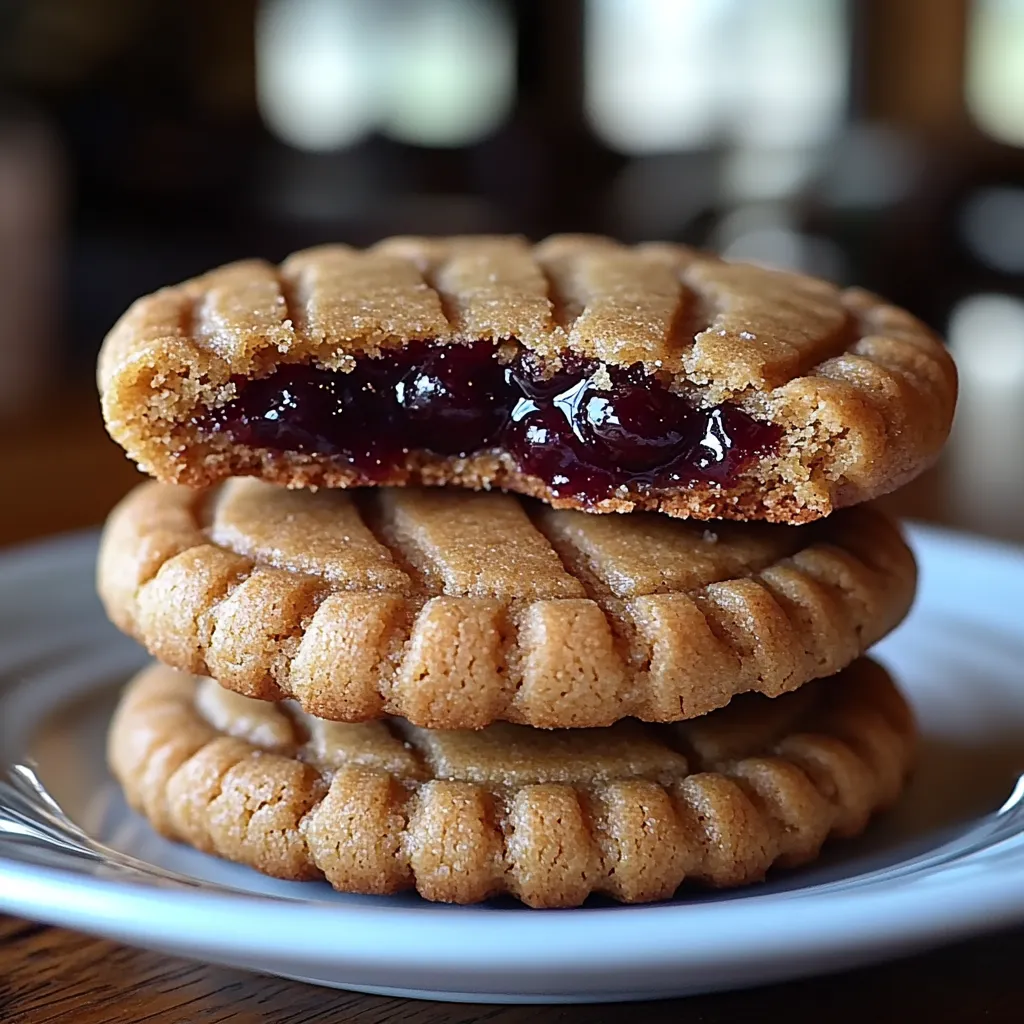
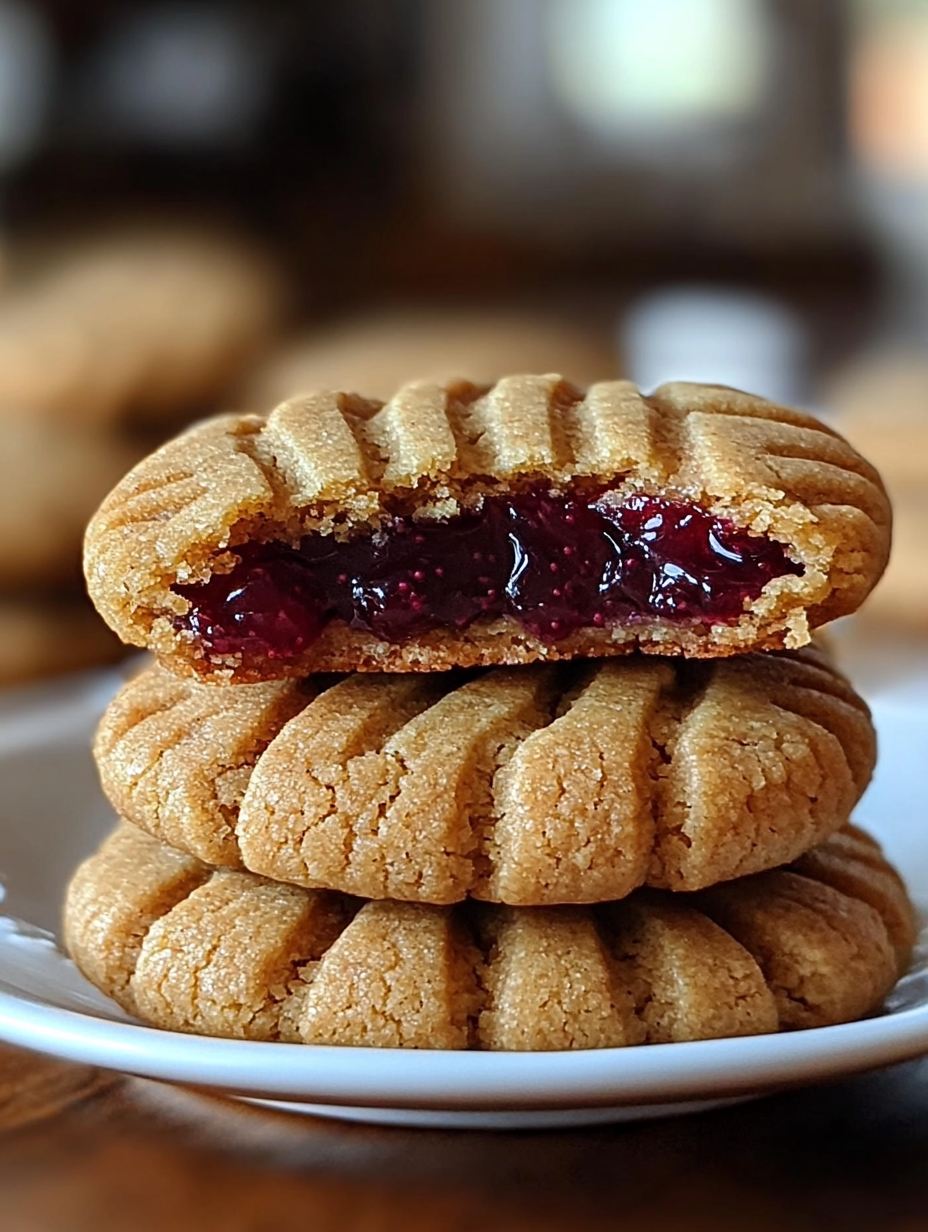
Peanut butter and jelly stuffed cookies transform a beloved sandwich into an irresistible dessert experience. These nostalgic treats feature tender peanut butter cookie dough wrapped around sweet jelly centers, creating perfect harmony in every bite. With their soft, chewy texture and delightful filling, these cookies elevate a childhood classic into something truly special.
I first made these cookies for my niece's birthday party, hoping to create something that would appeal to both children and adults. The moment people bit into them and discovered the jelly center, their faces lit up with surprise and delight. Now they've become my most requested dessert for gatherings, proving that sometimes the simplest combinations create the most memorable treats.
Essential Ingredients
- Creamy peanut butter: Forms the foundation of flavor and provides that classic nutty richness
- Unsalted butter: Creates tender texture while allowing the peanut butter flavor to shine
- Brown sugar: Adds moisture and depth with subtle molasses notes
- Jelly: Provides sweet contrast and that nostalgic PB&J experience
- All-purpose flour: Gives structure while maintaining a soft cookie texture
- Vanilla extract: Enhances and rounds out all other flavors
Preparation Method
- Make The Dough:
- In a large mixing bowl, cream together 1 cup creamy peanut butter, 1/2 cup softened unsalted butter, 1/2 cup granulated sugar, and 1/2 cup packed brown sugar until light and fluffy. This initial creaming process incorporates air, creating a tender cookie texture. Add 1 large egg and 1 teaspoon vanilla extract, mixing until completely combined for a smooth, consistent base.
- Add Dry Ingredients:
- In a separate bowl, whisk together 1 1/2 cups all-purpose flour, 1/2 teaspoon baking powder, 1/2 teaspoon baking soda, and 1/4 teaspoon salt until evenly distributed. Gradually add this dry mixture to the peanut butter mixture, mixing just until incorporated. Overmixing at this stage can develop gluten and result in tough cookies, so mix until the flour just disappears.
- Form And Fill:
- Divide the dough into portions of about 2 tablespoons each, rolling them into balls and then flattening into discs approximately 1/4 inch thick. Place half of these discs on a parchment-lined baking sheet, spacing them about 2 inches apart. Create a small indentation in the center of each disc and fill with 1 teaspoon of your favorite jelly—grape and strawberry work beautifully, but any flavor will do.
- Seal And Bake:
- Top each jelly-filled disc with another flattened disc of dough. Carefully seal the edges by pressing with your fingers first, then crimping with a fork to ensure the jelly stays contained during baking. This creates that perfect reveal when bitten into. Bake in a preheated 350°F oven for 12-15 minutes until the edges are just turning golden while the centers remain soft.
My grandmother always said the secret to perfect stuffed cookies was patience in sealing the edges. The first time I rushed this step, half my cookies leaked their filling. Now I take extra time pressing the edges together with my fingers before using the fork to create that decorative seal, and the results are perfect every time.
Serving Suggestions
- Serve slightly warm to experience the perfect contrast between the cookie exterior and gooey jelly center.
- Pair with a cold glass of milk for the ultimate nostalgic treat.
- For an elevated dessert experience, serve with a scoop of vanilla ice cream and a drizzle of warm peanut butter sauce.
 Pin it
Storage Wisdom
- Store cooled cookies in an airtight container at room temperature, placing parchment paper between layers to prevent sticking. They'll maintain their best quality for up to 3 days.
- The cookies can also be frozen for up to 3 months—simply thaw at room temperature for about 30 minutes before serving.
Delicious Variations
- Try raspberry or blackberry jam for a more sophisticated flavor profile.
- For chocolate lovers, add mini chocolate chips to the dough or use chocolate hazelnut spread instead of jelly.
- Create a holiday version with apple butter and a sprinkle of cinnamon in the dough for warm fall flavors.
 Pin it
I've made these cookies countless times, and they never fail to bring joy to everyone who tries them. There's something magical about the combination of peanut butter and jelly that transcends age, bringing both children and adults back to simpler times. The contrast between the soft, nutty cookie and sweet, jammy center creates a perfect bite that feels both familiar and special at the same time.
Frequently Asked Questions
- → Can I use crunchy peanut butter instead of creamy?
- Yes, you can substitute crunchy peanut butter if you prefer a bit of texture in your cookies. The dough may be slightly more difficult to work with but will still taste delicious.
- → Why did my jelly leak out during baking?
- This usually happens when the edges aren't sealed completely. Make sure to firmly press the edges of the two cookie discs together and create a good seal with the fork marks around the perimeter.
- → Can I make these cookies ahead of time?
- Yes! You can prepare the dough up to 2 days ahead and refrigerate it. You can also freeze the assembled but unbaked cookies for up to a month - just add 1-2 minutes to the baking time when cooking from frozen.
- → How should I store these cookies?
- Store cookies in an airtight container at room temperature for up to 3 days, or refrigerate for up to a week. The jelly center may cause them to soften more quickly than regular cookies.
- → Can I make these cookies without nuts?
- For a nut-free version, try using cookie butter (speculoos) or sunflower seed butter instead of peanut butter. The flavor will be different but still delicious!