
 Pin it
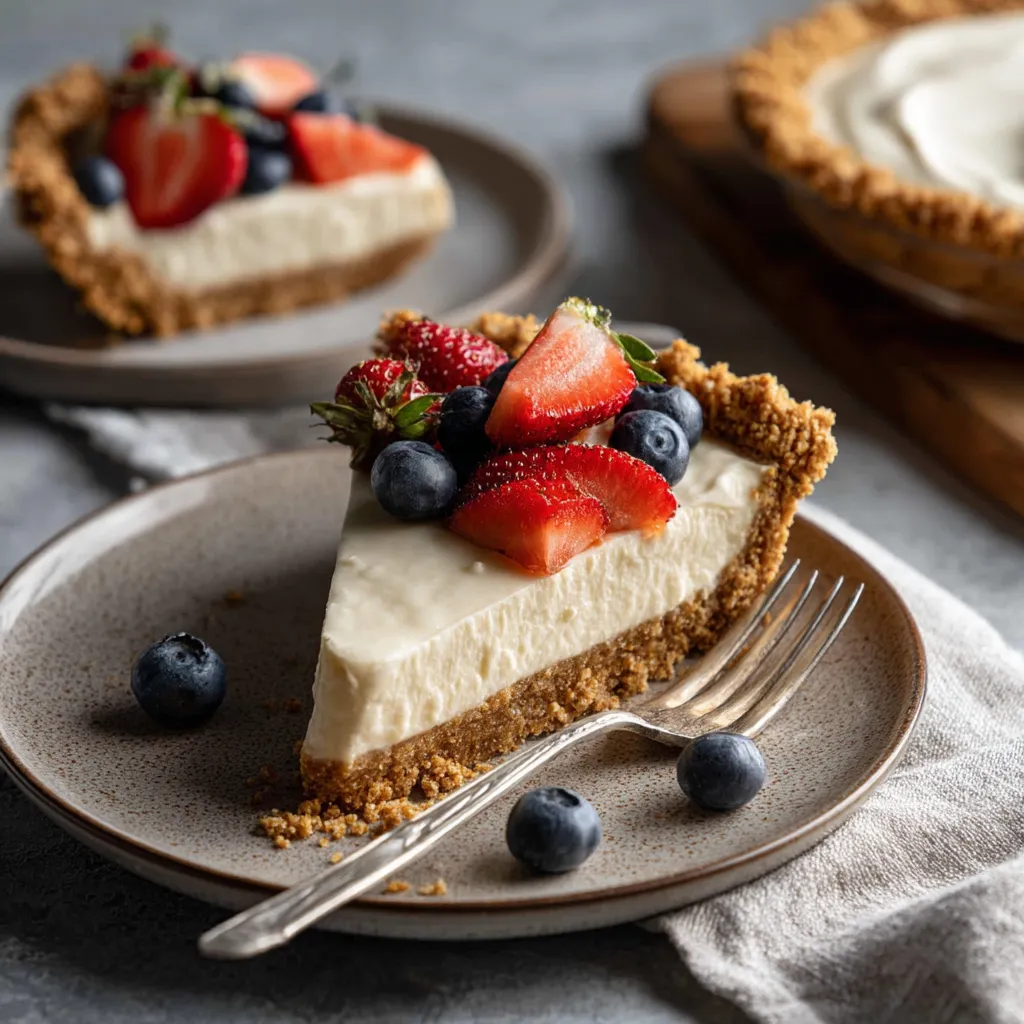
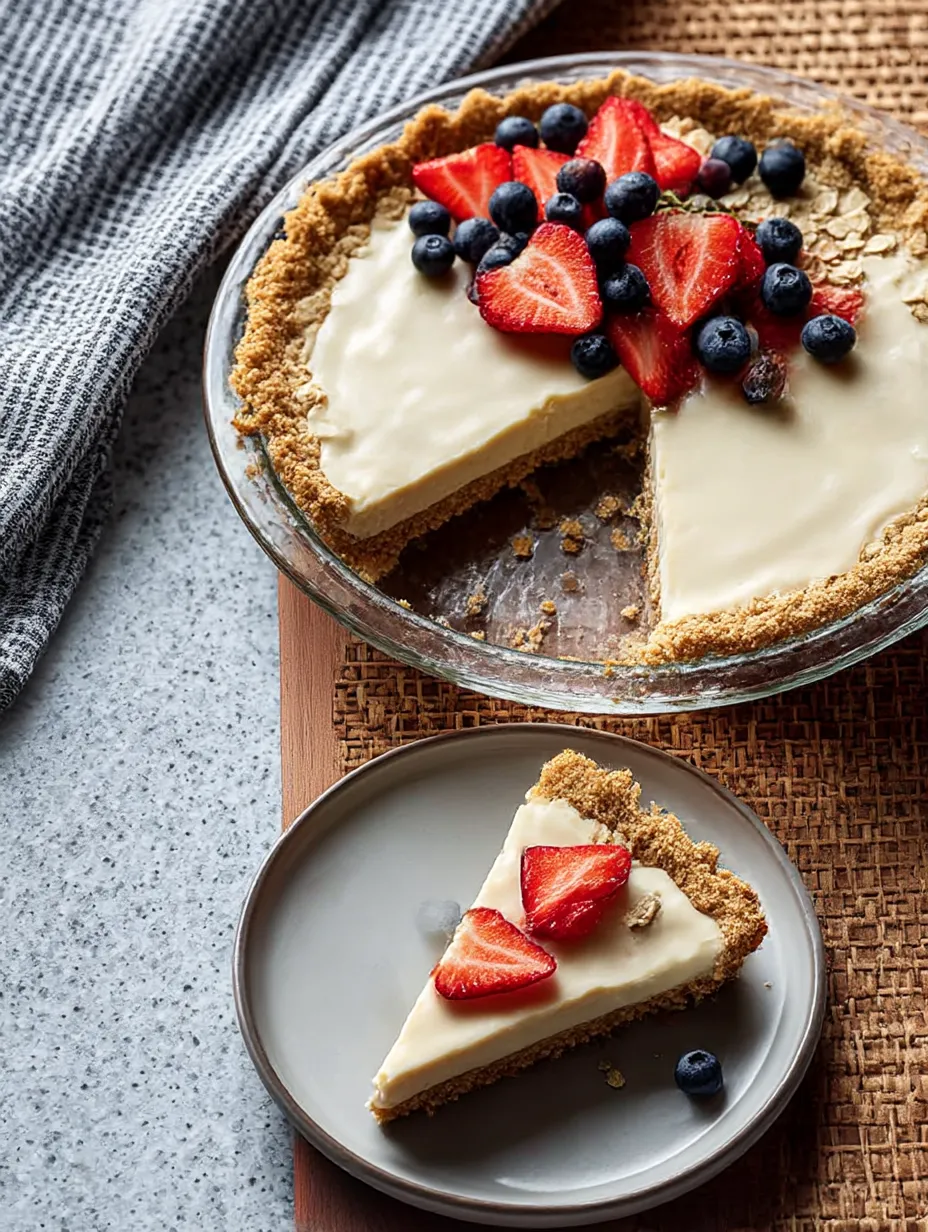
This oatmeal pie crust recipe transforms simple rolled oats into a delicious alternative to traditional graham cracker crusts. With just a handful of pantry staples, you can create a versatile base for your favorite no-bake desserts that happens to be gluten-free, vegan, and nut-free.
I discovered this recipe when searching for graham cracker alternatives for my neighbor with celiac disease. After making it for a neighborhood potluck, even my non-gluten-free friends started requesting the recipe for their own family gatherings.
Ingredients
- Old fashioned rolled oats: Certified gluten-free if needed. They create the perfect hearty texture while maintaining a slightly sweet flavor profile.
- Sugar: Adds just enough sweetness without overpowering your filling. Brown sugar works too for a deeper molasses note.
- Cinnamon: Brings warmth and pairs beautifully with the oats. Feel free to adjust to your taste preferences.
- Fine sea salt: Optional but highly recommended to balance the sweetness. Skip if using salted butter.
- Vegan butter: Melted provides the necessary fat to bind everything together. Do not substitute with dairy butter as the water content differs.
- Maple syrup or agave: Adds natural sweetness and helps with binding. The subtle flavor complements the oats beautifully.
- Vanilla extract: Enhances all the other flavors. Even this small amount makes a noticeable difference.
Step-by-Step Instructions
- Preheat the Oven:
- Set your oven to 350°F and gather all your ingredients. This step is crucial because having everything ready makes the process smooth and ensures you don't forget anything.
- Process the Dry Ingredients:
- Place the oats, sugar, cinnamon, and salt in a food processor. Pulse for about 10 seconds until the oats are mostly broken down but still have some texture. You want variety in the texture rather than a fine powder for the best mouthfeel.
- Add the Wet Ingredients:
- Pour in the melted vegan butter, maple syrup, and vanilla. Process again until everything is thoroughly combined. The mixture should be moist enough to easily clump together when pressed. If it seems too dry, add a tiny bit more melted butter.
- Form the Crust:
- Spoon the mixture into a 9-inch pie plate, distributing it evenly. Start pressing from the center and work your way out to the sides. Using a flat-bottomed measuring cup or glass applies even pressure and creates a smooth surface. Pay special attention to the edges to ensure they are firmly packed.
- Bake to Perfection:
- Place in the preheated oven for 16 to 18 minutes until the crust is set and lightly golden. During the final minutes, it might puff up slightly. This is normal and easily fixed in the next step.
- Cool and Finish:
- After removing from the oven, gently press down any areas that have puffed up. Allow the crust to cool completely before adding your filling. Complete cooling is essential for structural integrity.
 Pin it
The oats are truly the star of this recipe. My grandmother always made oatmeal cookies for holidays, and this crust reminds me of those warm kitchen memories. The aroma while baking is incredibly comforting and signals that something special is being prepared for those you love.
Storage Tips
This crust maintains its texture beautifully when refrigerated. After cooling completely, wrap it tightly with plastic wrap and store in the refrigerator for up to three days before filling. Once filled, most desserts will keep well for 2-3 days depending on the moisture content of your filling. For longer storage, I recommend freezing the unfilled crust for up to a month tightly wrapped in plastic and then foil to prevent freezer burn.
Fat-Free Option
If you follow a low-fat or oil-free diet, you can substitute the vegan butter with applesauce. Use a half cup of unsweetened applesauce, omit the maple syrup since the applesauce provides natural sweetness, and increase the baking time to 20 minutes. The resulting crust will have a softer, chewier texture but still holds together remarkably well. This version works especially nicely with fruit-based fillings where the softer texture complements the overall dessert.
 Pin it
Perfect Fillings
This versatile crust pairs beautifully with so many no-bake fillings. Chocolate pudding or mousse creates a crowd-pleasing dessert that feels indulgent yet comes together quickly. Vegan cheesecake fillings set up beautifully on this base, especially when topped with fresh berries. Key lime and lemon fillings offer a refreshing contrast to the hearty oat base. For a quick option, try filling with coconut cream pudding and top with fresh tropical fruits for an impressive dessert that requires minimal effort.
No Food Processor Method
Without a food processor, you can still achieve excellent results by first pulsing the oats in a blender just until coarsely ground. Be careful not to over-process into fine flour. Transfer to a large bowl and thoroughly mix with the dry ingredients. Melt your vegan butter, add the maple syrup and vanilla, then pour over the oat mixture. Stir until completely combined and every bit of the dry ingredients is moistened. The texture should be slightly different but still creates a delicious crust. You might need to work a bit harder to press it firmly into the pan, but the end result will be just as tasty.
Frequently Asked Questions
- → Can I make this pie crust without a food processor?
Yes, you can use a blender to pulse the oats, then mix the other ingredients in a large bowl. Avoid processing the oats too fine for an ideal texture.
- → Is this crust suitable for baked pies?
This crust is best for no-bake pies. It bakes quickly, so it may not hold up well for pies with longer bake times like pumpkin pie.
- → How can I make this crust fat-free?
You can substitute applesauce for vegan butter. Use ½ cup applesauce, omit the maple syrup, and bake for 20 minutes for a softer, chewier texture.
- → How should I store the crust?
Once cooled, cover the crust with plastic wrap and refrigerate for up to 3 days before adding your filling. It holds up well for 2 days after being filled.
- → What fillings work best with this crust?
This crust pairs wonderfully with no-bake fillings like chocolate, vegan cheesecake, banana cream, or key lime. Avoid fillings with high moisture for the best results.