
 Pin it
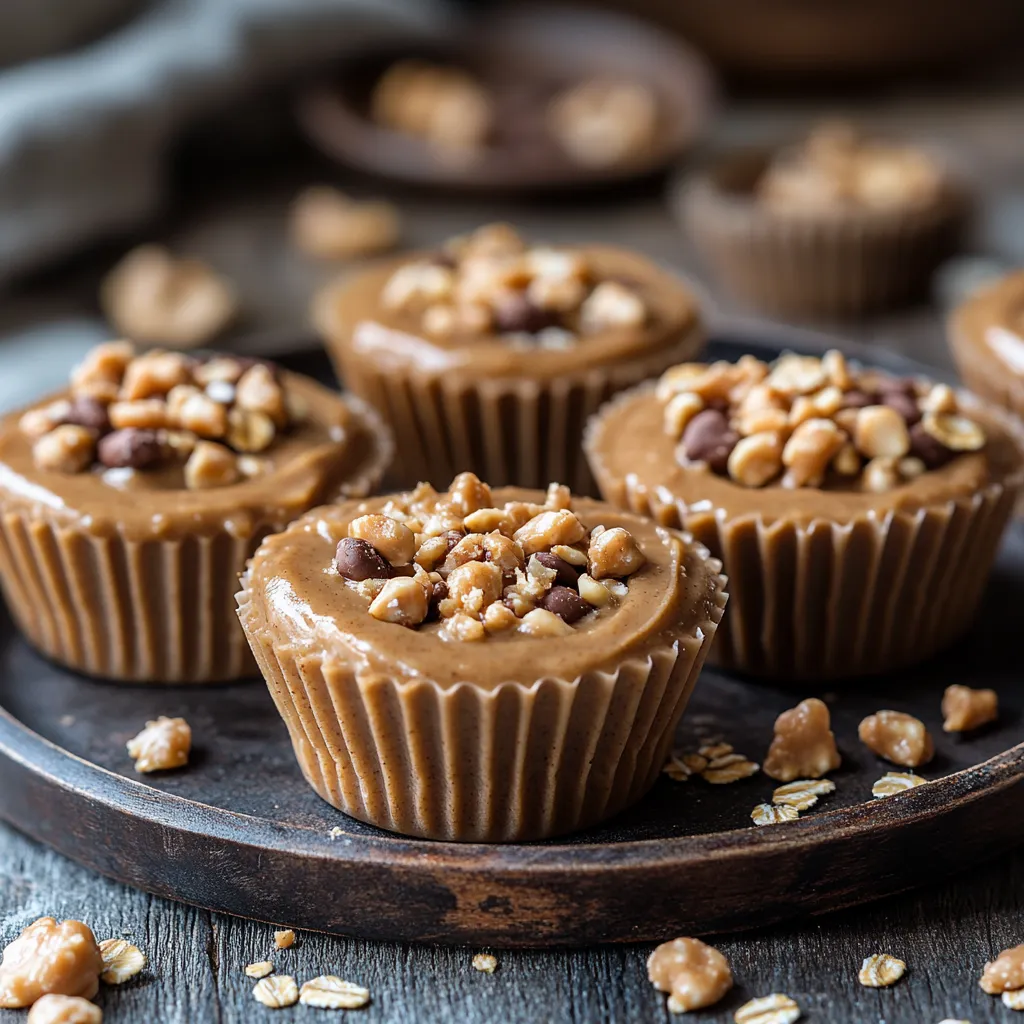
Peanut butter oat cups offer a perfect balance of simplicity and satisfaction in every bite. These no-bake treats combine the wholesome goodness of oats with creamy peanut butter, creating a nutritious indulgence that's ready when you are. The optional chocolate topping adds a touch of decadence to an already irresistible snack.
I first made these oat cups during a summer heatwave when turning on the oven seemed unbearable. The combination of creamy peanut butter and hearty oats created such a satisfying texture that they've become my go-to treat for busy weekdays and unexpected guests alike. Even my dessert-skeptical partner reaches for these before store-bought cookies!
Key Ingredients
- Rolled oats: Provide hearty texture and fiber while creating the perfect base for these cups
- Natural peanut butter: Delivers protein and healthy fats that create creamy richness
- Honey or maple syrup: Adds natural sweetness that binds everything together
- Dark chocolate chips: Create a decadent topping that balances the nutty flavors
- Vanilla extract: Enhances all other flavors with its warm aromatic notes
Preparation Method
- Mix Your Base:
- In a medium mixing bowl, combine rolled oats, natural peanut butter, honey or maple syrup, vanilla extract, and a pinch of salt if using unsalted peanut butter. Stir thoroughly until the mixture becomes uniform and sticky. The consistency should hold together when pressed but still maintain some texture from the oats.
- Shape The Cups:
- Line a mini muffin tin with paper liners or use a silicone muffin tray for easy removal. Spoon the oat mixture into each cup, filling to the top. Press firmly using the back of a spoon or your fingers to compact the mixture, creating a slight depression in the center for the optional chocolate topping.
- Add Chocolate Topping:
- If using chocolate, place dark chocolate chips in a microwave-safe bowl and heat in 15-second intervals, stirring between each, until completely melted and smooth. Carefully spoon or drizzle the melted chocolate over each oat cup, creating an even layer across the top or artistic drizzles as preferred.
- Chill And Set:
- Place the filled muffin tin in the refrigerator for at least one hour to allow the cups to firm up completely. The chilling process helps the oats absorb moisture from the other ingredients, resulting in a more cohesive texture and enhanced flavor development.
My grandmother always said that patience transforms good food into great food. I've found this particularly true with these peanut butter oat cups. While they're technically ready after an hour of chilling, allowing them to set overnight results in deeper flavor as the oats fully absorb the honey and peanut butter. This simple patience creates a more complex, satisfying treat.
Flavor Variations
- Add mini chocolate chips directly to the oat mixture for chocolate in every bite.
- Incorporate a tablespoon of cocoa powder for a chocolate-peanut butter combination.
- Substitute almond butter for peanut butter and add a drop of almond extract for a sophisticated flavor profile.
 Pin it
Texture Enhancements
- Mix in toasted coconut flakes for tropical notes and delightful chewiness.
- Add chia seeds for nutritional boost and pleasant crunch.
- Incorporate finely chopped dried fruit like cranberries or cherries for tart contrast to the sweet base.
Nutritional Boosts
- Blend in a tablespoon of ground flaxseed for omega-3 fatty acids.
- Add a scoop of protein powder to increase protein content for post-workout recovery.
- Mix in hemp hearts for additional protein and essential minerals without altering the flavor profile.
Storage Success
- Keep refrigerated in an airtight container where they'll maintain peak quality for up to a week.
- For longer storage, place in a freezer-safe container with parchment between layers to prevent sticking.
- These cups thaw quickly at room temperature, making them perfect for meal prep.
 Pin it
Serving Suggestions
- Pair with fresh berries for a balanced sweet treat.
- Serve alongside a glass of cold milk or plant-based alternative for classic flavor combination.
- Crumble over yogurt for a protein-packed breakfast or snack option.
I've found these peanut butter oat cups particularly valuable during busy weeks when proper meal planning might fall short. Having nutritionally balanced treats ready prevents reaching for less nourishing options when hunger strikes. The combination of protein, healthy fats, and complex carbohydrates creates sustained energy without the crash associated with conventional sweets, making these little cups as functional as they are delicious.
Frequently Asked Questions
- → Can I make these vegan?
- Yes! Simply use maple syrup instead of honey and make sure your chocolate chips are dairy-free to make these treats completely vegan.
- → What type of oats work best?
- Regular old-fashioned rolled oats work best for this recipe. Quick oats can also work but will create a finer texture. Steel-cut oats are not recommended as they'll remain too firm.
- → Can I add other mix-ins?
- Absolutely! Try adding mini chocolate chips, chopped nuts, dried fruit, or coconut flakes to the mixture. Start with about 2-3 tablespoons and adjust to your preference.
- → My mixture seems too dry, what should I do?
- Natural peanut butter can vary in consistency. If your mixture is too dry, add an extra tablespoon of peanut butter or honey until it becomes sticky enough to hold together when pressed.
- → Can I use a different nut butter?
- Yes, almond butter, cashew butter, or sunflower seed butter (for a nut-free option) all work well in this recipe. The flavor will change slightly but they'll still be delicious.