
 Pin it
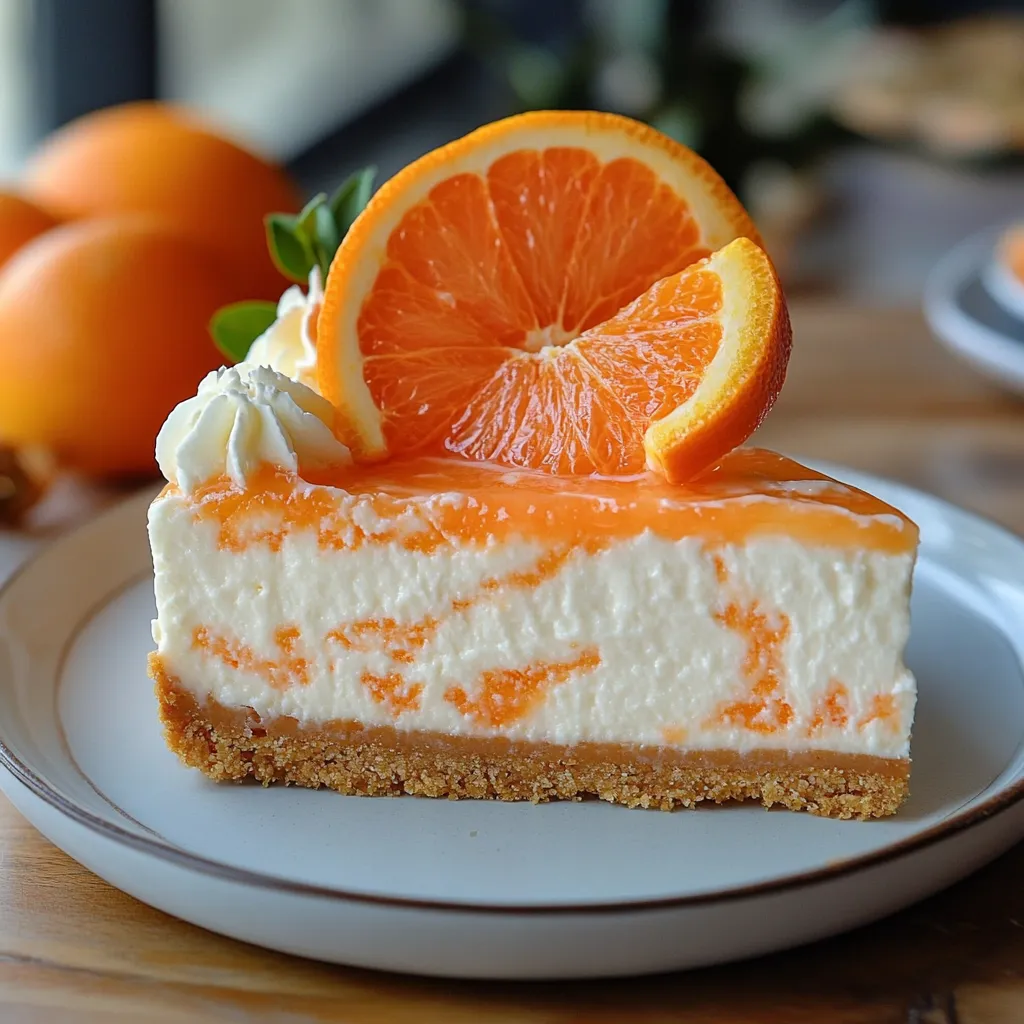
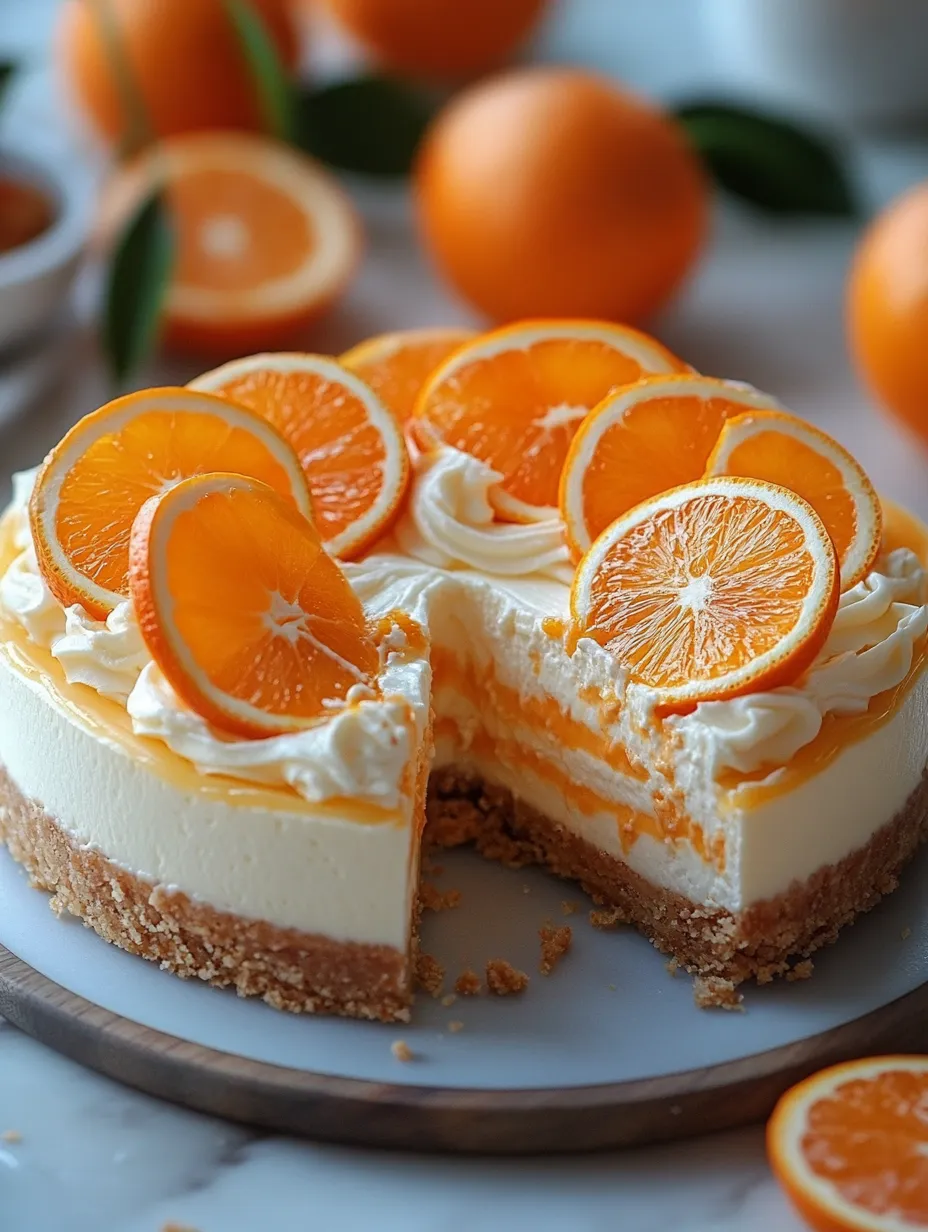
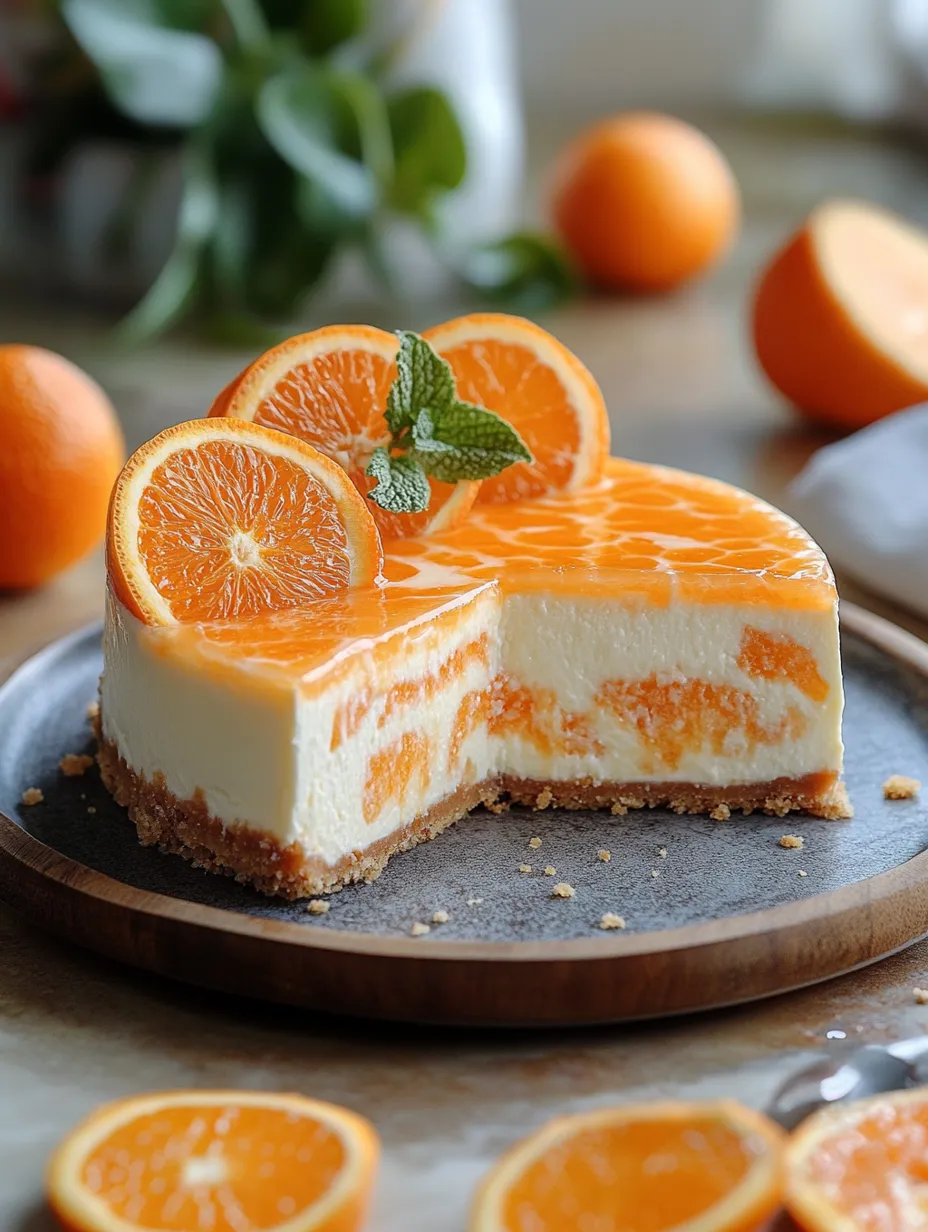
No-bake orange creamsicle cheesecake transforms the nostalgic frozen treat into an elegant dessert that captures summer in every bite. This stunning confection features swirled layers of velvety vanilla cheesecake and vibrant orange jello, all nestled in a buttery graham cracker crust. Perfect for warm weather entertaining, this refreshing dessert delivers creamsicle's signature orange-vanilla flavor combination in a sophisticated, make-ahead package that will delight guests of all ages.
I first created this cheesecake for a summer gathering when I wanted something special that wouldn't require turning on the oven. The moment guests caught sight of the beautiful orange and cream swirls, conversation stopped—and once they tasted the perfect balance of zesty orange and smooth vanilla cheesecake, the requests for the recipe began. This dessert has since become my signature summer contribution to parties and family gatherings.
Essential Ingredients
- Cream cheese: Creates the rich, tangy base of the cheesecake filling
- Orange jello: Provides the vibrant color and distinct orange flavor
- Heavy whipping cream: Adds lightness and volume when whipped
- Graham crackers: Form the foundation for a classic, buttery crust
- Vanilla extract: Contributes the essential creamsicle vanilla note
- Orange zest: Enhances the citrus flavor with fresh, aromatic oils
- Powdered sugar: Sweetens without adding grittiness to the smooth texture
Preparation Method
Begin by preparing a 9-inch springform pan—spray it lightly with cooking spray and line the bottom with parchment paper for easy removal later. In a medium bowl, combine 2 cups of graham cracker crumbs (about 16 full sheets, finely crushed) with 6 tablespoons of melted unsalted butter and a pinch of salt. Mix until the texture resembles wet sand and all crumbs are moistened. Press this mixture firmly into the bottom and about 1 inch up the sides of the prepared pan, using the bottom of a measuring cup to create a compact, even layer. Place the crust in the freezer for 30 minutes to set while you prepare the filling.
Prepare the Orange Jello Mixture
In a medium bowl, combine one 3-ounce package of orange jello with 3/4 cup boiling water. Whisk thoroughly until the gelatin is completely dissolved, ensuring there are no granules remaining. Set aside to cool at room temperature for approximately 30 minutes. The jello should remain liquid but no longer hot—it needs to cool sufficiently so it won't melt the whipped cream when combined, but not so much that it begins to set.
Create the Cheesecake Base
In a large mixing bowl, beat 16 ounces (two 8-ounce blocks) of room temperature cream cheese with 1 cup of powdered sugar until completely smooth and fluffy, about 2-3 minutes. Scrape down the sides of the bowl frequently to ensure no lumps remain. The success of the cheesecake depends on this smooth base, so take your time with this step.
Whip the Cream
In a separate chilled bowl, combine 2 cups of cold heavy whipping cream with 1/2 cup powdered sugar, 1 teaspoon vanilla extract, and 1 tablespoon fresh orange zest. Beat on medium-high speed until stiff peaks form. The cream should be firm enough to hold its shape but not overbeaten to the point of becoming grainy or buttery. This whipped cream will be divided between the vanilla and orange portions of the cheesecake.
Create the Two Fillings
Gently fold half of the whipped cream into the cream cheese mixture using a rubber spatula. Use a light touch and a folding motion rather than stirring to maintain the air incorporated into the cream. This becomes your vanilla layer. For the orange layer, carefully fold the remaining whipped cream into the cooled orange jello mixture until fully incorporated with no streaks remaining. You now have two distinct mixtures: a white vanilla cheesecake filling and a bright orange creamsicle filling.
 Pin it
Assemble the Cheesecake
Remove the chilled crust from the freezer. Alternately spoon the vanilla cheesecake mixture and orange mixture over the crust, creating random dollops of each. Once all filling is added, use a knife or skewer to gently swirl the two mixtures together, creating a marbled effect. Be careful not to overmix—just a few passes through the filling creates the most attractive pattern. Smooth the top with an offset spatula if desired.
Chill to Set
Cover the springform pan loosely with plastic wrap, being careful not to let it touch the surface of the cheesecake. Refrigerate for at least 6 hours, but preferably overnight, to allow the cheesecake to set completely. The jello needs this time to firm up and stabilize the entire dessert. Patience at this stage ensures perfect slices when serving.
My grandmother always said that patience makes the difference between good desserts and great ones. When I first made this cheesecake, I rushed the chilling time because I was eager to see the final result. The slices were tasty but slightly soft. Taking her advice to heart, I now always prepare this cheesecake the day before serving, allowing a full overnight chill. The difference in texture and sliceability is remarkable—another reminder that some of the best kitchen wisdom comes from those who cooked before us.
Serving Suggestions
Top with fresh whipped cream and orange zest for a simple, elegant presentation. Garnish with thin orange slices or supremes for a beautiful citrus accent. Serve with a drizzle of white chocolate ganache for an indulgent touch. Add a small scoop of vanilla ice cream on the side for the ultimate creamsicle experience. Offer alongside fresh berries for a light, refreshing accompaniment.
Storage Wisdom
Store the cheesecake in the refrigerator, tightly covered, for up to 5 days. For optimal freshness and flavor, consume within 3 days of preparation. To freeze, remove the sides of the springform pan and place the cheesecake (still on the pan bottom) on a flat surface in the freezer until firm. Once frozen, wrap tightly in plastic wrap followed by aluminum foil and freeze for up to 3 months. Thaw overnight in the refrigerator before serving.
 Pin it
Creative Variations
- Lemon Creamsicle: Substitute lemon jello and lemon zest for a tangy alternative.
- Strawberry Dream: Use strawberry jello and fold in finely diced fresh strawberries.
- Chocolate Orange: Add a layer of chocolate ganache over the graham cracker crust before adding the fillings.
- Coconut Creamsicle: Add 1/2 cup toasted coconut to the crust and garnish with additional coconut on top.
I've prepared this no-bake orange creamsicle cheesecake for countless summer gatherings, and it never fails to transport people back to childhood memories of chasing the ice cream truck. What makes it truly special is how it elevates a simple frozen treat into an elegant dessert while maintaining that perfect balance of creamy vanilla and zesty orange. The marbled presentation adds visual appeal that makes it worthy of special occasions, while the easy preparation keeps it accessible for everyday enjoyment.
Frequently Asked Questions
- → Can I use a different flavor of jello for this cheesecake?
- Absolutely! While orange gives you the classic creamsicle flavor, you can experiment with other flavors like strawberry, raspberry, or lime for a different twist. The technique remains the same regardless of which flavor you choose.
- → Do I need a springform pan or can I use something else?
- A springform pan is ideal as it makes removing and serving the cheesecake much easier. However, you could use a deep pie dish or a square baking pan lined with parchment paper with overhanging edges to help lift the cheesecake out when serving.
- → Can I make this cheesecake ahead of time?
- Yes! This is actually perfect for making ahead. It can be refrigerated for up to 3 days before serving. Just keep it covered to prevent it from absorbing other flavors from the refrigerator.
- → Why is my cheesecake not setting properly?
- There are a few possible reasons: the jello might not have cooled enough before adding the whipped cream, the cream might not have been whipped to stiff peaks, or it simply needs more time in the refrigerator. Make sure to chill it for at least 6 hours, preferably overnight.
- → How can I make this recipe gluten-free?
- Simply substitute the graham crackers with gluten-free graham crackers or cookies. Alternatively, you could use a crust made from crushed gluten-free vanilla cookies or even a nut-based crust with ground almonds or pecans mixed with butter.