
 Pin it
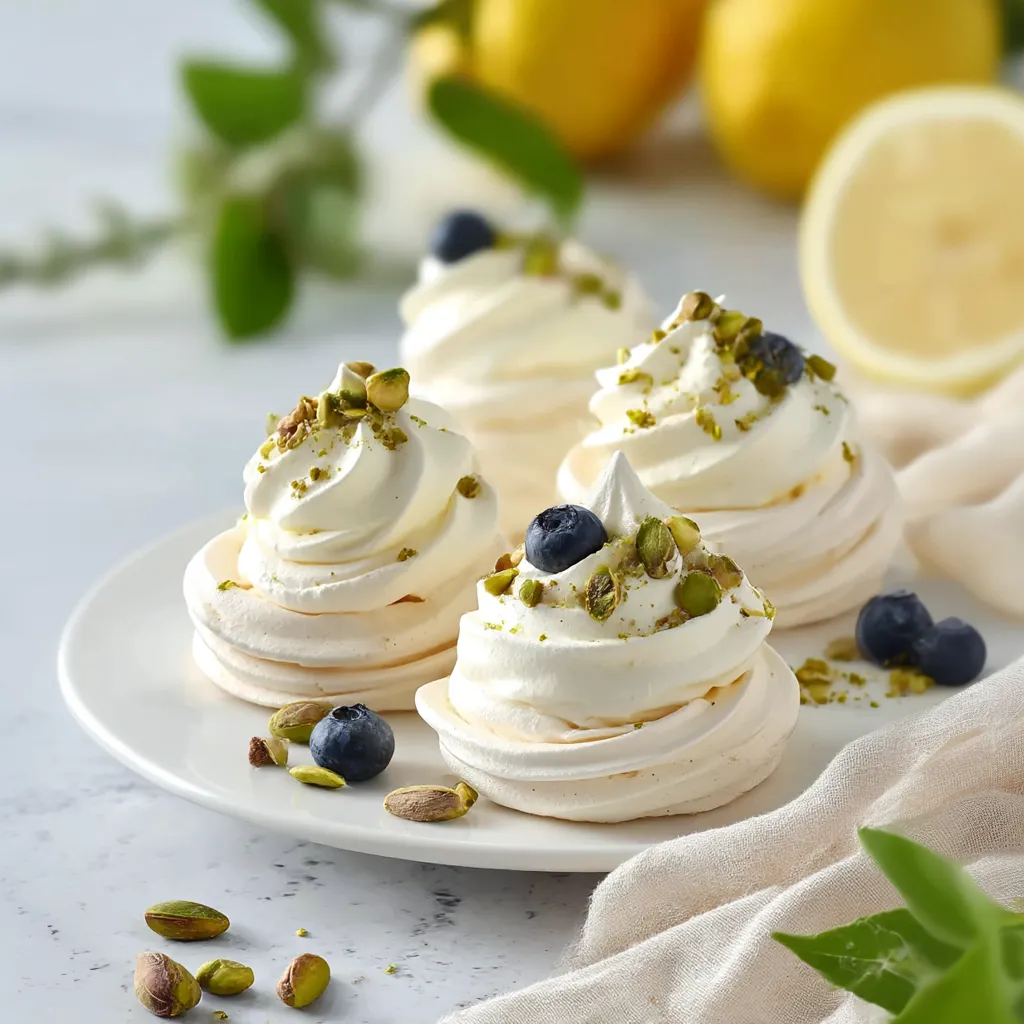
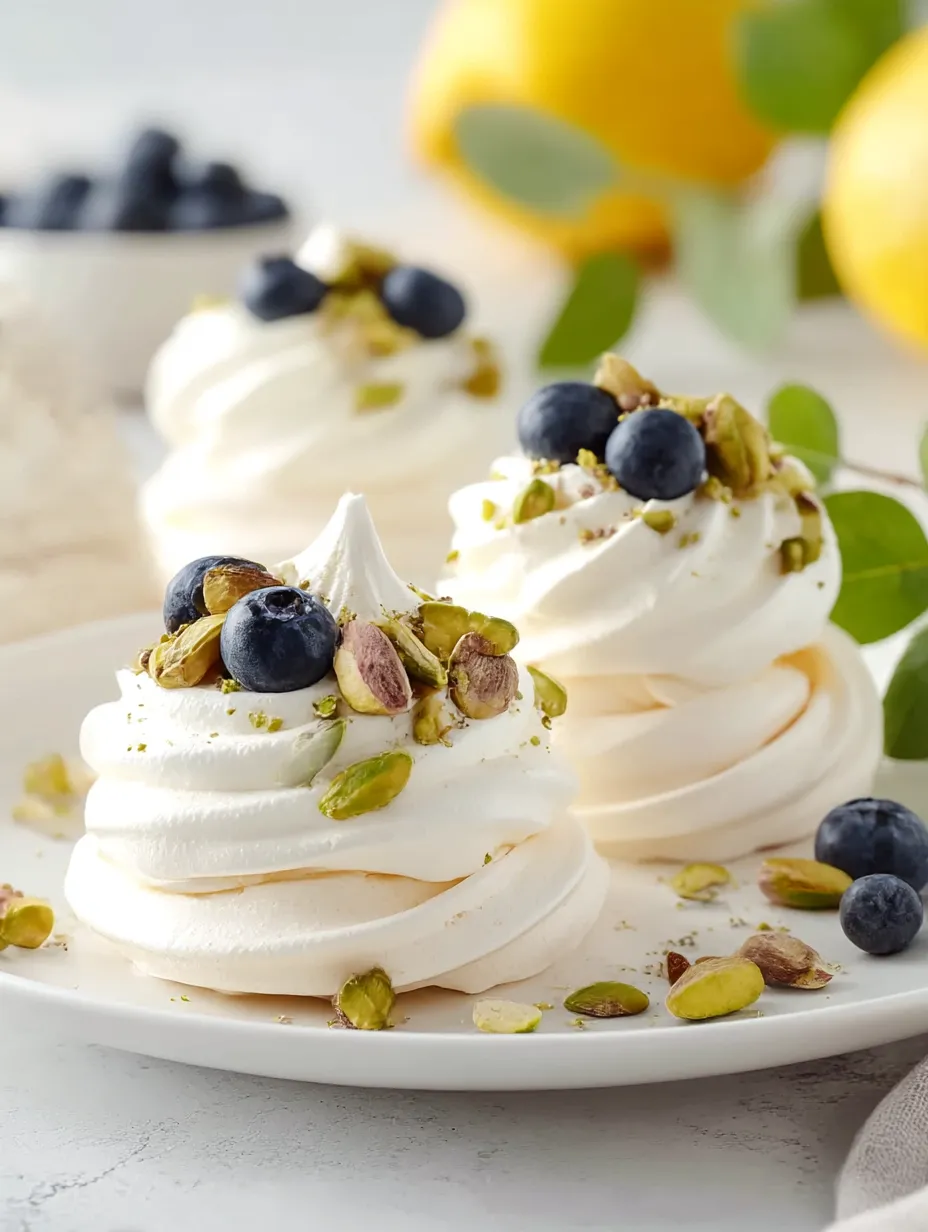
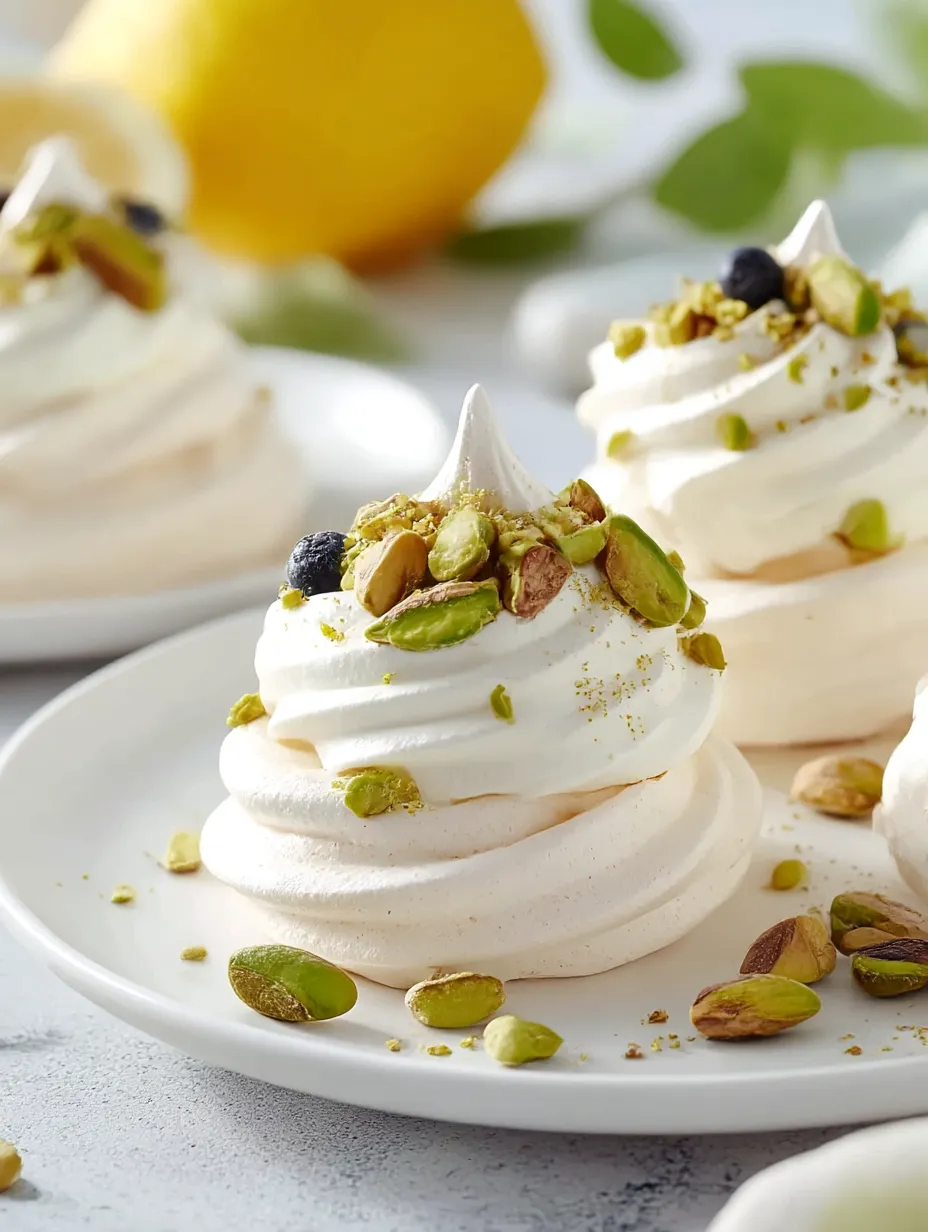
This mini pavlova recipe delivers the perfect combination of crispy meringue shells with a soft, chewy interior that melts in your mouth. Each bite-sized dessert is topped with a cloud of whipped cream and fresh berries for an elegant treat that's surprisingly simple to make.
I first made these mini pavlovas for my sister's garden party, and they disappeared faster than any other dessert on the table. The contrast between the crisp shell and marshmallowy center creates such a delightful texture that I now keep them in my regular rotation for dinner parties and special occasions.
Ingredients
- Egg whites: At room temperature essential for achieving maximum volume and stability in your meringue
- Granulated sugar: Provides sweetness and helps create the crisp exterior
- Corn starch: Adds structure and creates that chewy interior texture
- Fresh lemon juice: Helps stabilize the egg whites for a more reliable meringue
- Cream of tartar: Another stabilizer that prevents the meringue from collapsing
- Vanilla extract: Adds subtle warmth and depth of flavor
- Heavy whipping cream: Must be cold for the best whipping results
- Fresh blueberries: Provide a burst of color and tartness to balance the sweetness
- Pistachios: Add a wonderful textural contrast and slight saltiness
Step-by-Step Instructions
- Prepare Your Equipment:
- Start by preheating your oven to 225°F and lining two baking sheets with parchment paper. The low temperature is crucial for slowly drying out the meringues rather than baking them, which gives pavlovas their distinctive texture.
- Whip The Egg Whites:
- Add room temperature egg whites and a pinch of salt to the bowl of your stand mixer fitted with the whisk attachment. Beat on high speed until foamy, about 1 minute, before gradually adding sugar. Continue beating for 9-10 minutes until you achieve stiff, glossy peaks. The meringue should be so thick that it holds its shape when you lift the whisk.
- Add Flavorings And Stabilizers:
- Using a gentle folding motion with a spatula, incorporate the lemon juice and vanilla extract with about 10-11 full strokes. Then fold in the cornstarch and cream of tartar with another 10-11 strokes. Be careful not to overmix as this can deflate the air you've worked so hard to incorporate.
- Shape Your Pavlovas:
- Transfer the meringue to a piping bag fitted with a Wilton 2D tip and pipe 2-inch rounds onto your prepared baking sheets, spacing them 2 inches apart. Create a slight indentation in the center of each pavlova using a teaspoon, which will later hold your whipped cream topping.
- Bake To Perfection:
- Bake the pavlovas for 1 hour and 15 minutes, then turn off the oven and leave them inside with the door closed for another 30 minutes. This gradual cooling prevents them from cracking due to sudden temperature changes. The exterior should be crisp and off-white, while the inside remains slightly soft.
- Prepare The Topping:
- When ready to serve, beat cold heavy whipping cream with sugar until stiff peaks form, about 3 minutes. Pipe this onto your cooled pavlovas and top with fresh blueberries and chopped pistachios for a perfect balance of flavors and textures.
 Pin it
The cream of tartar is my secret weapon in this recipe. I discovered its importance after several failed attempts at meringue-based desserts. This humble ingredient prevents sugar crystallization and stabilizes the egg whites, giving you that perfect texture every time. My grandmother always said a good pavlova should shatter slightly when cut but still have that marshmallowy center, and the cream of tartar helps achieve exactly that.
Troubleshooting Pavlova Problems
If your pavlovas crack excessively or collapse, humidity might be the culprit. Try making them on a dry day or run your air conditioner to reduce humidity in the kitchen. Another trick is to leave them in the oven overnight to dry out completely after baking.
Weeping meringue usually means your sugar hasn't fully dissolved. Make sure to add it gradually while beating and continue beating until the mixture feels completely smooth between your fingers with no graininess.
Make-Ahead Options
For the best texture, I recommend baking the pavlova shells up to two days in advance and storing them in an airtight container at room temperature. Prepare the whipped cream topping and fruit a few hours before serving, but only assemble everything an hour before serving to prevent the shells from softening too much.
Seasonal Variations
Winter Pavlovas feature pomegranate seeds and orange segments with a sprinkle of dark chocolate shavings
Summer Versions shine with fresh raspberries, sliced peaches, and a drizzle of passion fruit pulp
Fall Favorites include thinly sliced pears poached in cinnamon syrup with crushed hazelnuts
 Pin it
Frequently Asked Questions
- → How do I ensure the pavlova shells are crispy?
Bake the pavlovas at a low temperature for the recommended time and cool them in the oven without opening the door to achieve the perfect crispy texture.
- → What substitutions can be made for toppings?
You can use raspberries, strawberries, or other fruits instead of blueberries and substitute pistachios with other nuts like almonds or pecans.
- → How far in advance can I prepare the pavlovas?
You can bake the pavlova shells a day ahead and store them in an airtight container. Assemble with cream and toppings just before serving to maintain freshness.
- → Why is cream of tartar used in the recipe?
Cream of tartar helps stabilize the egg whites, ensuring the meringue holds its structure and remains airy.
- → Can I make these without a stand mixer?
Yes, you can use a hand mixer, but it may take slightly longer to achieve stiff peaks.