
 Pin it
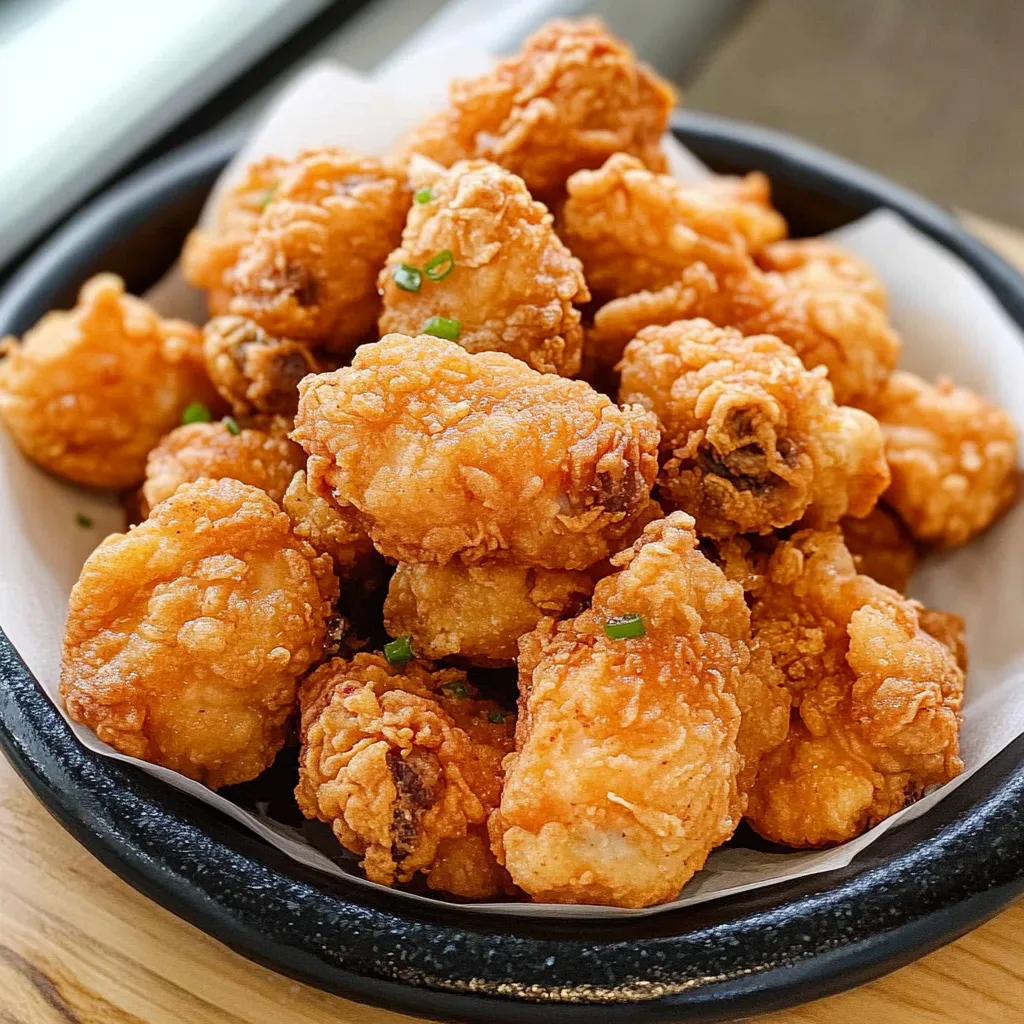
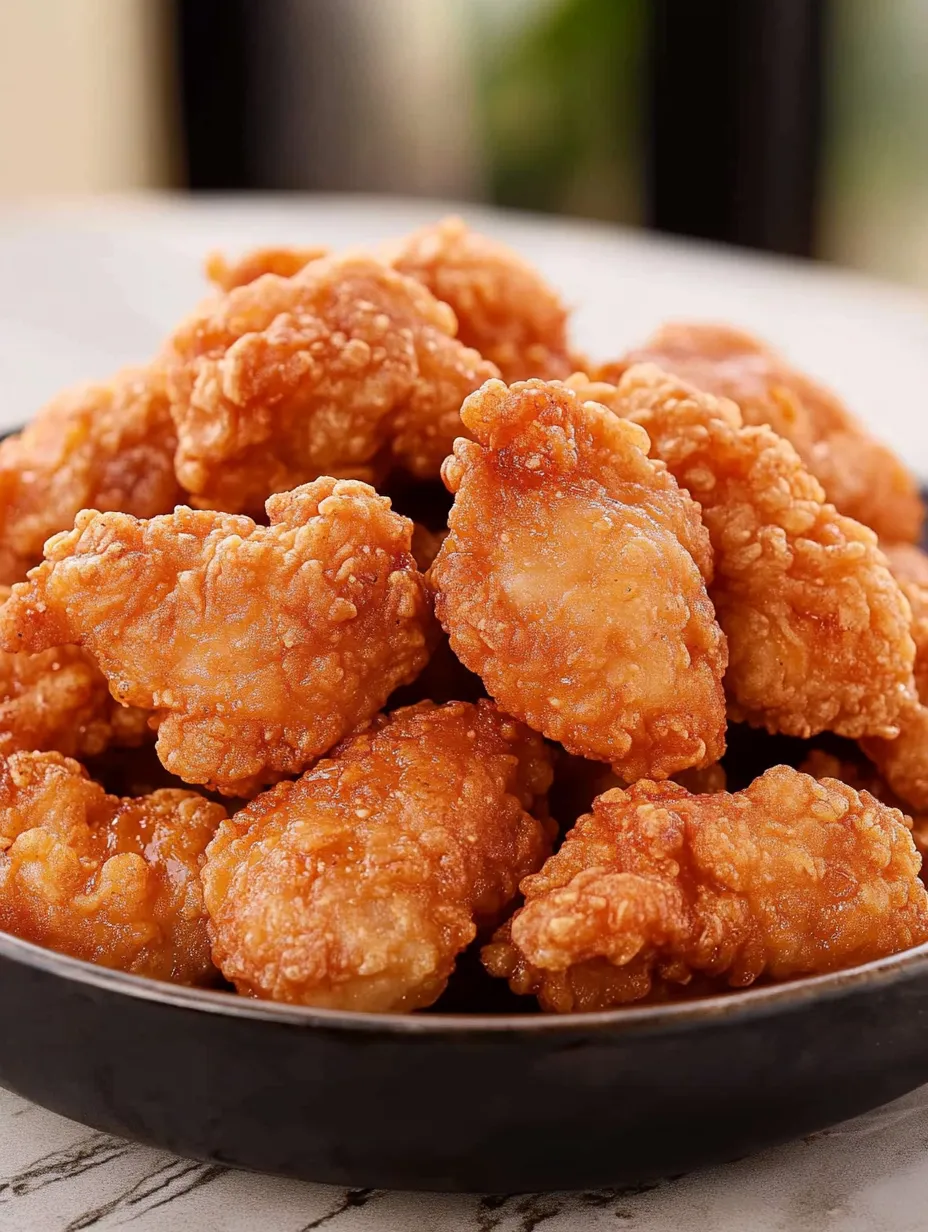
Golden, crispy exterior gives way to tender, juicy chicken bursting with savory Japanese flavors in this irresistible Chicken Karaage. This beloved Japanese fried chicken transforms simple ingredients into an explosion of umami through a magical combination of ginger-garlic marinade and perfectly crisp coating. Each bite delivers a satisfying crunch followed by succulent, flavor-infused meat that keeps you reaching for more.
My first encounter with karaage at a tiny Tokyo izakaya changed my understanding of fried chicken forever. The delicate crispness and intense flavor were unlike anything I'd tasted before. After numerous attempts to recreate that perfect balance at home, this recipe captures the authentic technique that makes Japanese fried chicken so special.
Essential Ingredients Guide
- Chicken thighs: Dark meat provides richer flavor and stays juicier than breast meat
- Fresh ginger: Creates that distinctive Japanese flavor profile when finely grated
- Cornstarch: Creates a lighter, crispier coating than flour alone
- Neutral oil: Choose one with high smoke point for the cleanest flavor
Create Your Masterpiece
- Step 1:
- Mix soy sauce and aromatics thoroughly
- Step 2:
- Cut chicken into consistent bite-sized pieces
- Step 3:
- Allow sufficient marination time
Coating Application
- Step 1:
- Drain excess marinade carefully
- Step 2:
- Coat pieces evenly but lightly
- Step 3:
- Shake off any clumping or excess
 Pin it
Frying Technique
- Step 1:
- Maintain precise oil temperature
- Step 2:
- Work in small manageable batches
- Step 3:
- Monitor for perfect golden color
The technique of double-frying this chicken was shared with me by a Japanese chef who explained that this method creates the signature texture that makes karaage so special. The first fry cooks the chicken through while the second fry at a higher temperature creates that perfect crispy exterior.
Serving With Style
Present this crispy karaage in a traditional Japanese style by arranging it on a beautiful plate alongside a mound of shredded cabbage and lemon wedges. The fresh cabbage provides a refreshing contrast to the rich fried chicken. For casual entertaining, serve in a paper-lined basket with small dishes of Japanese mayo and ponzu sauce for dipping. I love creating a complete izakaya experience by pairing karaage with cold Japanese beer, edamame, and pickled vegetables for an authentic at-home Japanese pub night.
Perfect Your Technique
Achieving that signature karaage texture requires attention to specific details throughout preparation. After marinating, pat the chicken pieces lightly with paper towels to remove excess moisture, which could cause splattering and prevent proper crisping. When coating, use one hand for wet ingredients and one for dry to prevent the dreaded 'breading fingers' that create uneven coating. For the crispiest results, maintain your oil at exactly 350°F for the first fry, then increase to 375°F for a quick second fry just before serving.
 Pin it
Make It Your Way
Customize this versatile recipe to match your taste preferences and available ingredients. Create a spicier version by adding a teaspoon of togarashi (Japanese chile pepper mix) to the coating. For a lighter option, use chicken breast cut into slightly larger pieces and adjust the cooking time accordingly. Those seeking gluten-free alternatives can substitute tamari for soy sauce and ensure your cornstarch is certified gluten-free - the results will be equally delicious.
Frequently Asked Questions
- → Can I use chicken breast instead of thighs?
- Yes, the recipe works with both chicken breast and thighs, though thighs will generally be juicier.
- → What can I substitute for sherry?
- Traditional karaage uses sake, but you can also substitute mirin, rice wine vinegar, or dry white wine.
- → How do I know when the oil is at the right temperature?
- If you don't have a thermometer, drop a small piece of batter in - it should sizzle and float to the top without burning.
- → What dipping sauce goes well with karaage?
- Japanese mayo, ponzu sauce, or a simple mix of soy sauce and rice vinegar all complement karaage well.
- → How do I keep the chicken crispy?
- For maximum crispiness, serve immediately. If needed, you can reheat in an oven at 375°F until warmed through.