
 Pin it
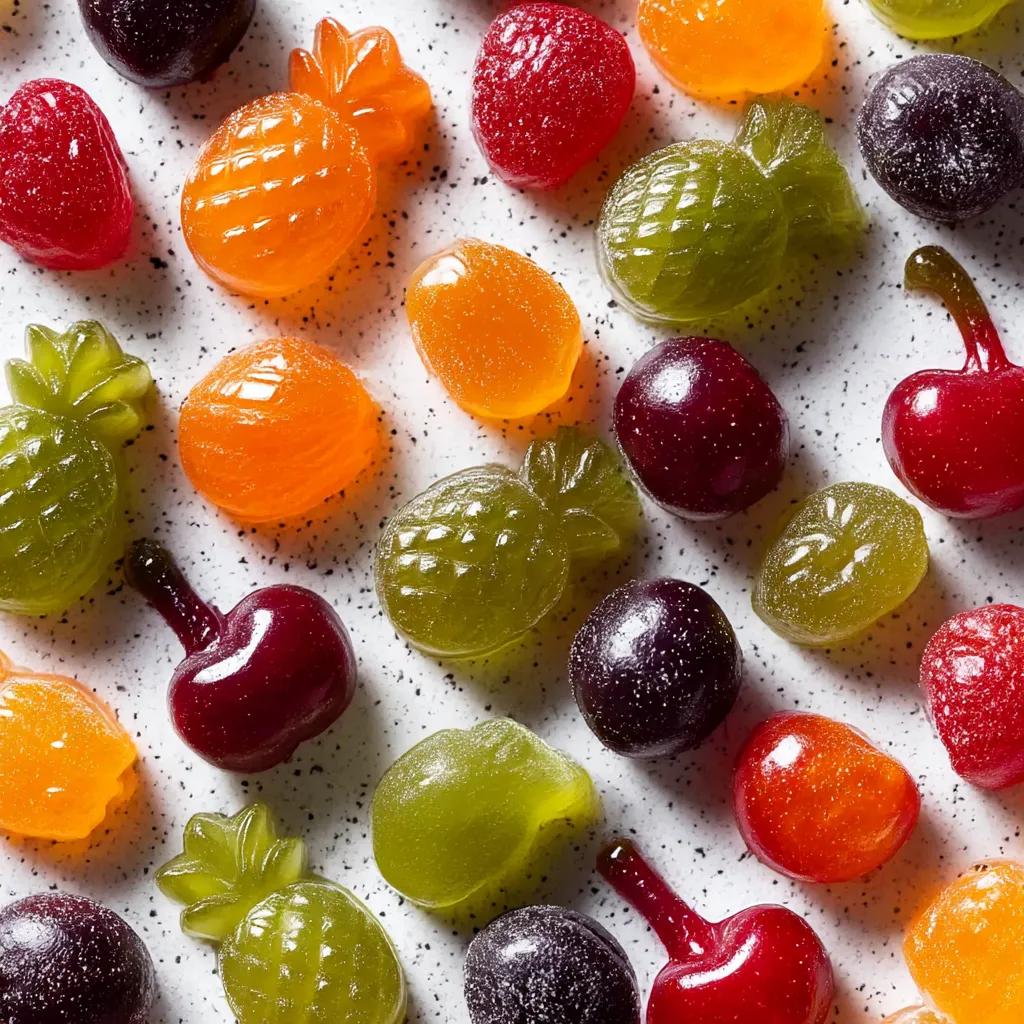
Homemade fruit snacks are one of those treats that feel like pure magic you get to enjoy the bright flavors of real fruit plus veggies all bundled into chewy little bites The best part is you control exactly what goes into every batch This has become my favorite way to sneak a few extra vitamins into snack time and honestly these are much tastier than anything from the store
The first time I made these was for a family road trip every time we pack snacks now these are the first to disappear and everyone asks for more
Ingredients
- Chopped fruit: choose ripe and flavorful options like strawberries blueberries peaches or grapes making sure they are fresh for the best flavor
- Chopped vegetables: carrot zucchini spinach or beets work well peeled if necessary for a smoother texture use tender produce free from blemishes
- Pure apple juice: select unsweetened organic juice to keep things healthy and let the fruit shine in flavor
- Raw honey: for natural sweetness opt for local honey when you can for the best taste and nutrition
- Pure vanilla extract: adds warmth and rounds out the fruit flavors real vanilla is ideal here
- Grass fed gelatin: this gives the fruit snacks their chewy bouncy texture a good quality gelatin is key for best results
- Tip for fruit and vegetables avoid kiwi and pineapple since their enzymes prevent the gelatin from setting up
Step-by-Step Instructions
- Prep Your Molds and Pan:
- Set silicone candy molds on a baking sheet for stability or line a square baking dish with wax paper and lightly grease this prevents sticking and makes removal easy
- Blend Fruit and Vegetables:
- In your high powered blender combine fruit vegetables and a quarter cup of apple juice Secure the lid Then blend slowly increasing the speed to high Aim for a smooth puree Add more juice a tablespoon at a time if needed until everything is velvety
- Add Sweeteners and Blend Again:
- Drizzle in the honey and vanilla then blend until completely combined Taste your mixture for sweetness adjust as needed with a touch more honey
- Whisk in Gelatin:
- Transfer the mixture to a small saucepan Sprinkle gelatin evenly over the top Whisk thoroughly to blend gelatin into the puree so no clumps remain
- Warm Until Dissolved:
- Heat over medium but do not let it boil Keep stirring gently After about three minutes the mixture should look glossy and smooth Test a drop between your fingers it should not feel grainy Keep heating gently if needed to fully dissolve the gelatin
- Fill Molds or Pan:
- Working quickly use a dropper to fill each silicone mold to the top Or pour the mixture into your prepared pan Use a spatula to smooth the surface If you fill molds keep your saucepan on the turned off but still warm burner to prevent the mix from setting up too quickly
- Chill to Set:
- Place molds or pan in the fridge Let set for at least two hours Do not rush this step The mixture will firm up and become easy to peel or cut
- Unmold and Store:
- Once firm pop your fruit snacks from the molds If using a baking dish lift out the sheet and cut into small squares Transfer to an airtight container to keep them fresh
 Pin it
My favorite ingredient is always a sweet ripe strawberry because its natural brightness shines in every bite My best memory making these is when my youngest proudly unmolded her first batch and declared them magic candies
Storage Tips
Store your homemade fruit snacks in a tight container in the refrigerator where they will stay fresh for up to two weeks You can freeze them too for up to two months though the texture softens a bit after thawing If packing for lunchboxes tuck them in with an ice pack for best texture
Ingredient Substitutions
You can swap in nearly any fruit except kiwi or pineapple for the base Try mango blackberries or cherries for something different For veggies feel free to use spinach kale or sweet potatoes If you want to skip vegetables you can use all fruit The gelatin can also be swapped for agar powder if vegan though the texture is a bit different
Serving Suggestions
These are perfect tossed into a snack container for car rides lunchboxes or hiking trips You can cut them into cute shapes or layer flavors for rainbow snacks Serve on a colorful tray at a party for a healthy treat that still feels fun Kids love helping make and eat these
 Pin it
Cultural and Historical Context
Homemade fruit snacks have their roots in old fashioned fruit leathers and jams Families would preserve summer fruit by pureeing and drying it into sheets Modern versions like these keep all the bright flavors but add the fun of chewy texture and creative shapes making healthy snacking feel special
Frequently Asked Questions
- → Can I use any fruit and vegetable combination?
Most fruits and vegetables work well, except for kiwi and pineapple, which prevent setting. Mix different varieties to achieve fun colors.
- → What kind of juice should I use?
Opt for pure, unsweetened juices such as apple or grape. Apple juice is popular for its neutral taste and color. Experiment to discover your favorite.
- → How do I know when the gelatin is dissolved?
Rub a small cooled sample between your fingers. If it feels smooth, the gelatin is fully dissolved. Grainy texture means it needs more heating.
- → How should I store fruit and vegetable snacks?
Keep the snacks in an airtight container in the refrigerator for up to two weeks or freeze for up to two months for longer storage.
- → Can these snacks be made vegetarian?
Gelatin provides their texture, but vegetarian gel powders may be substituted. Follow package instructions for best results, as setting times can vary.