
 Pin it
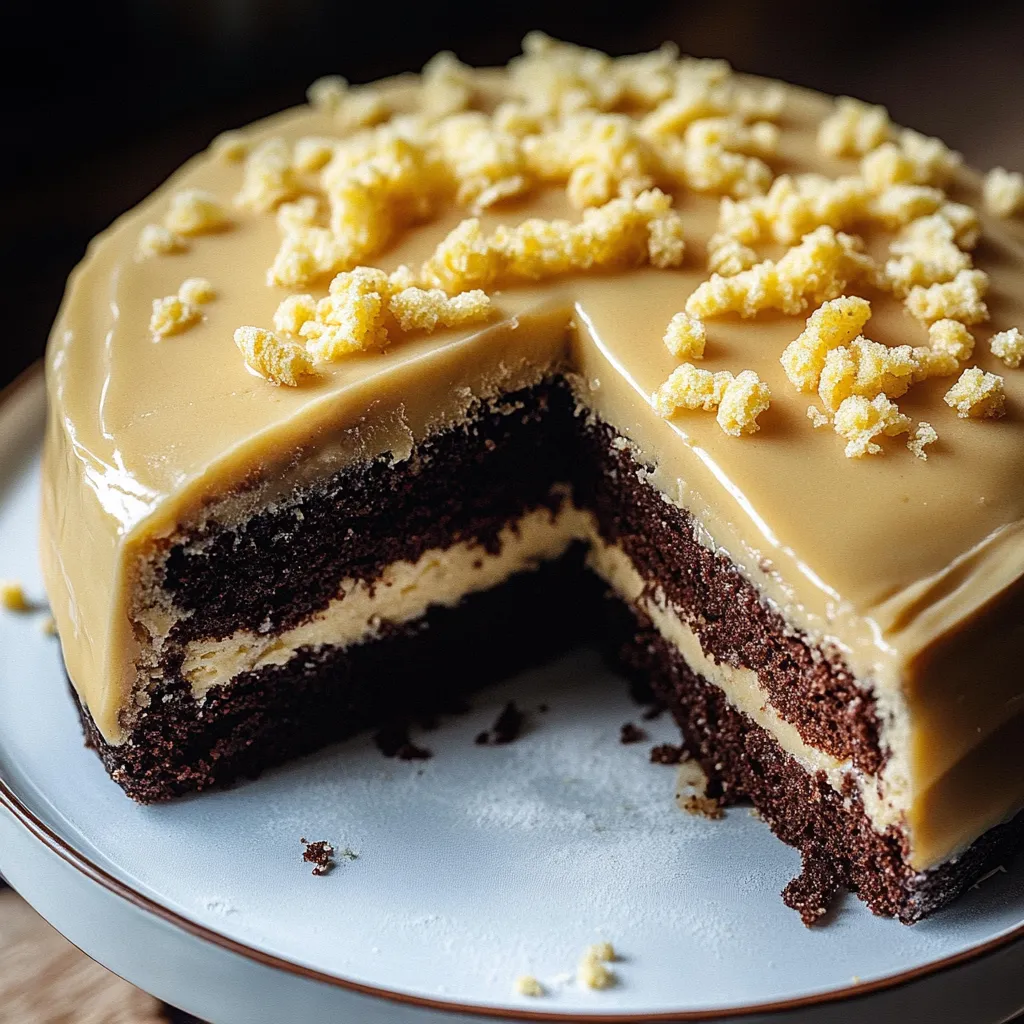
A beloved Hawaiian interpretation of the classic French chantilly, this cake combines a rich chocolate base with a unique island-style frosting that's become a local favorite. The Hawaiian chantilly frosting transforms simple ingredients into a creamy, dreamy topping that's distinctly different from its French counterpart.
I brought this cake to my daughter's graduation party last month, and several guests asked for the recipe before the evening ended. The Hawaiian-style Chantilly frosting makes all the difference - that silky, not-too-sweet texture creates something far more interesting than ordinary buttercream or whipped cream.
Understanding Chantilly Frosting
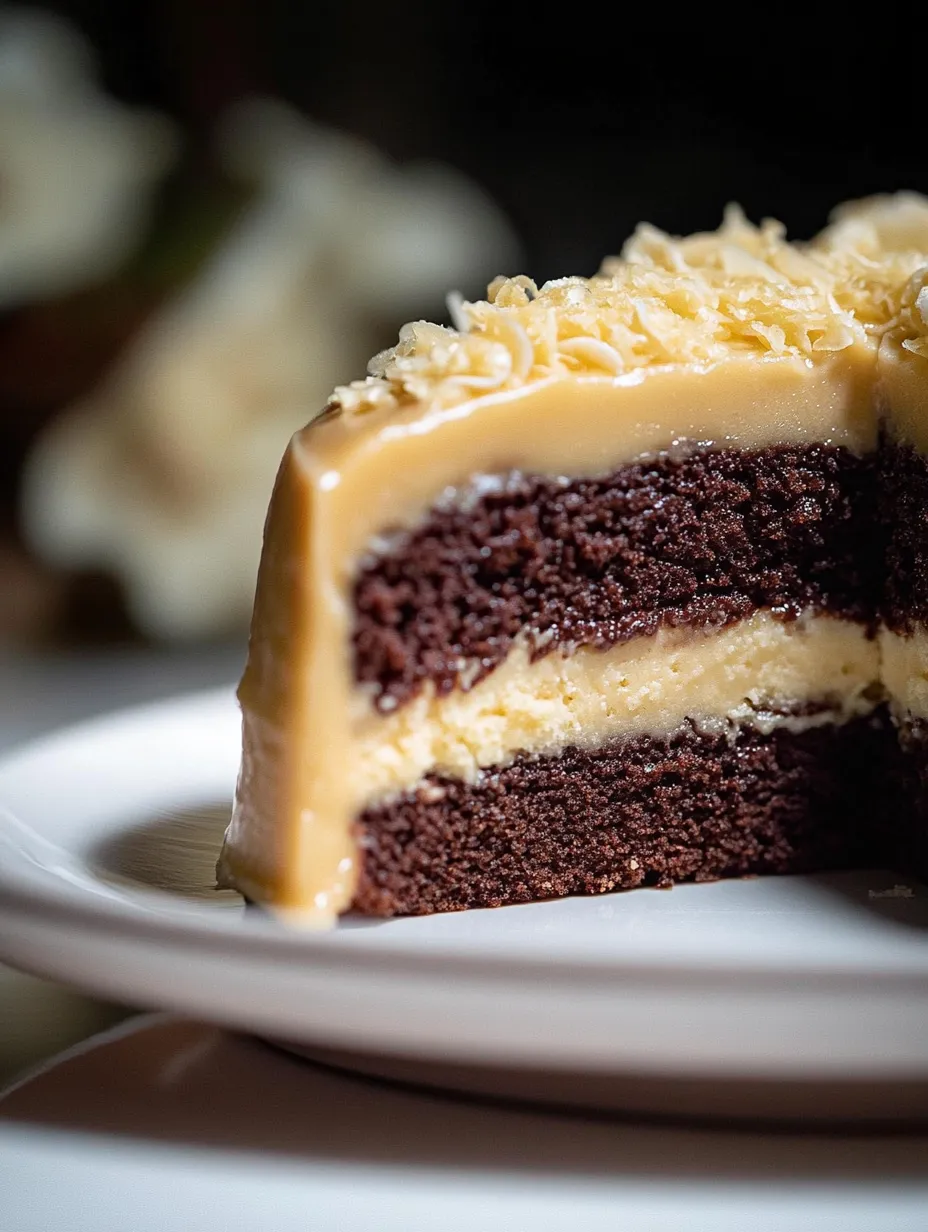
- Hawaiian adaptation: Unlike traditional French Chantilly (sweetened whipped cream), Hawaiian Chantilly combines butter and evaporated milk for a richer, more stable frosting
- Cultural fusion: Represents Hawaii's unique culinary heritage that blends Eastern and Western influences into something distinctively local
- Ideal spreading consistency: Creates beautiful swirls and holds its shape at room temperature without being heavy
When making Chantilly frosting, temperature matters tremendously. I learned through trial and error that both the butter and evaporated milk need to be properly chilled for the best results. Room temperature butter creates a smoother initial blend, but the mixture needs to be thoroughly chilled before whipping to achieve that perfect fluffy texture that Hawaiian bakers prize.
Essential Baking Equipment
Making The Cake Base
Start with room temperature ingredients for your chocolate cake layers. Cold eggs and dairy won't incorporate properly, resulting in a denser texture. Sift your dry ingredients thoroughly to prevent lumps and ensure even distribution of leavening agents. When mixing, avoid overmixing once the flour is added - this develops gluten and creates a tougher cake.
For truly moist layers, brush each cooled cake with simple syrup before frosting. This professional technique locks in moisture and enhances flavor. Make simple syrup by combining equal parts sugar and water, bringing to a boil, then cooling completely. I add a splash of vanilla extract to complement the chocolate.
When it's time for frosting, having your cake layers properly cooled makes all the difference. Place them in the refrigerator for 30 minutes after they reach room temperature - this firms them up and makes them less likely to crumble during frosting. Always use a crumb coat (thin layer of frosting) first, then chill again before applying the final layer.
My aunty taught me to add a pinch of salt to the Chantilly frosting, which seems counterintuitive for something sweet. "The salt makes the sweetness sing without being overwhelming," she explained while whipping up frosting for my 16th birthday cake. She was right - that tiny addition balances the sweetness perfectly and enhances the buttery notes in the frosting.
Beautiful Presentation Ideas
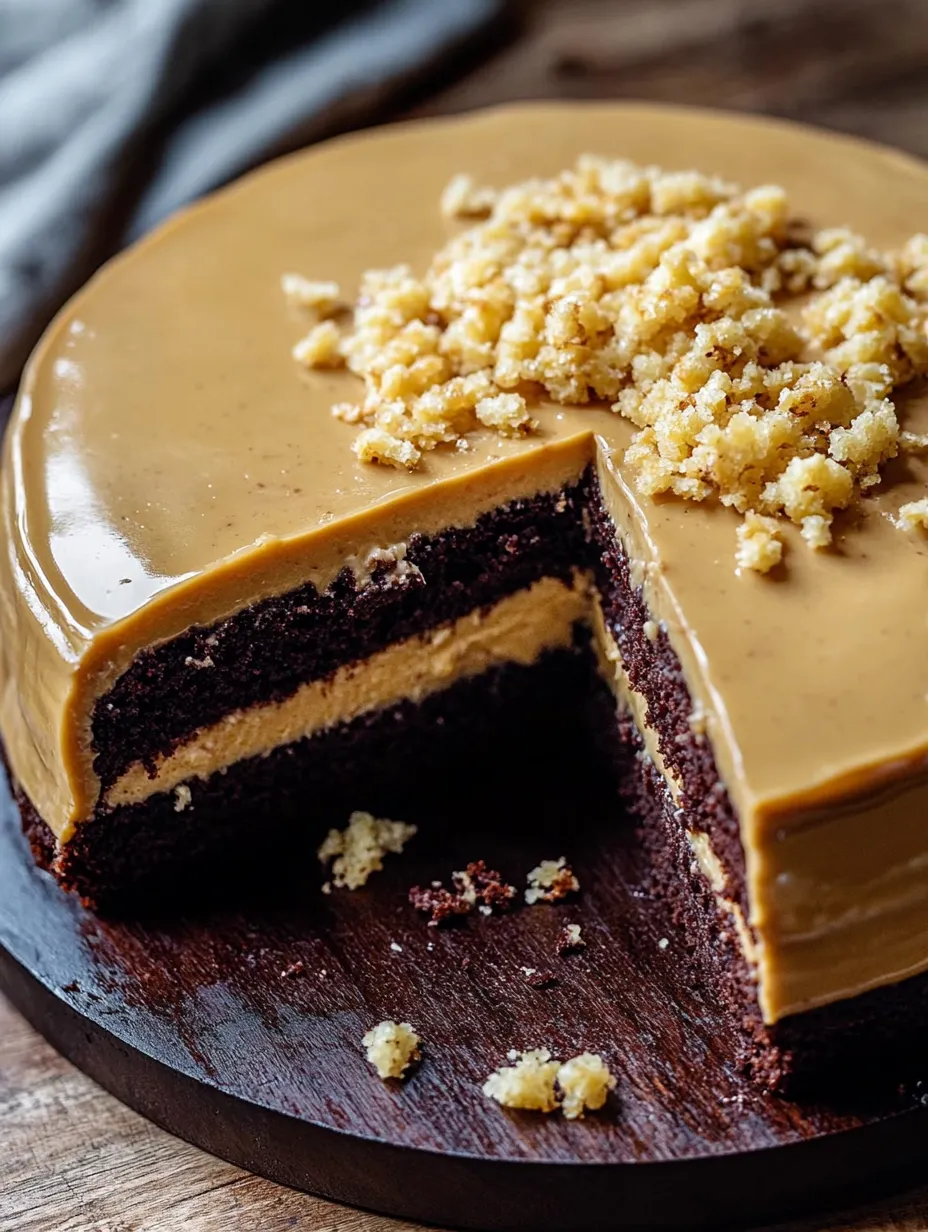
Try decorating your Chantilly cake with chocolate curls made by dragging a vegetable peeler across a slightly warm chocolate bar. For a tropical touch, garnish with edible flowers like plumeria or orchids (ensure they're food-safe). If serving for a celebration, consider adding a thin layer of haupia (coconut pudding) between cake layers for an extra Hawaiian touch.
Flavorful Adaptations
Consider adding a tablespoon of instant espresso powder to your chocolate cake batter to enhance the chocolate flavor without adding coffee taste. For a more tropical version, incorporate a thin layer of passion fruit curd between cake layers - the tartness beautifully complements the sweet Chantilly frosting. Some island bakers add a splash of coconut extract to their frosting for subtle tropical notes.
 Pin it
Perfect Preservation
Store your Chantilly cake in the refrigerator but remove it 30-45 minutes before serving. The texture and flavor improve significantly at cool room temperature as the frosting softens slightly. Cover cut sections with plastic wrap pressed directly against the exposed cake to prevent drying. For best quality, consume within three days, though the cake remains safe to eat for up to five days when properly refrigerated.
Expert Techniques
- Strain your evaporated milk before using to ensure perfectly smooth frosting
- Level your cake layers using a long serrated knife for professional-looking results
- Crumb-coat technique prevents chocolate crumbs from showing through your white frosting
I discovered the importance of temperature control while making this cake for my son's first birthday luau. The outdoor celebration meant dealing with Hawaii's warm climate, which threatened to melt the frosting. Keeping the frosted cake in a cooler with ice packs until serving time saved the day. My mother-in-law, who's been baking for island celebrations for decades, nodded approvingly when she saw my setup. "Now you're thinking like a local baker," she said with a smile.
The Chantilly cake represents Hawaii's wonderful talent for adapting outside influences into something uniquely local. What started as a French technique transformed through generations of island bakers into something that feels distinctly Hawaiian. I love how this dessert reflects the islands' multicultural heritage while creating something new and special.
Whether you're making this cake for a special occasion or simply to enjoy with afternoon coffee, the combination of rich chocolate cake and creamy Chantilly frosting creates something truly memorable. The contrast between the dark cake and light frosting makes for a beautiful presentation, and the balanced flavors satisfy without overwhelming. After years of making this island favorite, I still enjoy watching people's expressions when they taste authentic Hawaiian Chantilly frosting for the first time - that moment of discovery is what makes sharing food traditions so rewarding.
Temperature Management Guide
- Keep evaporated milk well-chilled
- Bring butter to exact room temperature
- Cool cake layers completely before stacking
Through extensive bakery experience, I've found that temperature control is crucial for the perfect frosting texture.
Troubleshooting Common Issues
- Grainy frosting: Butter too cold
- Separated frosting: Added milk too quickly
- Uneven layers: Cake not properly leveled
Equipment Essentials
- Quality turntable for smooth frosting
- Sharp serrated knife for leveling
- Proper sized cake boards
- Offset spatula for application
Professional Techniques
- Crumb coat before final frosting
- Use bench scraper for smooth sides
- Create sharp edges with proper tools
Make-Ahead Strategy
- Bake layers in advance and freeze
- Prepare frosting day of assembly
- Allow time for cake to come to room temperature
Decorating Ideas
- Traditional smooth finish
- Simple swirl patterns
- Fresh flower garnishes
- Chocolate shavings
 Pin it
Storage Solutions
- Keep covered in refrigerator
- Bring to room temperature before serving
- Use cake keeper for best results
After perfecting this local favorite, I've learned that success lies in understanding how temperature and technique affect the unique Hawaiian-style chantilly frosting.
Special Occasion Adaptations
- Wedding tier versions
- Individual cupcakes
- Sheet cake format
- Mini cake variations
The art of Hawaiian chantilly cake lies in achieving that perfect balance between rich chocolate cake and the signature creamy frosting that makes it uniquely local.
Frequently Asked Questions
- → What makes this cake Hawaiian style?
- The chantilly frosting is what makes it Hawaiian style - it's a signature local frosting made with evaporated milk, butter, and egg yolks, different from mainland buttercream.
- → How long does the frosting need to chill?
- The chantilly frosting needs about 3 hours to firm up in the refrigerator before you can frost the cake.
- → Can I make this cake ahead of time?
- Yes, you can make this cake a day ahead. Keep it refrigerated to maintain the frosting's texture and freshness.
- → Why do I need to separate the eggs?
- Separating the eggs allows you to whip the whites separately, creating a lighter, fluffier chocolate chiffon cake texture.
- → What's the best way to store this cake?
- Store the cake in the refrigerator, covered, for up to 4 days. Let it sit at room temperature for 15-20 minutes before serving.