
 Pin it
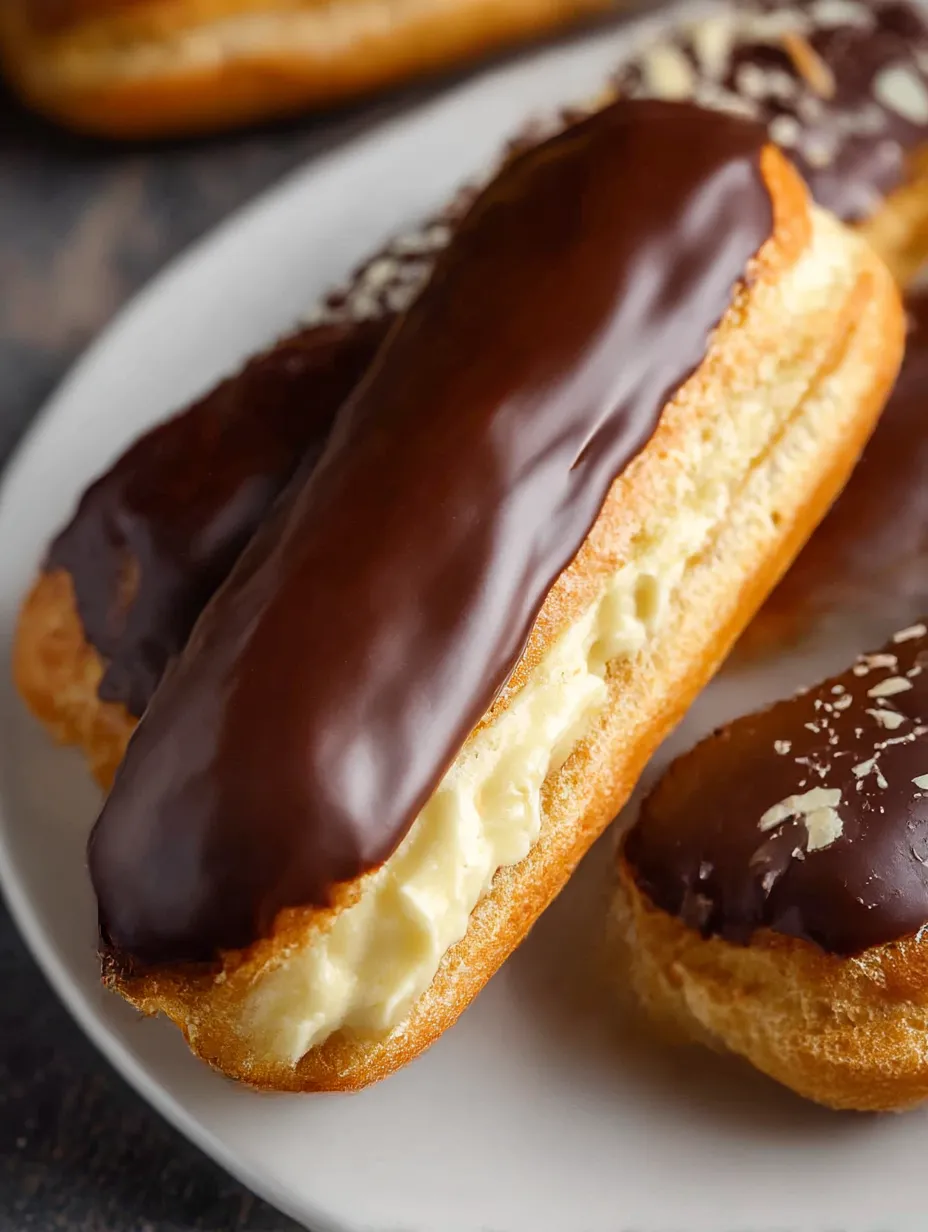
This hearty gluten-free éclair recipe brings the magic of French patisserie directly to your kitchen, regardless of dietary restrictions. After perfecting this recipe through countless test batches, I can confidently say these pastries deliver the same delicate choux texture, creamy filling, and glossy chocolate topping as traditional versions.
I first developed these éclairs when my niece was diagnosed with celiac disease. Watching her face light up when she bit into her first éclair in years made all the recipe testing worthwhile. Now they're our family's signature special occasion dessert.
Ingredients
For the Gluten Free Pate a Choux
- 1 cup + 3 Tablespoons 1:1 Gluten Free Flour Blend: Gives the perfect structure. King Arthur Measure for Measure works beautifully here
- 1/4 cup cornstarch: Creates that light texture traditional éclairs are known for
- 4 large eggs: At room temperature provide crucial structure and lift
- 1 cup water: Helps create steam for proper rising
- 7 Tablespoons unsalted butter: Contributes richness and flavor to the pastry
- 1 Tablespoon granulated sugar: Enhances flavor and helps with browning
- 1/2 teaspoon salt: Balances the sweetness and enhances overall flavor
- 1 large lightly beaten egg for egg wash: Creates that beautiful golden exterior
For the Vanilla Pastry Cream
- 2 cups whole milk: Creates the richest base for the cream
- 2 teaspoons vanilla bean paste: Offers superior flavor to extract
- 4 large egg yolks: Provide richness and thickening power
- 1/2 cup granulated sugar: Sweetens without being cloying
- 1/8 teaspoon salt: Enhances all the flavors
- 3 Tablespoons cornstarch: Creates the perfect pudding-like thickness
- 2 Tablespoons unsalted butter: Adds silky smoothness to the finished cream
For the Chocolate Glaze
- 1/2 cup semi-sweet chocolate chips: Provide the perfect balance of sweetness
- 1/4 cup heavy cream: Creates a smooth ganache base
- 1 Tablespoon unsalted butter: Adds shine and prevents the glaze from setting too hard
- 1 Tablespoon corn syrup: Gives that professional bakery-style glossy finish
Step-by-Step Instructions
Prepare Your Workspace
- Step 1:
- Begin by preheating your oven to 425°F and lining a large baking sheet with parchment paper. Create guidelines by marking 4-inch lines spaced 2 inches apart, then flip the paper over. This template ensures uniform éclairs without ink transferring to your pastry.
Prep Your Ingredients
- Step 2:
- Sift together the gluten-free flour blend and cornstarch to remove any lumps. This step is crucial for gluten-free baking to ensure a smooth texture. In a separate bowl, lightly beat your eggs so they're ready to incorporate. Room temperature eggs incorporate much more easily than cold ones.
Create The Panade
- Step 3:
- In a medium saucepan, combine water, butter, sugar, and salt over medium heat. Watch carefully until it reaches a full boil with bubbles extending to the edge of the pot. This precise timing ensures proper structure development in your pastry.
Cook The Dough
- Step 4:
- Remove from heat and add all the flour mixture at once, stirring gently to incorporate. Return to low heat and vigorously stir for about 2 minutes. The dough will form a ball and pull away from the sides of the pan. You'll know it's ready when you see a thin film of cooked dough on the bottom of the pot and the dough looks shiny.
Add The Eggs
- Step 5:
- Transfer the dough to a stand mixer with paddle attachment and cool for 10 minutes. Overheated dough will cook your eggs prematurely. Add beaten eggs gradually, about a quarter at a time, allowing each addition to fully incorporate before adding more. The dough will initially look separated but will smooth out with mixing.
Test The Consistency
- Step 6:
- After adding 3 eggs, check your dough consistency. Lift the paddle attachment; the dough should form a V-shape and drop off in a thick mass. If it's too stiff, add more egg. The dough should be smooth, shiny, and hold its shape when piped.
 Pin it
Pipe The Éclairs
- Step 7:
- Transfer the dough to a piping bag with a French star tip or a plain tip. Pipe 4-inch logs following your template lines. If using a plain tip, gently drag lines along the tops and sides to guide expansion during baking. Brush tops with egg wash for that beautiful golden color.
Bake With Precision
- Step 8:
- Bake at 425°F for 10 minutes, then reduce to 350°F for 25 minutes without opening the oven door. This temperature change allows the éclairs to rise fully before setting the structure. They should be golden brown and sound hollow when tapped on the bottom.
Release Steam And Dry
- Step 9:
- Flip the éclairs and poke two small holes in the bottom of each one. Return to the oven for 5 minutes to dry out the interiors. This prevents soggy éclairs after filling. Cool them completely with holes facing up.
 Pin it
The cornstarch in this recipe is truly my secret weapon. After dozens of tests, I found that this specific ratio of gluten-free flour to cornstarch creates the perfect structure that won't collapse after baking. My grandmother, who was a professional baker, would never believe these were gluten-free if she were still with us today.
Frequently Asked Questions
- → How do I make the choux pastry airy?
Ensure the dough is cooked properly and eggs are added slowly until the desired consistency is achieved. The dough should be stiff yet shiny and smooth.
- → What is the purpose of poking holes in the eclairs?
Poking holes allows steam to escape, preventing the choux from becoming soggy and ensuring a perfectly crisp pastry.
- → Can I use a different type of chocolate for the glaze?
Yes, you can use dark, milk, or white chocolate based on your preference, but it may alter the overall sweetness of the eclairs.
- → How long can I store the filled eclairs?
Filled eclairs are best enjoyed within 12 hours but can be refrigerated for up to 24 hours. Note that they might soften over time.
- → Can the pastry cream be prepared in advance?
Yes, the pastry cream can be made a day in advance. Store it in the refrigerator with plastic wrap directly on the surface to prevent a skin from forming.
- → How do I achieve a smooth chocolate glaze?
Ensure the heavy cream is hot enough to fully melt the chocolate, and whisk in the butter and corn syrup for a shiny, smooth finish.