
 Pin it
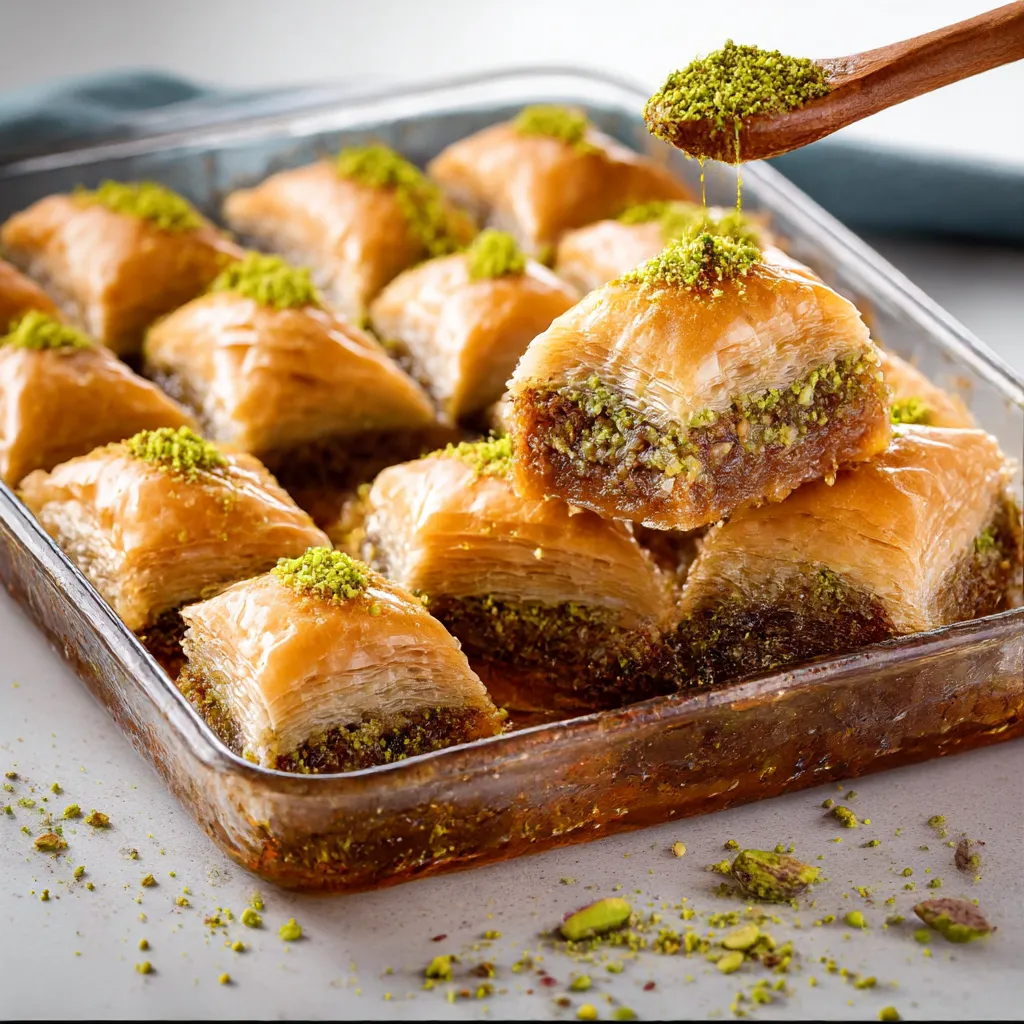
This homemade gluten-free baklava brings the delicate, flaky layers and honey-nut richness of traditional baklava to those avoiding gluten. Creating your own gluten-free phyllo dough transforms this classic Mediterranean dessert into an inclusive treat everyone can enjoy.
I first attempted gluten free baklava for my celiac friend's birthday celebration, and her tears of joy seeing a dessert she thought she'd never taste again made all the effort worthwhile. Now it's become my signature holiday offering.
Ingredients
- Homemade gluten free phyllo dough: forms the delicate layers essential for authentic texture and taste
- Unsalted butter: creates richness between each phyllo sheet and helps achieve golden crispness
- Pistachios, walnuts, or almonds: provide classic nutty filling; choose your favorite or combine for complex flavor
- Ground cinnamon and cloves: add warm aromatic spice that balances the sweetness
- Honey: creates that signature sticky sweet syrup with depth regular sugar alone cannot achieve
- Lemon juice: balances sweetness and prevents crystallization in the syrup
- Whole cloves and cinnamon stick: infuse the syrup with complex spice notes without gritty texture
Step-by-Step Instructions
- Prepare the Phyllo Dough:
- Follow the linked recipe to create your gluten free phyllo dough making sure to roll each sheet paper thin for authentic texture and proper absorption of butter and syrup. Keep the unused phyllo sheets covered with a damp cloth while working to prevent them from drying out.
- Build the Base Layer:
- Place five sheets of phyllo in your greased baking pan one at a time brushing each completely with melted butter before adding the next. Ensure butter reaches all edges and corners as this creates the flaky texture and prevents sticking. The base needs to be sturdy to support the filling.
- Add Nut Filling:
- Sprinkle a thin even layer of the spiced nut mixture over your base layer gently pressing it down to create a compact surface. The nuts should be finely chopped but not powdered for the perfect texture between crunchy and soft.
- Create Middle Layers:
- Continue alternating two buttered phyllo sheets with thin layers of nut mixture repeating until nuts are used up. These middle layers create the distinctive strata that make baklava special. Each phyllo sheet needs thorough butter coverage.
- Finish with Top Layer:
- Crown your baklava with the final five phyllo sheets carefully brushing each with butter including the very top sheet which will become golden and crisp during baking. This top section seals in the filling and provides structural integrity.
- Cut Before Baking:
- Using a very sharp knife cut all the way through to the bottom of the pan creating your desired shape pieces. Traditional diamond shapes work well but squares are easier. Clean your knife between cuts for precision.
- Bake to Golden Perfection:
- Bake in your preheated oven watching carefully in the final minutes as gluten free phyllo can brown quickly. Look for a medium golden color and slightly crisp edges indicating proper baking.
- Prepare Aromatic Syrup:
- While the baklava bakes simmer all syrup ingredients allowing the spices to infuse and the mixture to thicken slightly. The syrup should coat the back of a spoon but still pour easily.
- Soak with Syrup:
- Pour the cooled syrup over the hot baklava immediately after removing from the oven. The temperature difference is crucial as it creates the proper absorption. Listen for the satisfying sizzle as syrup meets hot pastry.
- Rest and Absorb:
- Allow your baklava to rest undisturbed for several hours as the syrup penetrates each layer and the flavors meld together. This resting period transforms good baklava into exceptional baklava.
 Pin it
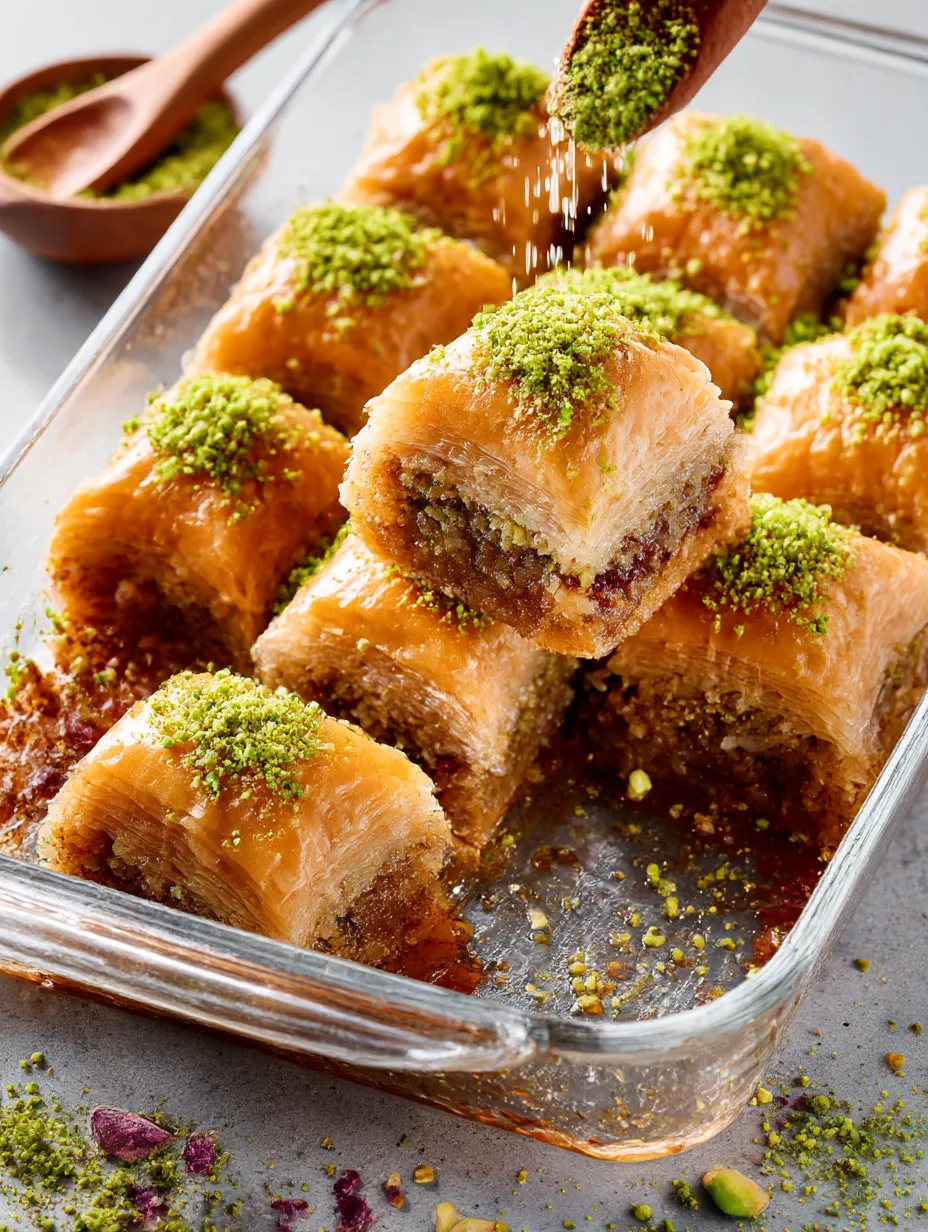
The pistachios are truly the star ingredient in my version. I discovered their vibrant green color and distinctive flavor creates a showstopping dessert that reminds me of the baklava my Greek grandmother made every Christmas. Their subtle sweetness pairs perfectly with the honey syrup.
Storage Secrets
Baklava actually improves with age as the flavors meld together over time. Store your finished baklava at room temperature covered with a loose paper towel for up to a week for the best flavor and texture. The paper towel prevents condensation from making the top layers soggy while preserving the syrup's moisture. For longer storage refrigerate for up to three weeks though the texture may become slightly firmer. Allow refrigerated baklava to come to room temperature before serving to restore its delicate texture.
Troubleshooting Gluten Free Phyllo
Working with gluten free phyllo requires slightly different techniques than traditional wheat phyllo. The dough may be more delicate and prone to tearing but dont worry about small tears as they disappear in the layering process. If your dough feels too sticky dust work surfaces with a minimal amount of gluten free flour. Too much flour can make the dough tough. If sheets become dry mist them very lightly with water using a spray bottle. Temperature matters keep your butter warm but not hot as gluten free dough can absorb butter differently than wheat dough.
 Pin it
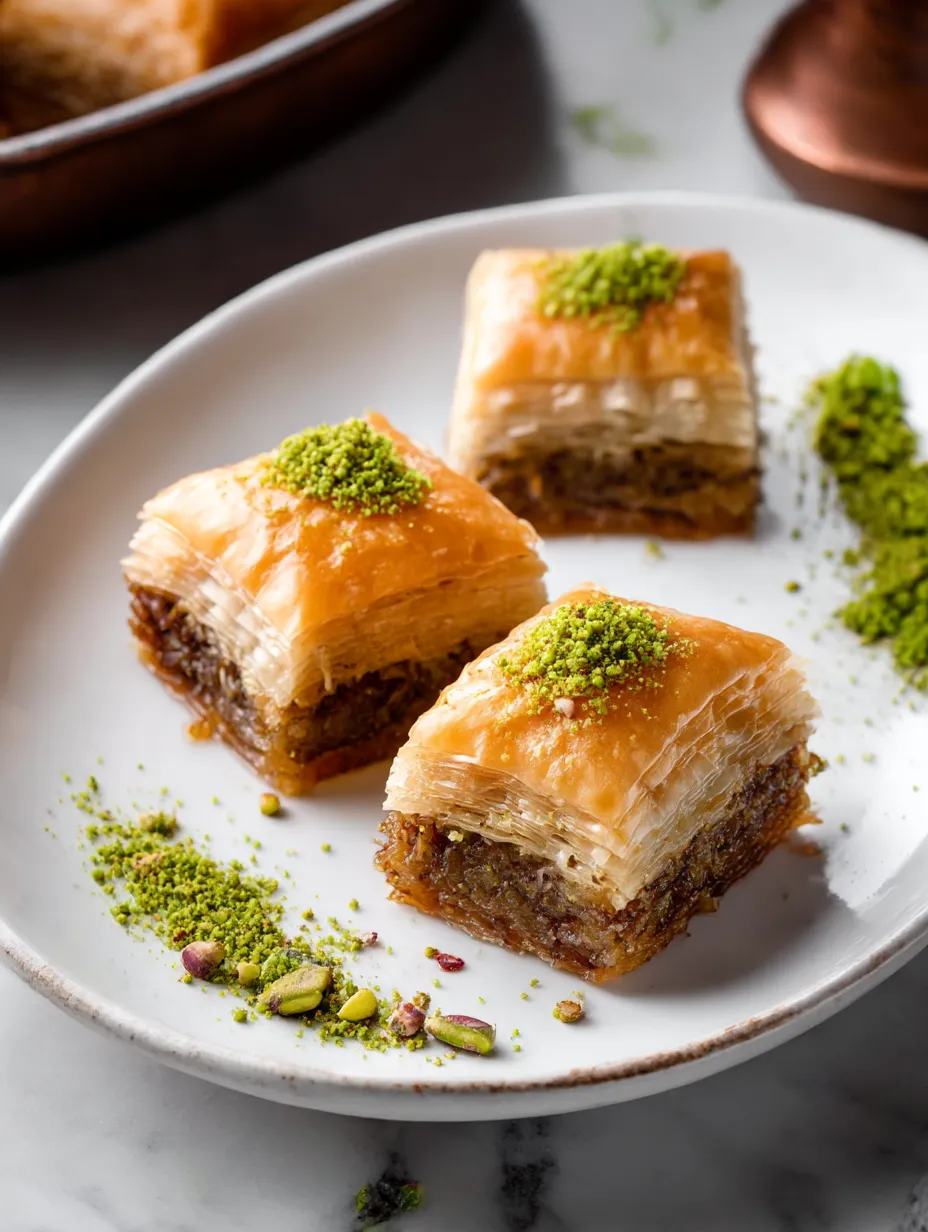
Serving Suggestions
Gluten free baklava deserves an elegant presentation. Serve individual pieces on small dessert plates with a dusting of ground pistachios for color contrast. A small scoop of vanilla ice cream or a dollop of whipped cream flavored with cardamom makes a lovely accompaniment. For a more traditional experience pair with strong Turkish or Greek coffee to balance the sweetness. When serving as part of a dessert spread place alongside fresh berries and citrus segments to provide a refreshing counterpoint to the rich sweetness.
Frequently Asked Questions
- → What nuts can I use for gluten-free baklava?
You can use pistachios, walnuts, almonds, or a combination of them for the filling. Choose your preference or whatever you have on hand for varied flavors.
- → How do I make homemade gluten-free phyllo dough?
Follow a gluten-free phyllo dough recipe to ensure the dough is thin and flexible for layering. Always keep the dough moist by covering it when not in use.
- → Can I prepare the syrup in advance?
Yes, you can prepare the syrup in advance. Let it cool completely and store it in an airtight container until you’re ready to drizzle it over the baked baklava.
- → How long should the syrup soak into the baklava?
Allow the syrup to soak in for 3-4 hours at room temperature for optimal flavor and texture. This ensures that the layers absorb the sweetness evenly.
- → How do I store gluten-free baklava?
Store the baklava in an airtight container at room temperature for up to 3 days or refrigerate for longer storage. The texture may change slightly when refrigerated.
- → Can I reheat baklava before serving?
Yes, you can reheat baklava slightly in the oven at a low temperature for a few minutes. This helps refresh its texture and enhances its flavor.