
 Pin it
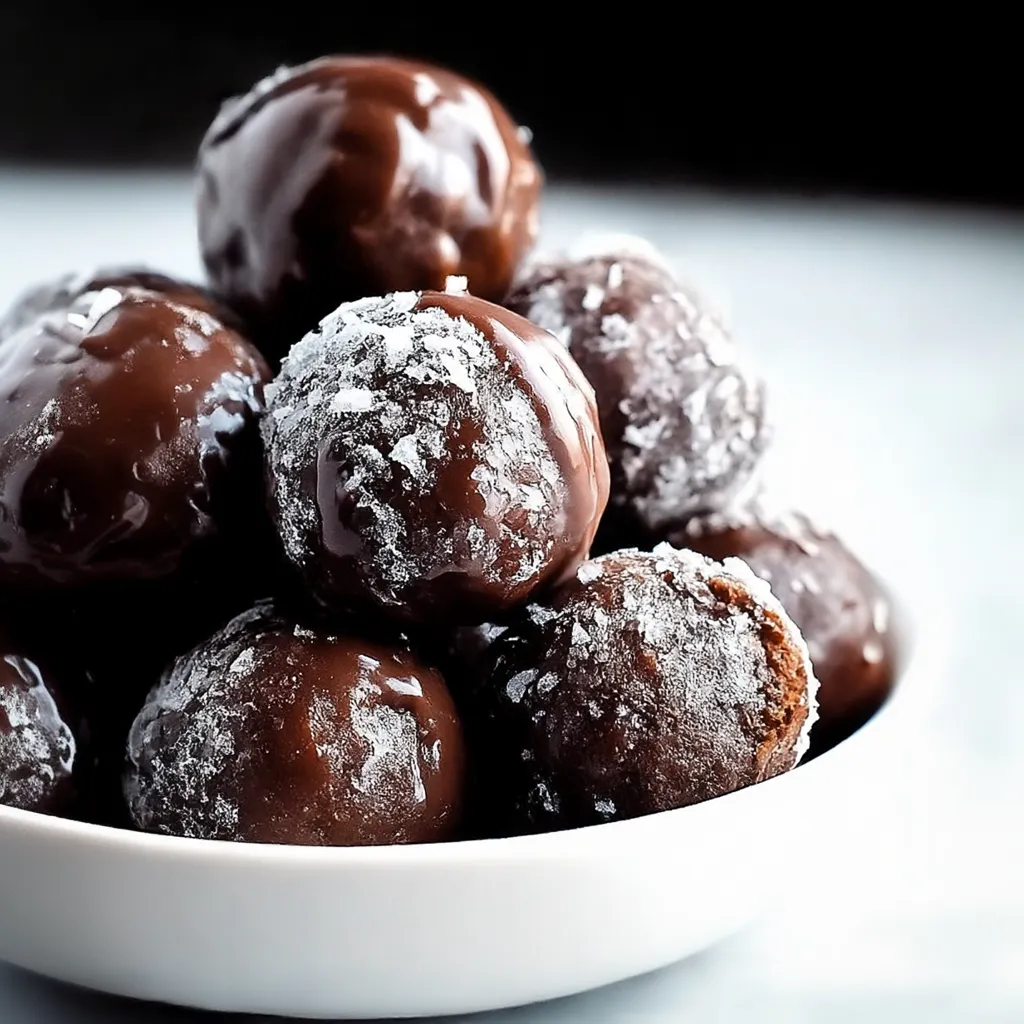
This recipe for glazed chocolate donut holes transforms simple ingredients into bite-sized chocolate heaven that satisfies any sweet craving without the hassle of deep frying. Each tender bite delivers rich chocolate flavor balanced by a sweet vanilla glaze that creates the perfect donut shop experience right in your kitchen.
I first made these for my daughter's birthday breakfast when she requested chocolate donuts but I wanted something simpler than traditional fried versions. Now they appear at nearly every family celebration by popular demand.
Ingredients
- All-purpose flour: Provides the foundation for these tender donut holes
- Unsweetened cocoa powder: Delivers deep chocolate flavor; use Dutch-processed for best results
- Baking powder and baking soda: Work together to create the perfect rise and texture
- Melted butter: Adds richness and moisture that vegetable oil cannot match
- Brown sugar: Introduces subtle molasses notes that enhance the chocolate complexity
- Sour cream: The secret ingredient that makes these incredibly tender
- Whole milk: Provides richness that makes these taste like bakery-quality treats
- Vanilla extract: In both the donut and glaze brings warmth and depth to the flavor profile
Step-by-Step Instructions
- Prepare Your Equipment:
- Preheat your oven to exactly 350°F and thoroughly grease your mini muffin pans. The greasing step is crucial as chocolate batters tend to stick more than vanilla ones. Be sure to get into all the corners of each cup for easy removal later.
- Mix Dry Ingredients:
- Whisk flour, cocoa powder, baking powder, baking soda, and salt until completely combined with no cocoa powder lumps remaining. Sift these ingredients if your cocoa powder tends to clump for the smoothest possible batter.
- Create Butter Mixture:
- Whisk the melted butter with both sugars until the mixture becomes noticeably thicker and lighter in color, about 1 minute of vigorous whisking. This creates air pockets that help the donuts rise properly. Then blend in eggs, yolk, and vanilla until the mixture looks smooth and glossy.
- Combine Wet Ingredients:
- Stir the milk and sour cream together until completely smooth with no white streaks of sour cream remaining. The room temperature ingredients will blend more easily, so plan ahead and pull them from the refrigerator 30 minutes before baking.
- Alternate Mixing:
- Add the dry ingredients and milk mixture to the butter mixture in alternating additions, starting and ending with dry ingredients. Use gentle folding motions with a spatula rather than a whisk at this stage to maintain tenderness. Stop mixing the moment the last flour streak disappears.
- Fill and Bake:
- Use a small cookie scoop to portion batter into prepared pans, filling each cavity about three-quarters full to allow proper rising. Tap the filled pan gently on the counter twice to release any large air bubbles before baking for exactly 10 minutes.
- Prepare Glaze:
- While the donut holes cool, create a smooth glaze by whisking powdered sugar, milk, and vanilla extract. Start with less milk and add more gradually until you achieve a consistency that coats the back of a spoon but still runs off smoothly.
- Glaze Application:
- Dip each completely cooled donut hole into the glaze, allowing excess to drip off before placing on a wire rack positioned over parchment paper to catch drips. For a more professional appearance, double dip after the first layer sets for about 10 minutes.
 Pin it
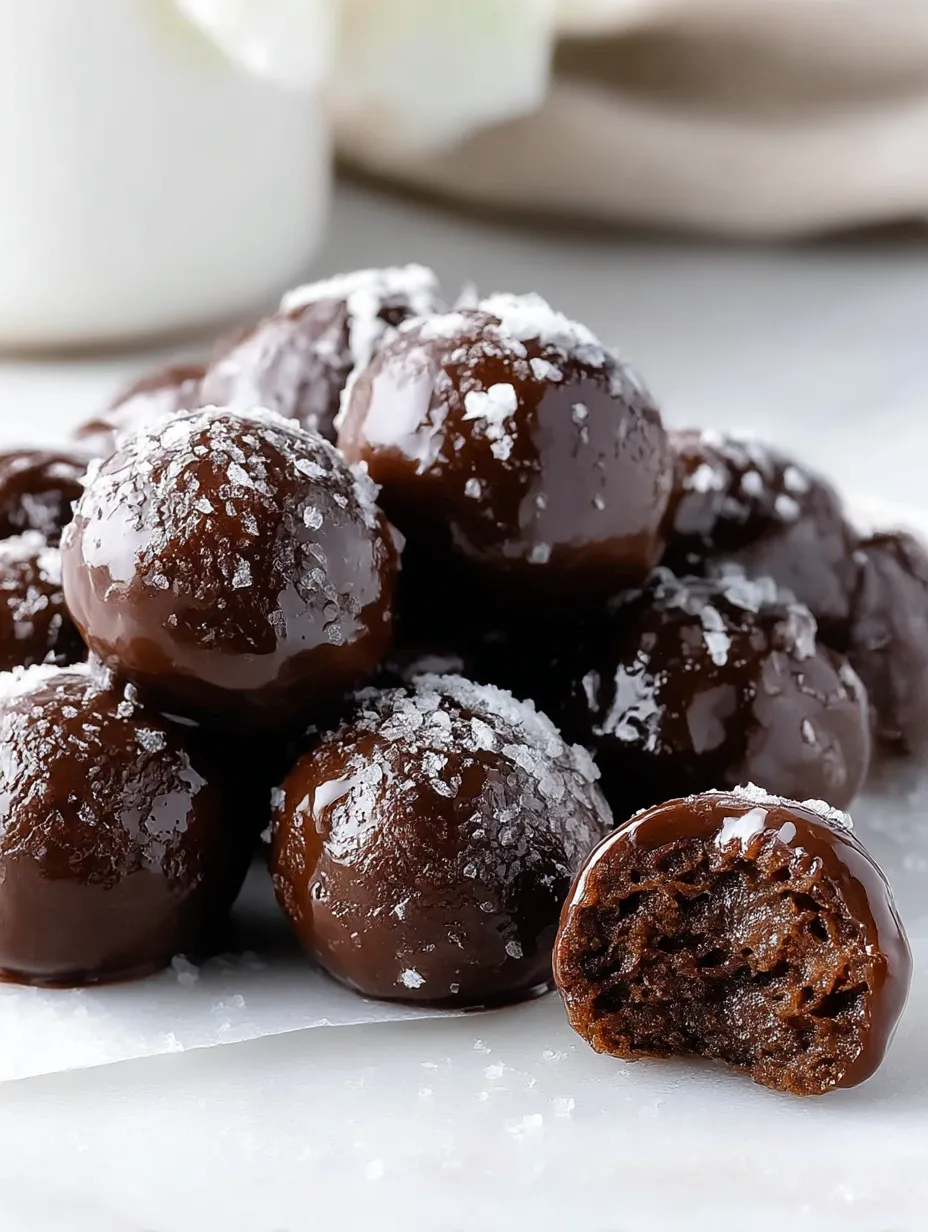
These chocolate donut holes have become our family tradition for snow days. Something about the rich cocoa paired with vanilla glaze just feels right when watching snowflakes fall outside. My children have started calling them snow day donuts regardless of the weather.
Make Ahead Tips
These chocolate donut holes actually improve in flavor when made a day ahead as the cocoa flavor deepens overnight. Simply store unfrosted in an airtight container then glaze them shortly before serving for the freshest presentation. If you need to prepare further in advance, the unfrosted donut holes freeze beautifully for up to three months sealed in freezer bags. Thaw at room temperature for about an hour before glazing.
Easy Variations
While these chocolate donut holes are perfect as written, they welcome creative adaptations. Fold half a cup of mini chocolate chips into the batter for double chocolate intensity. Alternatively, replace the vanilla glaze with peanut butter glaze by substituting two tablespoons of creamy peanut butter for some of the powdered sugar. For holiday versions, add seasonal sprinkles to the wet glaze before it sets, or dust with colored sugar for festive appeal that children especially appreciate.
 Pin it
Serving Suggestions
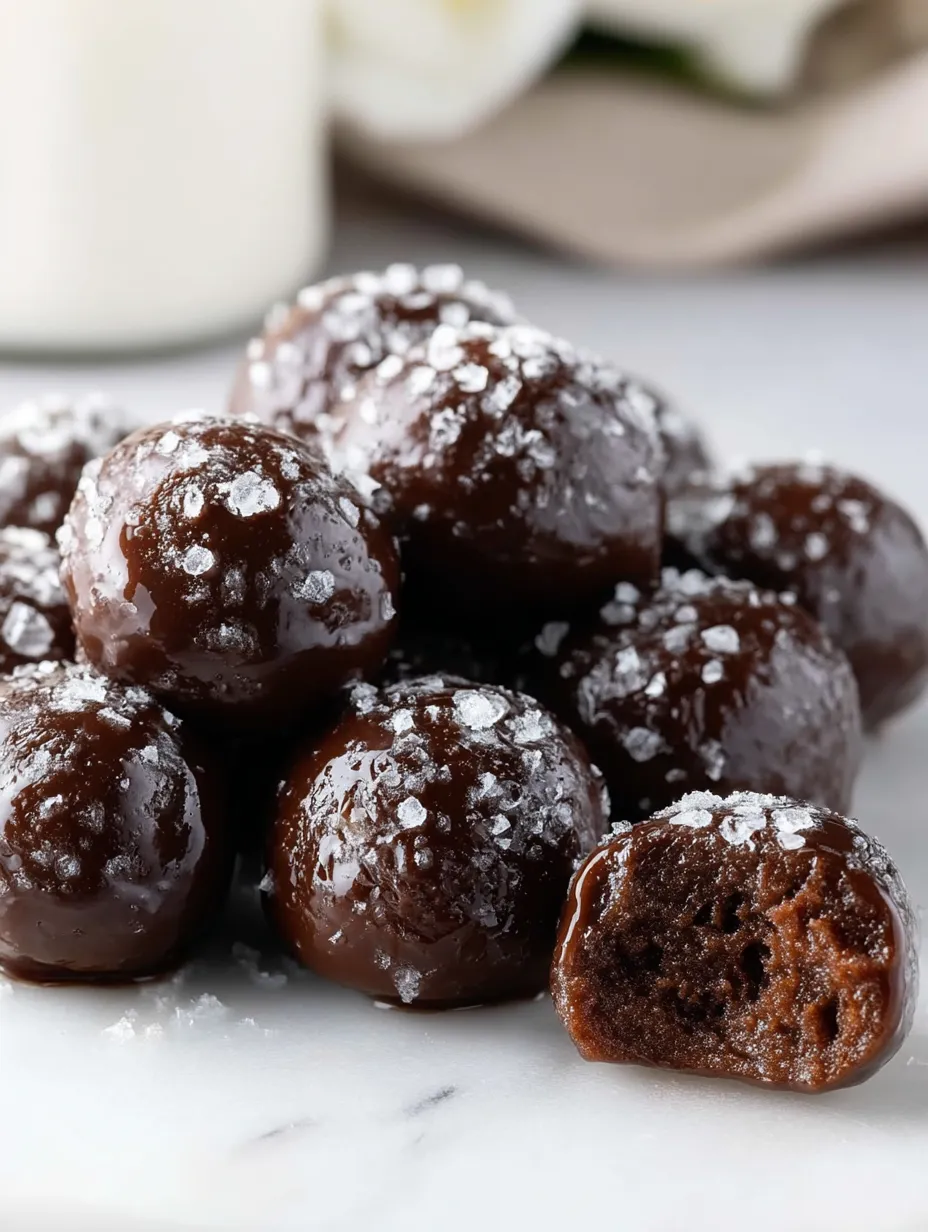
These glazed chocolate donut holes pair beautifully with morning coffee or afternoon tea, creating a coffeehouse experience at home. For an elegant dessert presentation, arrange them in a pyramid on a cake stand and dust lightly with powdered sugar. They also make an excellent addition to brunch buffets alongside fresh fruit to balance their richness. For children, consider serving with small cups of cold milk for dipping, creating an interactive treat that delights young eaters.
Troubleshooting Tips
If your donut holes seem dry, you likely overbaked them or used too much flour. The batter should be thick but still somewhat pourable. When measuring flour, always spoon it into measuring cups rather than scooping directly from the bag, which compacts the flour. For the most tender results, remove the donut holes from the oven the moment a toothpick comes out with a few moist crumbs still attached rather than waiting until completely clean.
Frequently Asked Questions
- → How do I store glazed chocolate donut holes?
Store donut holes in an airtight container at room temperature for up to 2 days or in the refrigerator for up to a week.
- → Can I freeze glazed chocolate donut holes?
Yes, let them cool completely before freezing. Place them in a single layer in a freezer-safe container. Thaw at room temperature and enjoy!
- → What type of cocoa powder should I use?
Use high-quality, unsweetened cocoa powder for the best chocolate flavor. Brands like Ghirardelli or Hershey's work well.
- → How can I make the glaze thinner or thicker?
To make the glaze thinner, add more milk a teaspoon at a time. To thicken, mix in additional powdered sugar.
- → Can I use a mini muffin pan instead of a donut hole pan?
Yes, a mini muffin pan is a great alternative if you don’t have a donut hole pan. The process remains the same.
- → Why are my donut holes dense?
Dense donut holes are often the result of overmixing the batter. Mix just until combined to maintain a light and fluffy texture.