
 Pin it
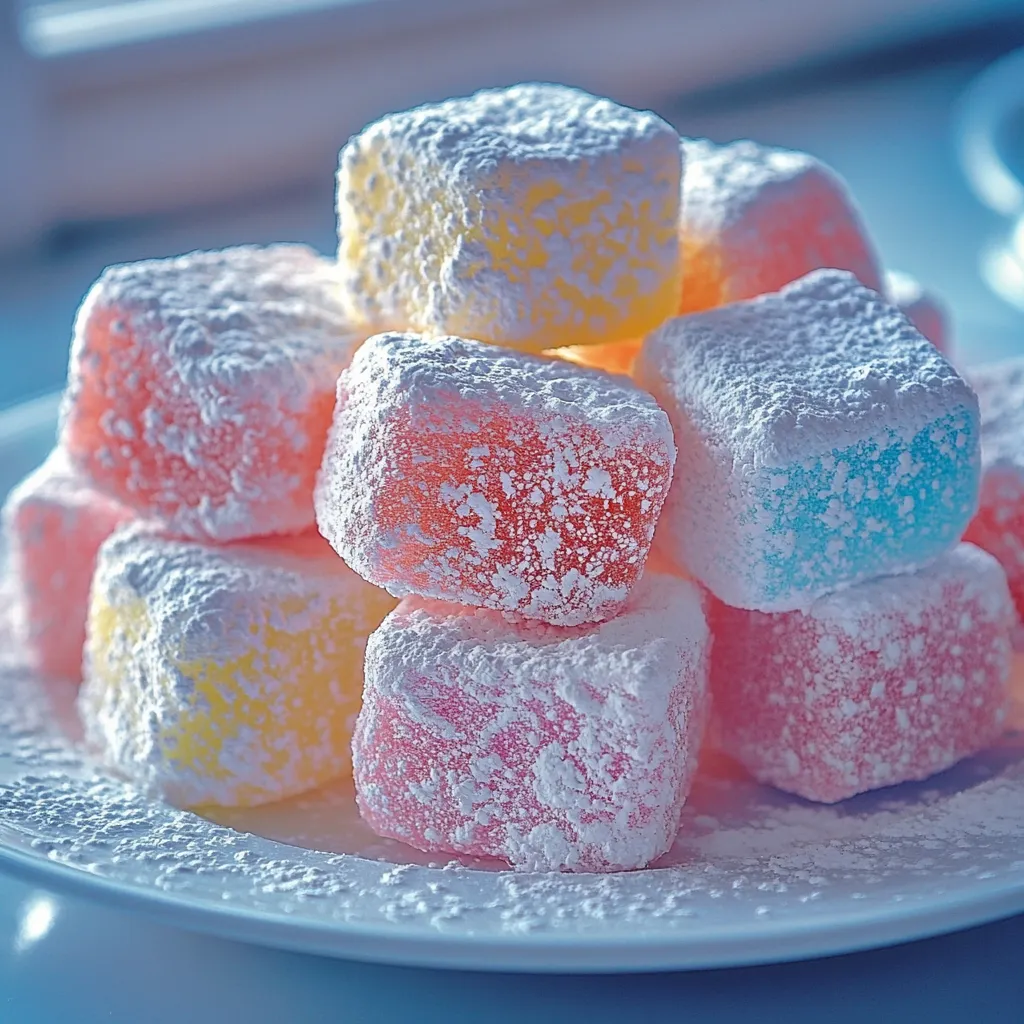
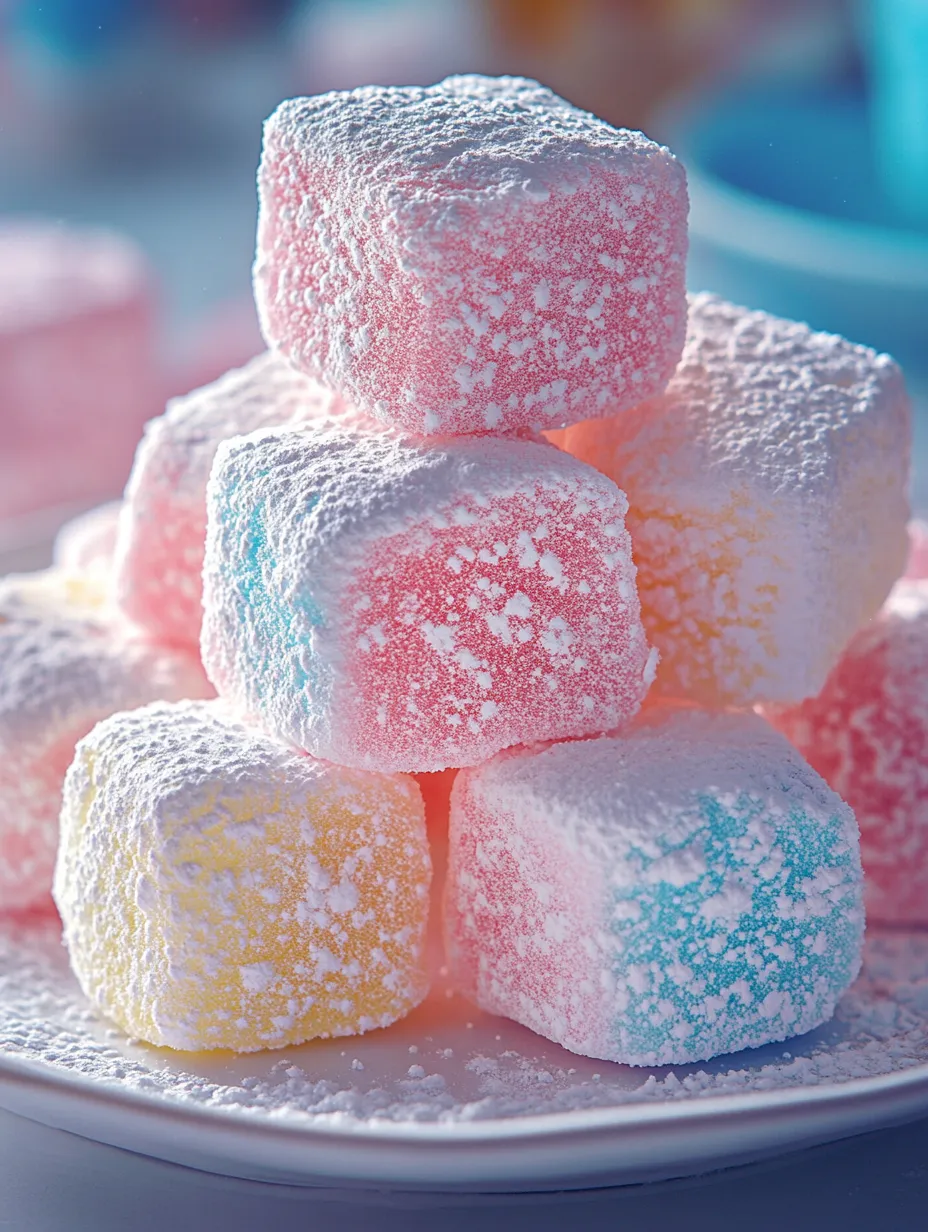
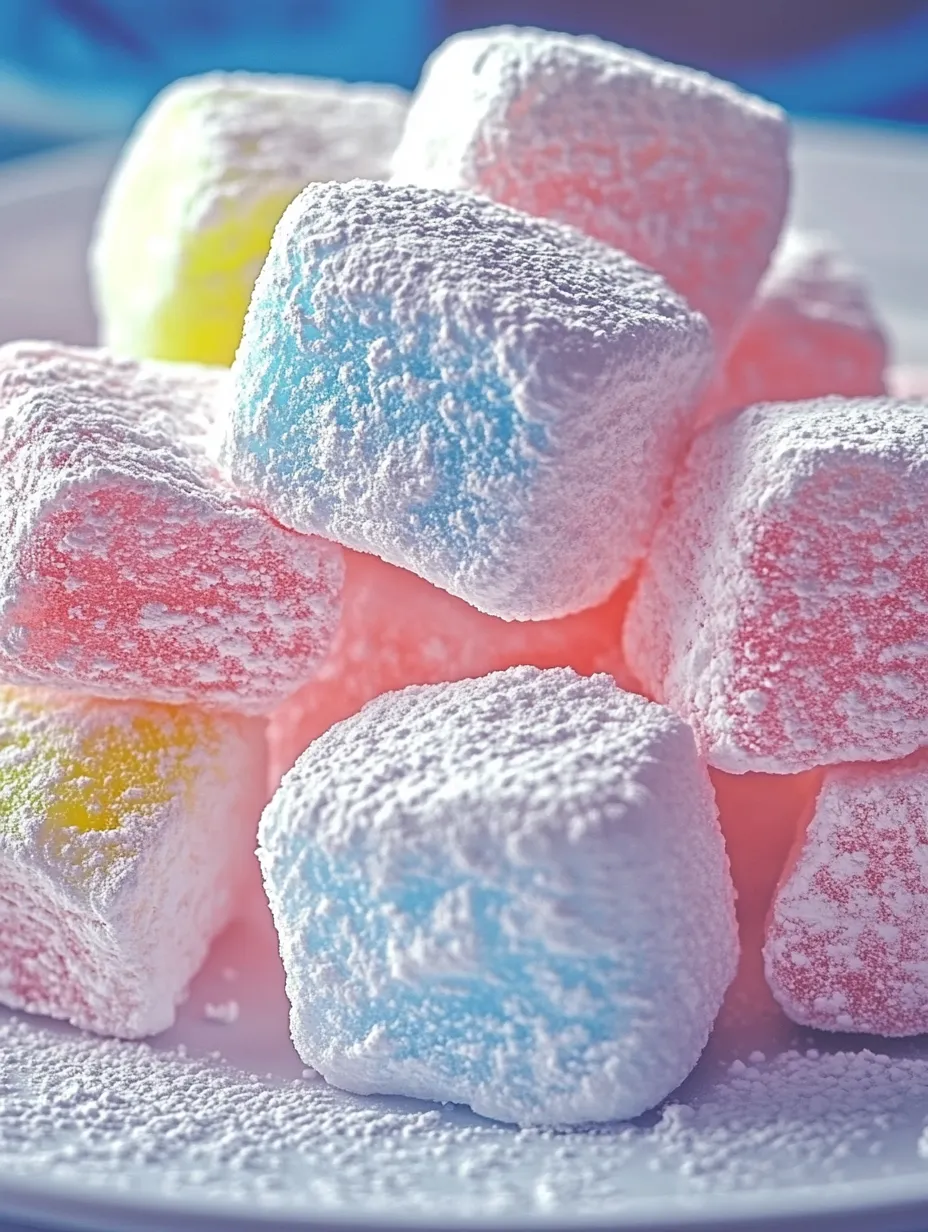
Cotton candy marshmallows transform ordinary treats into extraordinary confections that bring carnival magic right to your kitchen. These light, pillowy delights combine the nostalgic flavor of cotton candy with the classic texture of homemade marshmallows, creating something truly special. The beautiful pastel colors and sweet aroma will transport you straight to your favorite fairground memories with every bite.
The first time I made these for my niece's birthday party, the children's eyes lit up when they saw the pastel pink and blue treats on the dessert table. Even the adults couldn't resist grabbing a few, and they disappeared faster than any store-bought candy. There's something magical about the combination of fluffy texture and sweet cotton candy flavor that appeals to everyone's inner child.
Sweet Ingredient Selection
- Unflavored gelatin: Creates the perfect springy texture; always bloom completely to ensure proper setting and avoid graininess
- Granulated sugar: Provides the base sweetness and structure; use pure cane sugar for the best results
- Light corn syrup: Prevents crystallization and creates that signature smooth, pillowy texture
- Cotton candy flavoring: The star ingredient that transforms ordinary marshmallows into carnival treats; available at specialty baking stores or online
- Food coloring: Gel colors work best for vibrant hues without adding excess moisture to your mixture
- Powdered sugar: Mixed with cornstarch, it creates the perfect coating to prevent stickiness
For the cotton candy flavoring, I prefer using LorAnn oils or Amoretti brand for their concentrated flavor that doesn't dilute the marshmallow mixture. The investment in good quality flavoring makes all the difference in achieving that authentic cotton candy taste.
Prepare Your Space
Line a 9×9-inch baking pan with parchment paper and generously coat with the powdered sugar-cornstarch mixture. This prevents sticking and makes removal much easier once set.
Bloom The Gelatin
Sprinkle unflavored gelatin over cold water in the bowl of your stand mixer. Allow it to sit undisturbed for 5 full minutes until it resembles a thick, translucent gel.
Create The Sugar Syrup
Combine granulated sugar, corn syrup, salt, and water in a heavy saucepan. Heat gently until sugar dissolves, then bring to a rapid boil until it reaches exactly 240°F on a candy thermometer.
 Pin it
Whip To Perfection
With the mixer running on low, carefully pour the hot syrup into the bloomed gelatin. Once incorporated, increase speed to high and beat for 12-15 minutes until the mixture is thick, glossy, and tripled in volume.
Add Signature Flavor
In the final minute of mixing, add the cotton candy flavoring and your choice of food coloring. For a fun twist, divide the mixture and color half pink and half blue before layering in your pan.
Set And Finish
Pour the fluffy mixture into your prepared pan, smooth the top, and dust with more coating mixture. Allow to set completely at room temperature for at least 4 hours before cutting into squares.
My daughter and I make these every summer to remember our favorite carnival visits. She loves watching the transformation as the mixture expands to three times its original size during whipping. It seems like kitchen magic to her, and honestly, I still feel the same way after making dozens of batches.
Carnival Serving Ideas
These colorful treats shine when served alongside hot chocolate for a whimsical twist on a classic combination. For parties, create a cotton candy dessert station by pairing the marshmallows with pink and blue cotton candy, fluffy cupcakes, and colorful macarons. Thread them onto bamboo skewers with strawberries and brownie bites for easy-to-grab dessert kebabs that children and adults alike will adore.
Flavor Transformations
Switch up the experience by experimenting with complementary flavors and colors. Try making blue raspberry cotton candy marshmallows with a hint of citrus for a tangy twist. For chocolate lovers, fold mini chocolate chips into the mixture just before pouring into the pan. You can even layer different colored marshmallow mixtures in the same pan for a striped effect that looks store-bought but tastes infinitely better.
 Pin it
Keeping Fresh
Store your finished marshmallows in airtight containers with parchment paper between layers to prevent sticking. They'll stay fresh at room temperature for up to two weeks if kept in a cool, dry place. For gifting, package in cellophane bags tied with colorful ribbon or in decorative tins lined with parchment paper. If your marshmallows begin to stick together after storage, simply dust them with additional powdered sugar-cornstarch mixture before serving.
I've learned through many batches that patience makes perfect marshmallows. The full whipping time might seem excessive, but those extra minutes transform the mixture from ordinary to extraordinary. My grandmother always said good things take time, and these cotton candy clouds of sweetness prove her right with every fluffy, flavorful bite.
Frequently Asked Questions
- → Where can I find cotton candy flavoring?
- Cotton candy flavoring is available at most specialty baking stores, craft stores with baking sections, or online retailers like Amazon. Look for LorAnn oils or similar brands in the baking section.
- → Can I make these marshmallows without a candy thermometer?
- While a candy thermometer gives the most reliable results, you can use the cold water test. Drop a small amount of the syrup into cold water - it should form a soft ball that flattens when removed from the water.
- → How do I prevent my marshmallows from sticking to everything?
- Be generous with the powdered sugar/cornstarch coating on all cut surfaces. Make sure your knife or cookie cutters are lightly greased before cutting, and dust them between cuts if needed.
- → Can I use these marshmallows for s'mores?
- Absolutely! These cotton candy marshmallows toast beautifully over a fire and add a unique flavor twist to traditional s'mores.
- → How can I create a swirled effect in my marshmallows?
- Divide your marshmallow mixture into two bowls before adding colors. Color each portion differently, then pour them into the pan in alternating dollops and very gently swirl with a knife or skewer.