
 Pin it
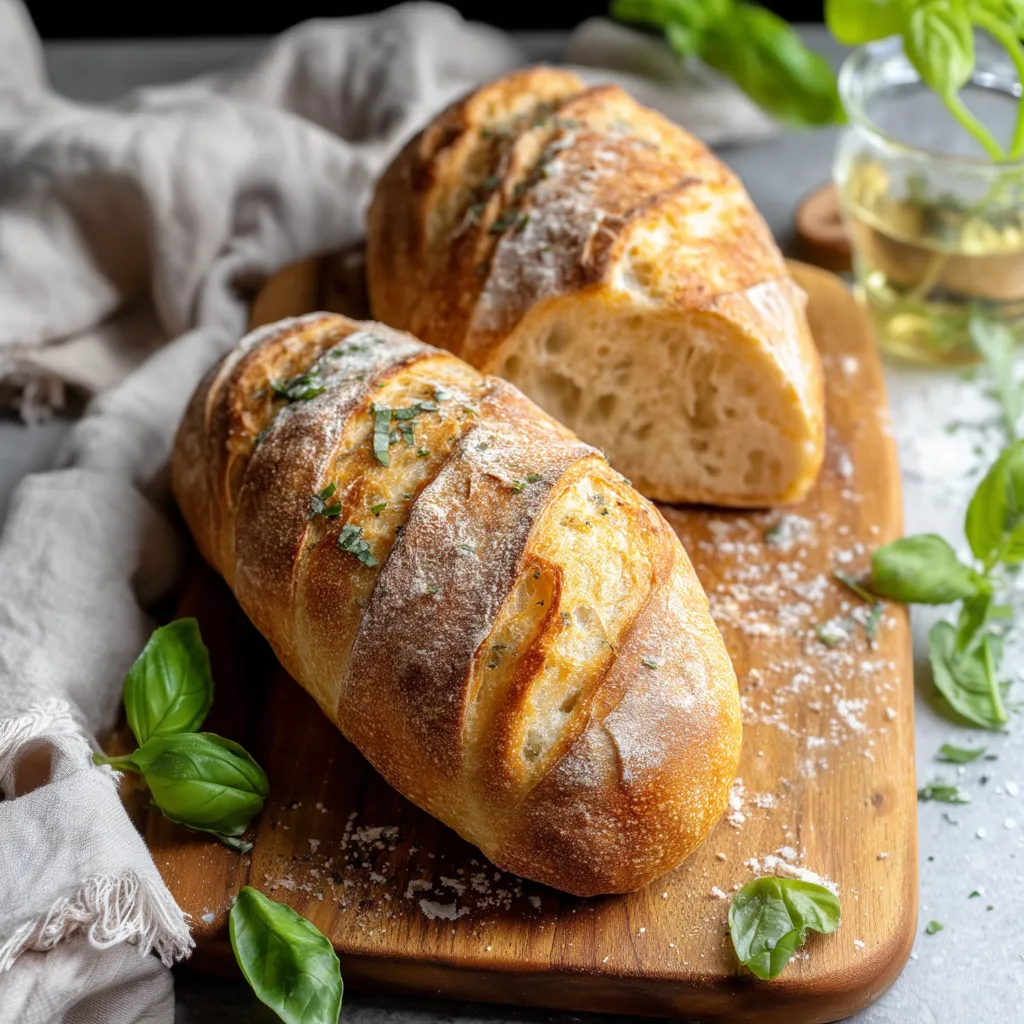
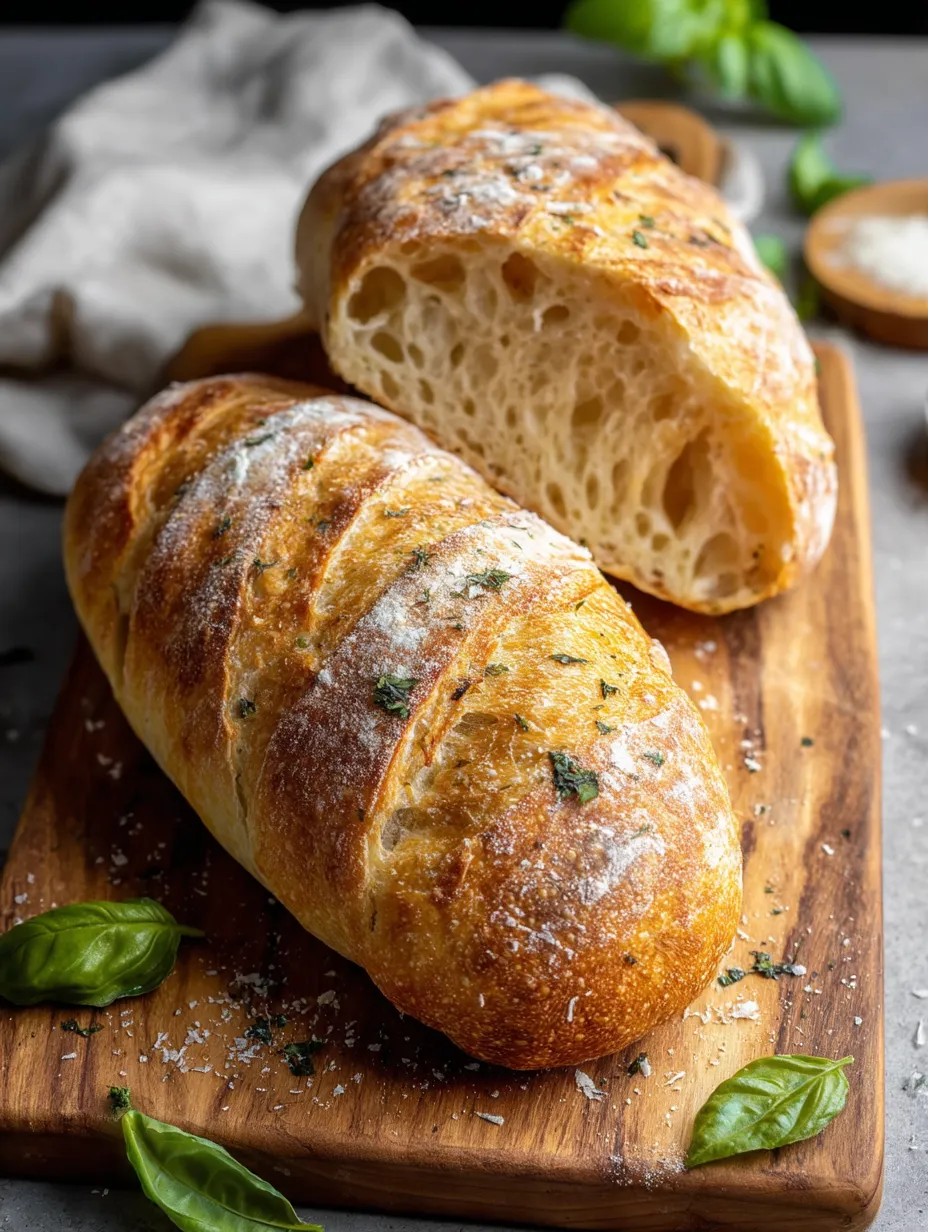
Golden crackling crust giving way to a tender, airy interior creates the perfect Italian bread experience in your own kitchen. This traditional loaf brings together simple ingredients using time-honored techniques to produce a bread that rivals any bakery offering. The contrast between the shatteringly crisp exterior and the soft, chewy crumb inside makes this loaf ideal for everything from sophisticated dinner parties to casual family meals.
I made this bread last Sunday for a family gathering, and the entire loaf disappeared before the main course was even served. My brother-in-law, who typically avoids carbs, had three slices and asked for the recipe. There's something about homemade bread that brings people together around the table like nothing else.
Quality Components
- All-purpose flour: provides the perfect protein content for that ideal balance between structure and tenderness
- Active dry yeast: creates reliable, consistent rising that develops proper flavor and texture
- Warm water: at precisely 110°F activates the yeast properly without killing it
- Sugar: provides food for the yeast to jumpstart fermentation while adding subtle complexity
- Salt: enhances flavor while controlling fermentation rate for proper texture development
- Olive oil: contributes Mediterranean flavor while creating a more tender crumb structure
- Cornmeal: prevents sticking while adding pleasant texture to the bottom crust
Baking Instructions
- Activate Your Yeast:
- Begin by combining warm water (110°F) with sugar in a large mixing bowl.
- Create Initial Dough:
- Add flour, salt, and olive oil to your activated yeast mixture.
- Develop Gluten Structure:
- Transfer your dough to a lightly floured surface and knead with the heels of your hands for 8-10 minutes.
- Allow Primary Fermentation:
- Place your kneaded dough in a lightly oiled bowl and cover with a clean kitchen towel.
- Release Trapped Gases:
- Once doubled, gently punch down the dough to release carbon dioxide bubbles.
- Shape Your Loaf:
- Form the dough into either a round boule or elongated oval shape.
- Prepare Baking Surface:
- Line a baking sheet with parchment paper and sprinkle generously with cornmeal.
- Complete Secondary Rise:
- Place your shaped loaf on the prepared baking sheet, cover with a kitchen towel.
- Create Baking Environment:
- Position a rack in the middle of your oven with another rack below it.
- Score For Expansion:
- Just before baking, use a very sharp knife or bread lame to make 3-4 shallow diagonal slashes.
- Introduce Steam Element:
- Transfer your scored loaf along with the parchment paper onto the preheated baking surface.
- Bake To Perfection:
- Bake for 25-30 minutes until the crust develops a deep golden-brown color.
I particularly love making this bread during cooler months when the warm oven and incredible yeasty aroma create such a cozy atmosphere in my kitchen. My grandmother taught me to always listen to bread when it comes out of the oven—properly baked bread will actually crackle and "sing" as it cools, a sound that brings back childhood memories of visits to her kitchen.
 Pin it
Perfect Pairings
- With Soup:
- Serve thick slices alongside a rich, hearty minestrone soup.
- Appetizer Option:
- For a simple yet elegant appetizer, drizzle slices with high-quality extra virgin olive oil.
- Sandwich Bread:
- When making sandwiches, this bread provides the ideal foundation.
Flavor Variations
- Herb & Garlic:
- Transform this versatile dough by incorporating roasted garlic cloves and fresh rosemary.
- Cheese & Pepper:
- For a heartier version, mix in a cup of grated Parmesan and a generous amount of cracked black pepper.
- Whole Wheat:
- Those seeking a more rustic loaf can substitute one cup of the all-purpose flour with whole wheat flour.
Storage Solutions
- Short-Term Storage:
- Keep your bread at its crusty best by storing it cut-side down on a cutting board.
- Longer Storage:
- For longer storage, wrap the completely cooled loaf in a clean kitchen towel.
- Reviving Bread:
- Revive day-old bread by sprinkling it lightly with water and heating in a 350°F oven.
 Pin it
There's something deeply satisfying about creating such a beautiful loaf from just a handful of humble ingredients. Each time I make this bread, I feel connected to generations of bakers who have used these same techniques for centuries. The transformation from simple flour and water to a crackling, aromatic loaf still seems magical to me, even after years of baking. When I pull a perfectly golden loaf from the oven, the pride and satisfaction remind me why homemade bread will always be worth the time.
Frequently Asked Questions
- → How can I make sure my Italian bread has a really crispy crust?
- For an extra crispy crust, create steam in your oven by placing a shallow pan with about 1 cup of hot water on the bottom rack while the bread bakes. The steam helps the crust develop that signature crackly texture. Also, preheating your baking sheet or pizza stone is crucial for developing a crisp bottom crust.
- → What's the best way to store this Italian bread?
- This bread is best enjoyed the day it's baked. To store leftovers, wrap the completely cooled bread in a clean kitchen towel for up to 1 day to maintain the crisp crust. For longer storage, keep in a paper bag for 2-3 days. Avoid plastic bags as they'll soften the crust. You can also freeze the bread for up to 3 months.
- → Can I use bread flour instead of all-purpose flour?
- Yes, you can substitute bread flour for all-purpose flour for an even chewier texture. Bread flour has more protein which creates stronger gluten development. You may need to add a touch more water (1-2 tablespoons) as bread flour absorbs more liquid than all-purpose flour.
- → Why didn't my bread rise properly?
- There could be several reasons: 1) Your yeast might be old or inactive - always check the expiration date and make sure the yeast foams up during proofing. 2) The room might be too cold - bread rises best around 75-85°F. 3) You might have added too much flour during kneading, making the dough too dense. The dough should be slightly tacky but not sticky.
- → Can I make this bread without kneading?
- While this traditional recipe calls for kneading to develop the gluten structure, you could adapt it to a no-knead method by increasing the water slightly (about 1/4 cup more), mixing just until combined, and then letting it rise overnight in the refrigerator (8-12 hours) instead of at room temperature. The longer, slower fermentation will develop the gluten naturally.