
 Pin it
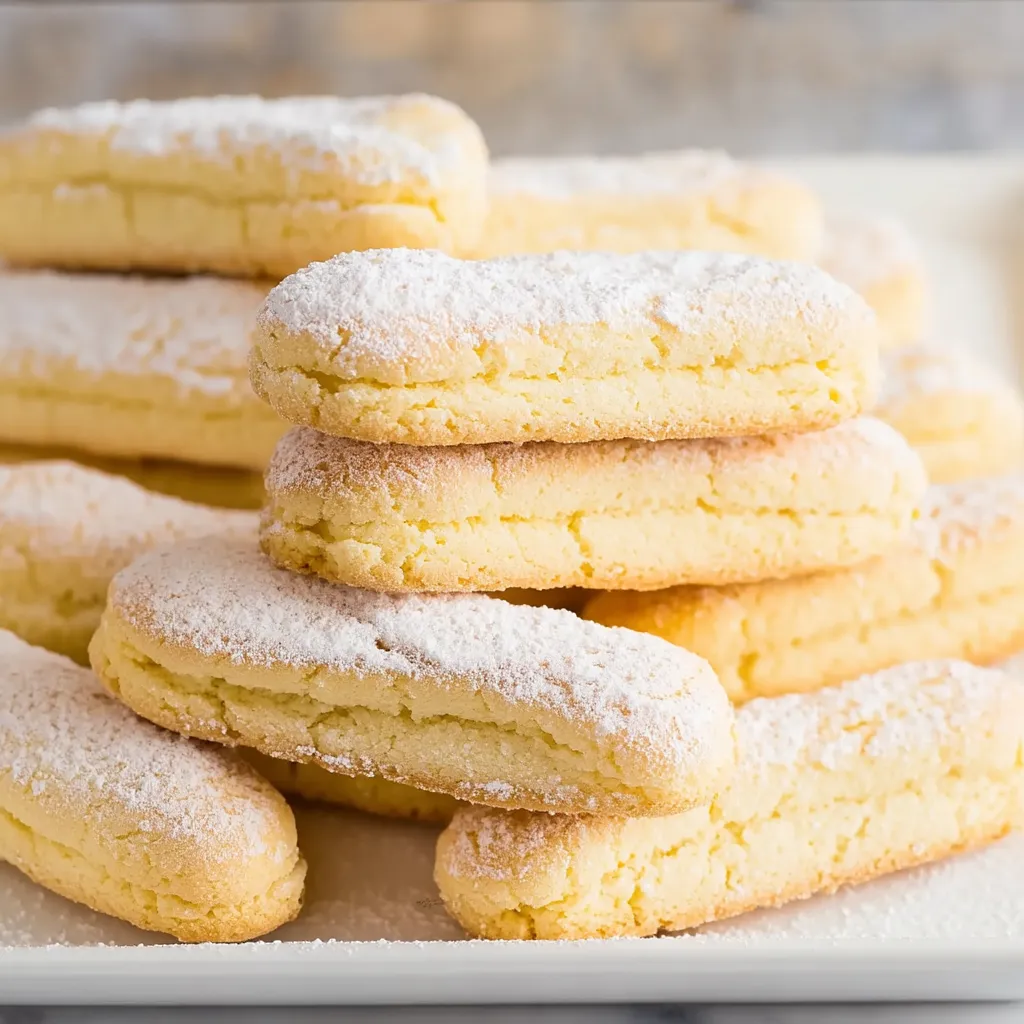
This crispy ladyfingers recipe produces the most delightful, airy cookies that melt in your mouth and elevate any dessert they touch. After years of buying store-bought versions, I discovered homemade ladyfingers deliver a texture and freshness that simply cannot be matched, especially when used in tiramisu or trifles.
I first made these ladyfingers when preparing a special anniversary tiramisu for my parents. The difference was so remarkable that I've never gone back to store-bought since. The pure joy on their faces when they tasted that dessert makes this recipe particularly special to me.
Ingredients
- 4 large eggs: Separated at room temperature for maximum volume
- ⅔ cup granulated sugar: Provides the perfect sweetness balance
- ½ teaspoon vanilla extract: Adds a delicate aromatic flavor
- 1 cup all purpose flour: Creates the ideal structure
- ½ teaspoon baking powder: Gives just enough lift without compromising texture
- 2 tablespoons cornstarch: Is the secret to that melt in your mouth quality
- Powdered sugar: For dusting prevents spreading and creates a delicate crust
Step-by-Step Instructions
- Prepare Your Setup:
- Position a rack in the center of the oven and preheat to 350°F. Line two baking sheets with parchment paper and prepare a large pastry bag fitted with a plain ½-inch round tip. Proper setup ensures consistent baking and beautifully shaped cookies.
- Whip Egg Whites:
- Place egg whites in a large bowl and beat on high speed until soft peaks begin to form. Gradually add 2 tablespoons of sugar and continue beating until the whites become stiff and glossy. This provides the airy structure that makes ladyfingers so special.
- Create Yolk Mixture:
- In a separate bowl, beat egg yolks with remaining sugar and vanilla extract until the mixture becomes thick and pale yellow, about 2 minutes on medium-high speed. This creates a rich base that balances the airy whites.
- Combine Mixtures:
- Gently fold half the egg whites into the yolk mixture using a rubber spatula with a light hand. Sift in dry ingredients and fold just until combined. Add remaining whites and fold carefully to maintain as much air as possible without overmixing.
- Pipe And Dust:
- Transfer batter to the prepared pastry bag and pipe 3-inch fingers about 1 inch wide and 2 inches apart on the baking sheets. Generously dust with powdered sugar before baking. This critical step creates that distinctive crust.
- Bake To Perfection:
- Bake until ladyfingers feel firm to the touch and appear lightly golden brown, approximately 12-15 minutes. Allow to cool completely on the baking sheet before transferring to a wire rack. Patience here ensures the proper texture develops.
 Pin it
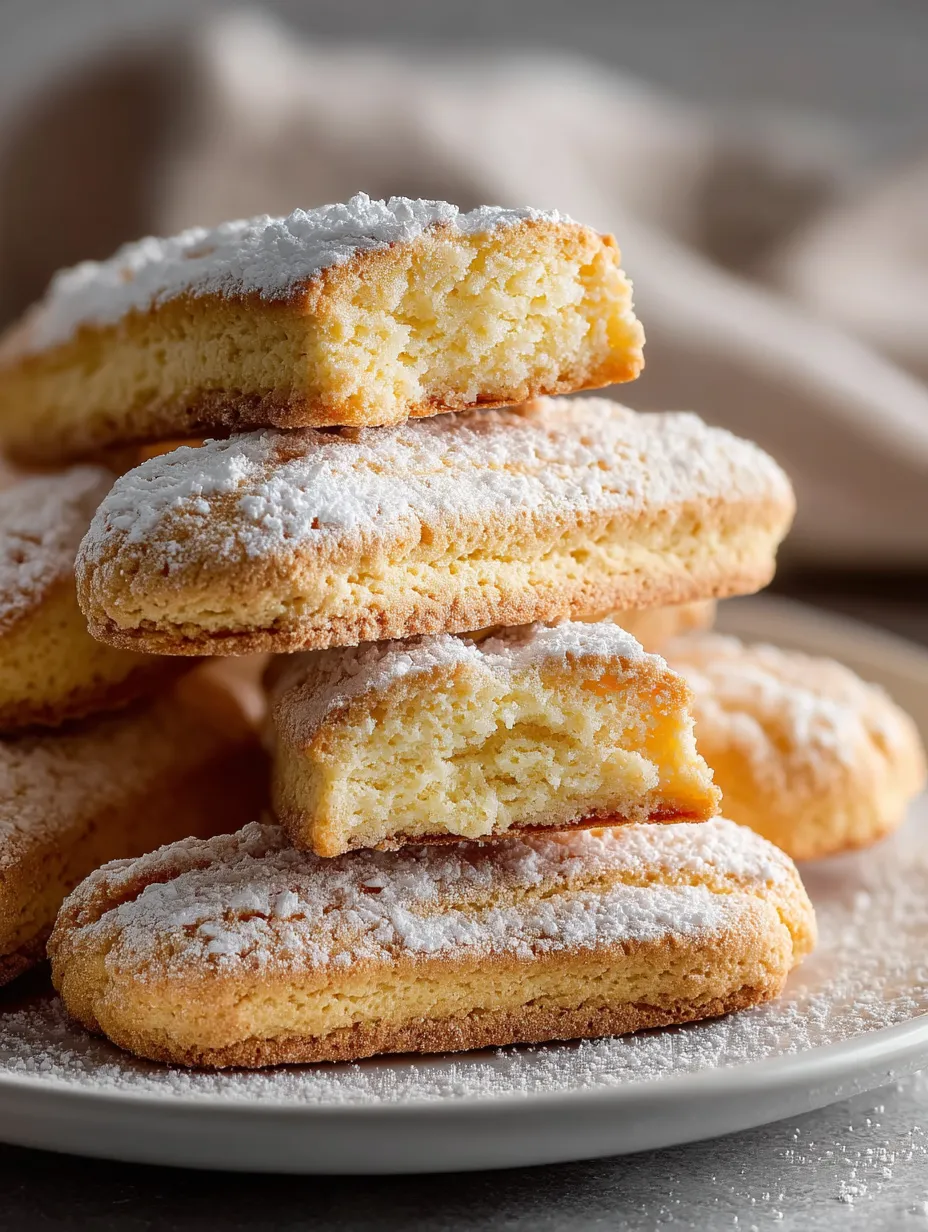
The cornstarch in this recipe is my absolute favorite ingredient. I discovered its importance through trial and error when my early attempts produced ladyfingers that were too dense. That small addition creates the delicate crumb that makes these cookies so special, especially when I serve them alongside afternoon tea to visiting friends.
Perfect Storage Solutions
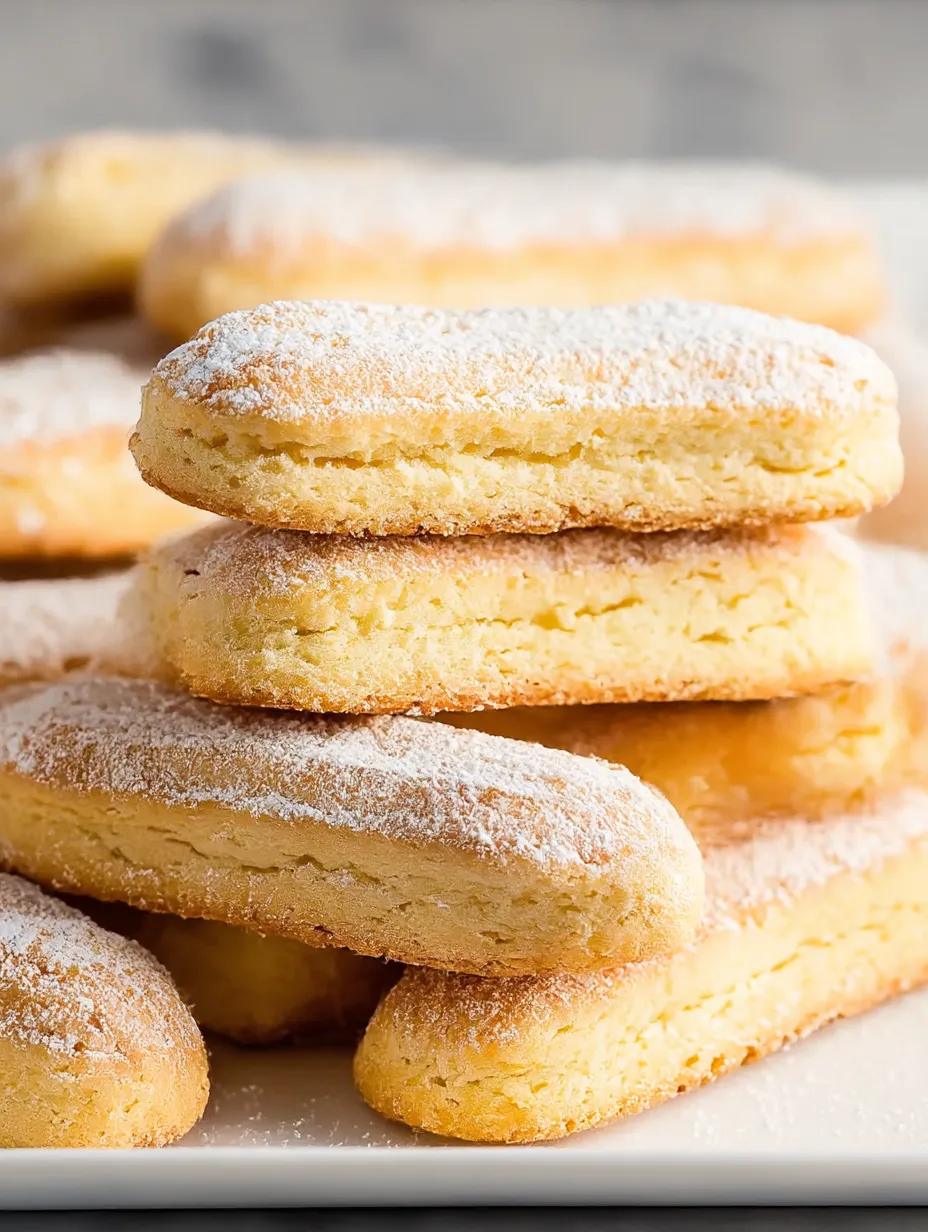
Homemade ladyfingers maintain their best texture when stored properly in an airtight container at room temperature. While they can last up to two weeks, I find they're at their prime during the first three days. If your kitchen runs humid, add a small piece of parchment between layers to maintain crispness. The slight staling that happens after a few days actually makes them even better for tiramisu, as they absorb the coffee mixture without falling apart.
Troubleshooting Common Issues
Ladyfingers sometimes fall flat when the egg whites aren't properly whipped or when the oven temperature isn't accurate. Always use room temperature eggs for maximum volume, and consider investing in an oven thermometer for precision. If your piped fingers spread too much before baking, your batter might be too loose, typically from undermixed egg whites or overmixing when folding. The powdered sugar dusting also helps prevent spreading by creating a barrier that sets quickly in the oven heat.
 Pin it
Classic Dessert Applications
While delicious on their own, ladyfingers truly shine as components in classic desserts. For traditional tiramisu, briefly dip them in espresso spiked with marsala wine before layering with mascarpone cream. For a summer berry trifle, line them around a glass bowl and layer with vanilla custard and fresh berries. During the holidays, I create a spectacular charlotte royale by lining a bowl with ladyfingers and filling it with bavarian cream. Their versatility makes them a staple in my dessert repertoire.
The History Behind Ladyfingers
These delicate sponge cookies date back to the courts of Savoy in the late 15th century where they were created to honor a visiting French royal. Originally called "Savoiardi" in Italian, they've been a staple in European baking for centuries. Their enduring popularity comes from both their delicate flavor and their structural role in classic desserts. Understanding this history gives me greater appreciation for these seemingly simple cookies that have stood the test of time.
Frequently Asked Questions
- → How should I store lady fingers?
Store them in an airtight container at room temperature for up to two weeks. For longer storage, you can freeze them in a freezer-safe bag or container separated by parchment paper for up to one month.
- → Can I make lady fingers without a piping bag?
Yes, you can use a large plastic storage bag with one corner snipped off as an alternative to a piping bag.
- → What causes lady fingers to be soft instead of crispy?
If the mixture is not folded gently, or if the powdered sugar dusting is skipped, the final texture may be softer than intended. Ensure proper technique and follow all steps for the best results.
- → Can I add flavors to the lady fingers?
Yes, you can add a touch of almond extract, lemon zest, or other flavorings to create variations.
- → How can I tell if my lady fingers are done baking?
Lady fingers are done when they are firm to the touch and lightly golden. Avoid overbaking to ensure a delicate texture.