 Pin it
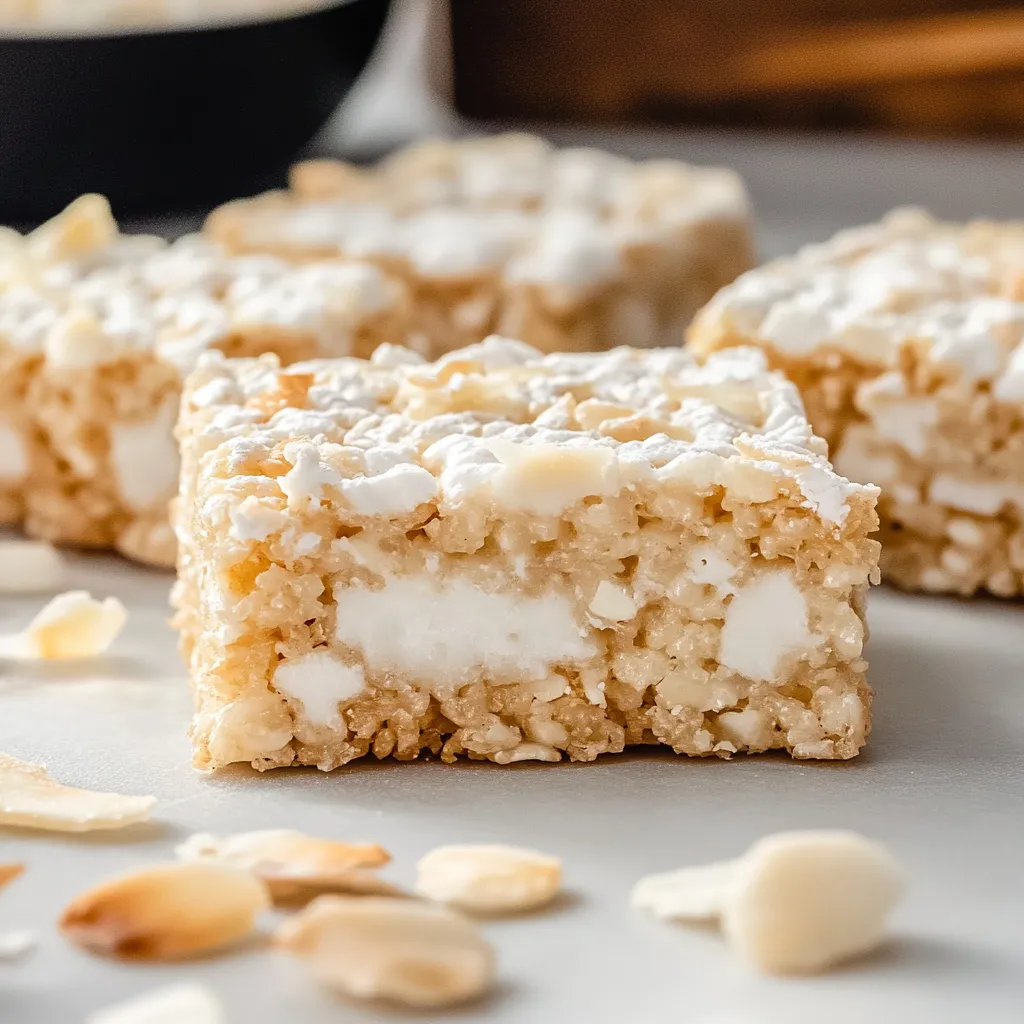
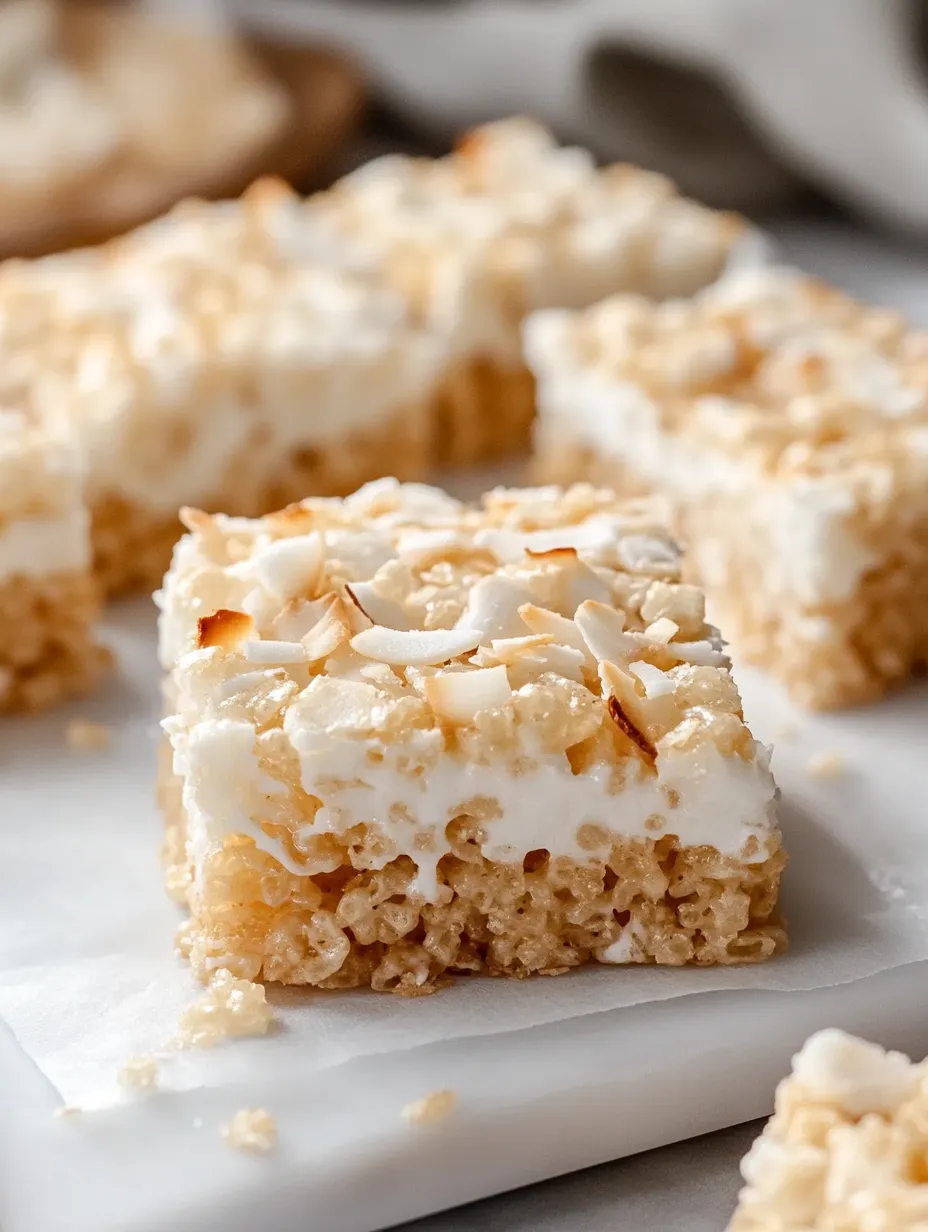
Coconut rice krispie treats transform the nostalgic childhood favorite into something truly extraordinary with the addition of sweetened coconut flakes that infuse each bite with tropical flavor. These bars take the classic gooey, marshmallow-laden treats we all grew up with and elevate them into a more sophisticated dessert that still maintains that perfect balance of chewiness and crunch. Thicker and more indulgent than traditional rice krispie treats, these coconut-studded squares disappear faster than you can say "more please!"
I first made these for a beach-themed summer party, wanting something that would transport guests to island vibes without complicated ingredients or techniques. They were such a hit that three people asked for the recipe before the party was even over! The coconut adds a subtle tropical essence that elevates these treats beyond the ordinary, making them feel special enough for adults while still delighting the kids.
Simple Ingredient Selection
- Mini marshmallows: Create that signature gooey texture; fresh ones are critical for the best results
- Sweetened shredded coconut: Adds tropical flavor and chewy texture; sweetened varieties work best for moisture retention
- Rice Krispies cereal: Provides the essential crispy crunch; any brand of rice cereal works perfectly
- Butter: Adds richness and helps prevent sticking; always use real butter, never margarine
The secret to these treats' exceptional texture lies in the ratio of marshmallows to cereal. I use more marshmallows than traditional recipes call for, which creates that perfect gooey bite everyone craves. The sweetened coconut adds not just flavor but also contributes to the chewy texture that makes these treats irresistible.
Creating Perfect Treats
Line a 9×13 baking pan with parchment paper, leaving overhang on the sides for easy removal. Lightly coat the parchment with cooking spray or butter to prevent sticking. This simple step ensures your treats will release cleanly when it's time to cut them.
Melt With Care
In a large pot over medium-low heat, melt the butter completely before adding most of the marshmallows. Stir constantly to prevent scorching, as burnt marshmallows will ruin the flavor. The key is patience—keeping the heat moderate ensures the marshmallows melt smoothly without developing tough, stringy strands.
Add The Coconut Magic
Once the marshmallows are completely melted, remove from heat and stir in the sweetened coconut flakes. The residual warmth will slightly toast the coconut, enhancing its flavor without making it overly chewy or tough.
Incorporate The Crunch
Add the Rice Krispies to the marshmallow mixture, folding gently but thoroughly to ensure every piece of cereal gets coated. For extra gooeyness, fold in the reserved mini marshmallows at this point, allowing them to soften slightly but remain intact for pockets of marshmallow goodness.
 Pin it
Press With Precision
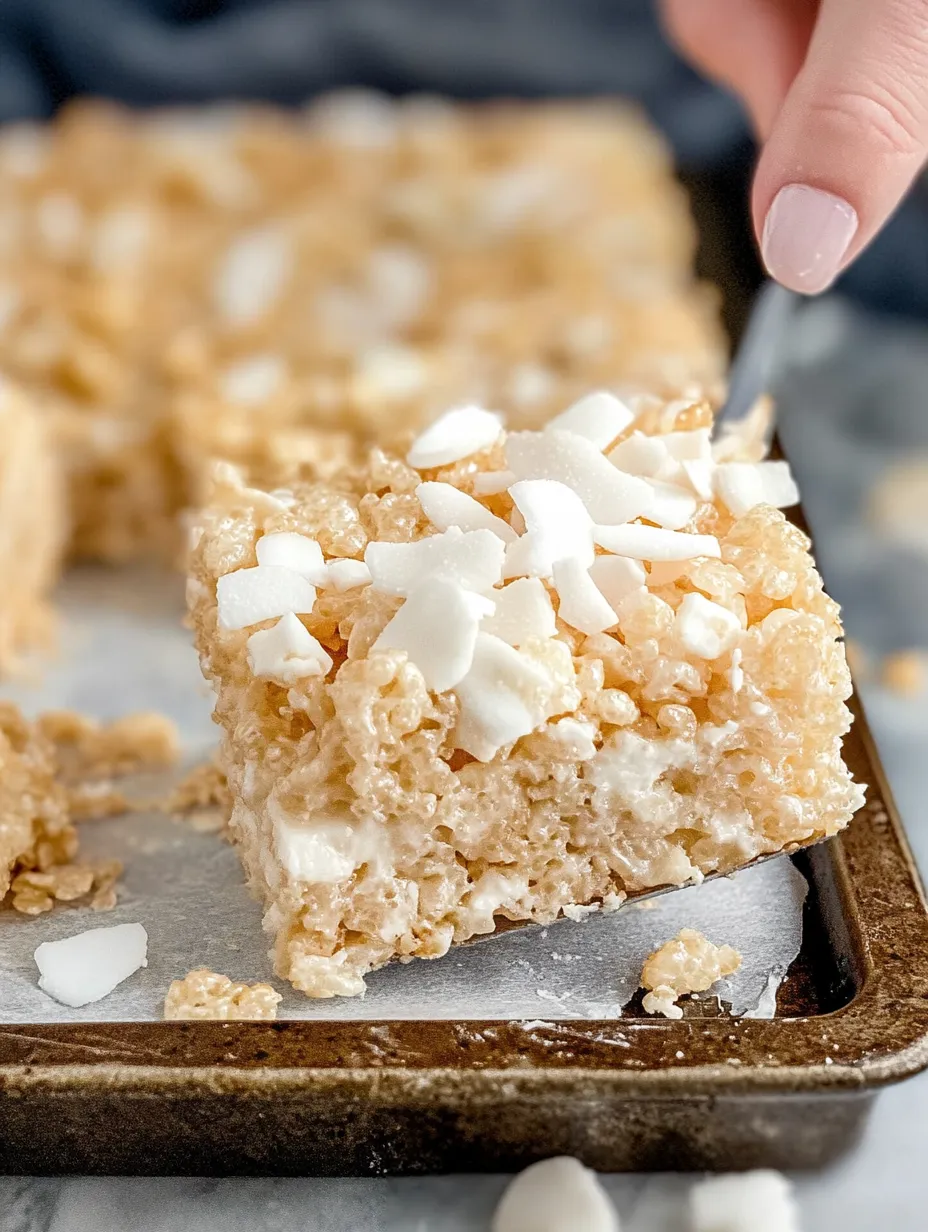
Transfer the mixture to your prepared pan and press down lightly with buttered hands or a silicone spatula. The key word is "lightly"—pressing too firmly compacts the treats and makes them dense rather than delightfully airy. Sprinkle additional coconut on top for visual appeal and extra flavor.
Rest For Best Results
Allow the treats to set at room temperature for about an hour before cutting. Room temperature setting (rather than refrigeration) maintains their perfect chewy texture. For clean cuts, use a sharp knife coated with cooking spray or butter.
My family has a funny tradition with these treats—we always make a double batch because the first pan mysteriously "disappears" during the cooling process. My husband claims it's the work of kitchen elves, but the telltale coconut flakes on his shirt usually give him away. These treats have a way of vanishing faster than any other dessert I make!
Serving Suggestions
Serve these treats as a standout dessert at potlucks, picnics, or beach-themed parties where their tropical flavor feels especially appropriate. For an elevated dessert experience, cut them into small squares and serve alongside fresh fruit like pineapple and mango to enhance the tropical theme. They make excellent after-school treats that kids love, and they're substantial enough to satisfy sweet cravings without being overly indulgent.
Creative Variations
- Transform this recipe: Dip half of each square into melted chocolate for a coconut-chocolate combination reminiscent of a Mounds bar.
- For holiday gatherings: Shape them into fun forms—press the mixture into a Santa shape and decorate with coconut "beard" and chocolate chip "eyes" for Christmas.
- Create a tropical twist: Add chopped dried pineapple or mango along with the coconut.
- For a more indulgent treat: Drizzle the tops with caramel sauce and sprinkle with toasted coconut flakes.
 Pin it
Storage Secrets
Store these coconut rice krispie treats in an airtight container at room temperature, placing wax paper between layers to prevent sticking. They maintain their perfect texture for up to three days, though they rarely last that long in most households! If you need to make them in advance, they freeze beautifully for up to six weeks—simply wrap individual pieces in plastic wrap, place in a freezer bag, and thaw at room temperature before serving. Avoid refrigeration as it can make them hard and accelerate staleness.
I've found that these coconut rice krispie treats have become my signature contribution to gatherings, the thing people request when they invite us over. There's something deeply satisfying about taking such a simple, familiar treat and transforming it into something special with just one additional ingredient. The way people's eyes light up when they take that first bite—recognizing the familiar but discovering something new—is what makes sharing food such a joy.
Frequently Asked Questions
- → Can I use unsweetened coconut instead of sweetened?
- Yes, you can substitute unsweetened shredded coconut, but the treats will be less sweet overall. If using unsweetened coconut, consider adding 1-2 tablespoons of granulated sugar to the marshmallow mixture or a teaspoon of coconut extract for extra flavor.
- → Why are my Rice Krispie treats too hard?
- Hard Rice Krispie treats are usually caused by pressing the mixture too firmly into the pan or cooking the marshmallow mixture too long. For soft, chewy treats, remove the marshmallow mixture from heat as soon as it's melted, and only lightly press the mixture into the pan.
- → Can I make these ahead of time for a party?
- Absolutely! Make them up to 2 days ahead and store in an airtight container at room temperature. Layer parchment paper between the treats if stacking them to prevent sticking. For the freshest taste, don't make them more than 2-3 days in advance.
- → Can I add other mix-ins besides coconut?
- Definitely! Try white chocolate chips, toasted macadamia nuts, dried pineapple bits, or a drizzle of melted chocolate on top. Just be careful not to add too many mix-ins, or the treats may not hold together properly.
- → My marshmallow mixture hardened before I could mix everything in. What happened?
- Marshmallow mixtures set quickly as they cool. Work fast once the marshmallows are melted, and have all ingredients measured and ready to go. If it does harden too quickly, you can gently rewarm the mixture over low heat until it's workable again.
