
 Pin it
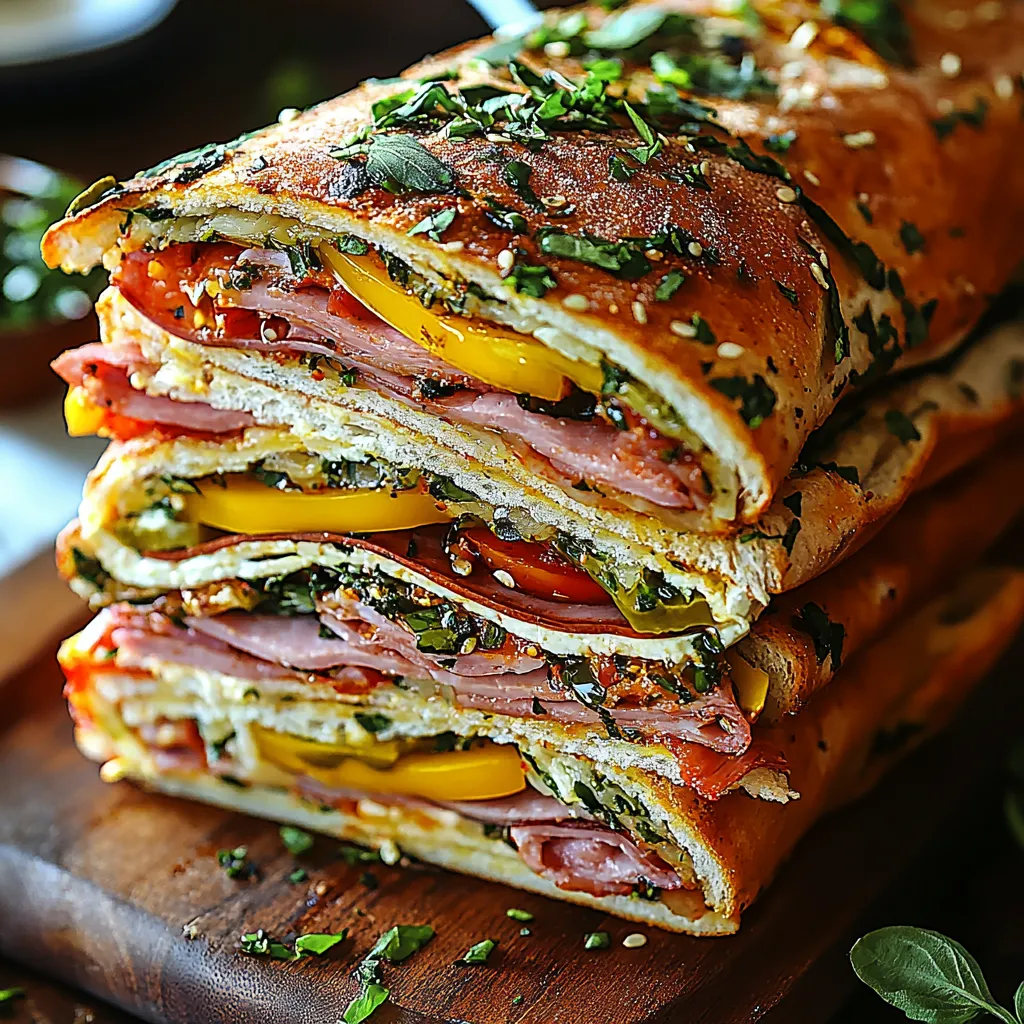
This iconic sandwich combines layers of Italian cured meats, cheeses, and a vibrant olive salad on hearty round bread. Born from New Orleans' Italian immigrant community, the muffuletta transforms simple ingredients into something extraordinary through its perfect balance of tangy, salty, and savory elements.
I made this for my husband's birthday gathering last summer, and our guests couldn't stop raving about it. The olive salad truly makes this sandwich special - that tangy, briny mixture transforms everyday ingredients into something unforgettable.
The Perfect Muffuletta Ingredients
- Olive salad: The heart of this sandwich, combining green and black olives with pickled vegetables, creating that signature briny-tangy flavor that sets muffulettas apart
- Italian bread: Look for a round loaf with sesame seeds, about 10 inches across, with a sturdy crust that can stand up to the olive oil without getting soggy
- Mortadella: This Italian cold cut has a subtle flavor with small pieces of pork fat throughout, adding richness and authenticity
- Salami: Provides a peppery, garlicky punch that contrasts beautifully with the milder meats
- Capicola: Adds a spicy element that balances the creaminess of the cheeses
- Provolone: Its sharp, nutty flavor helps cut through the richness of the meats
- Mozzarella: Creates a creamy, mild base that lets the other flavors shine
When selecting ingredients, quality matters tremendously. I prefer hand-sliced meats from an Italian deli rather than pre-packaged varieties. For the olive salad, good-quality olives make all the difference - those cheap canned ones simply won't deliver the same flavor.
Creating Your Muffuletta
- Layer Building:
- Begin by making the olive salad. Combine chopped green and black olives, giardiniera, roasted red peppers, capers, and celery in a large bowl. Mix in minced fresh garlic - I always use more than recipes suggest because it adds such wonderful depth. Pour in extra virgin olive oil and red wine vinegar, then season with dried oregano and red pepper flakes. The mixture should be chunky but well-coated. Cover and refrigerate overnight if possible - trust me, it's worth waiting for the flavors to meld.
- For assembly:
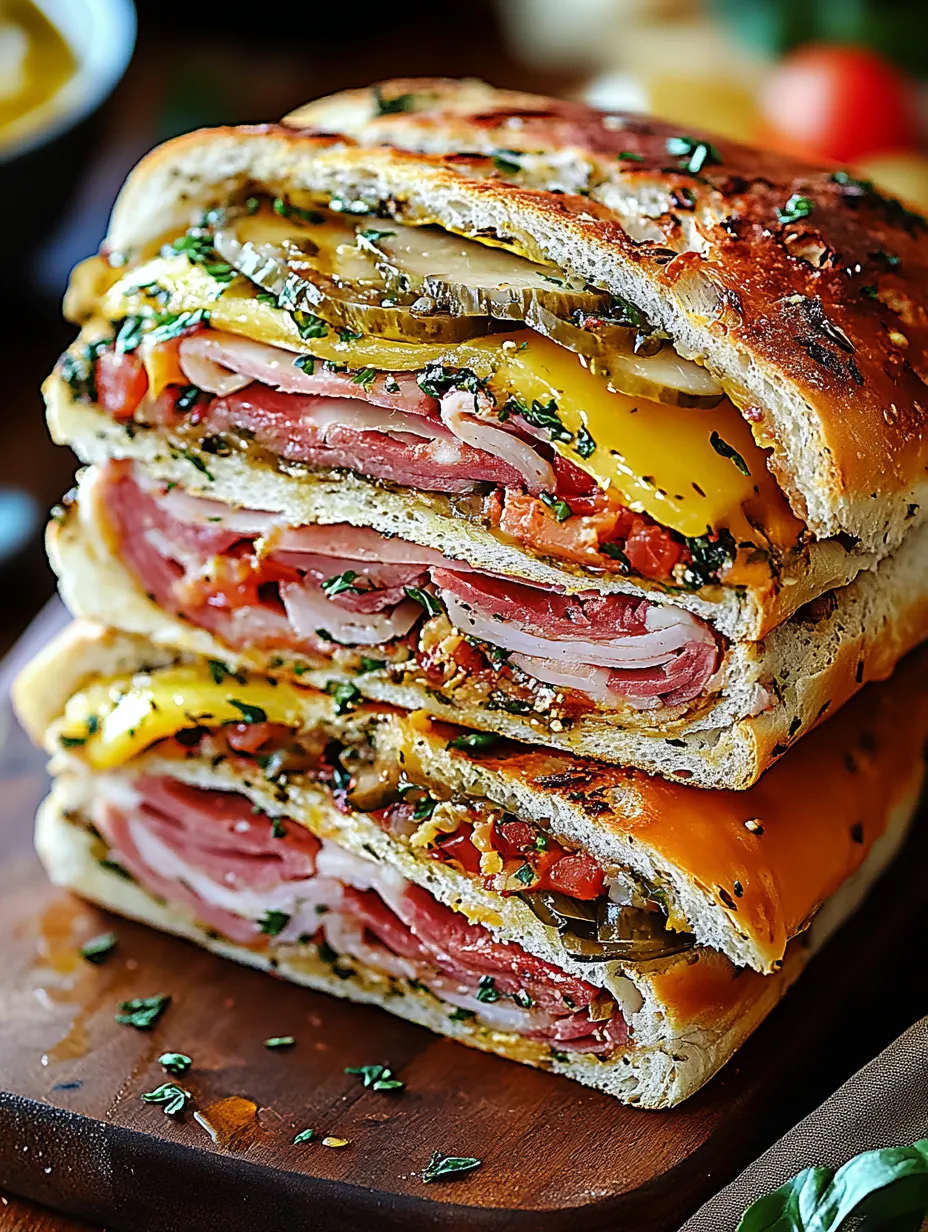
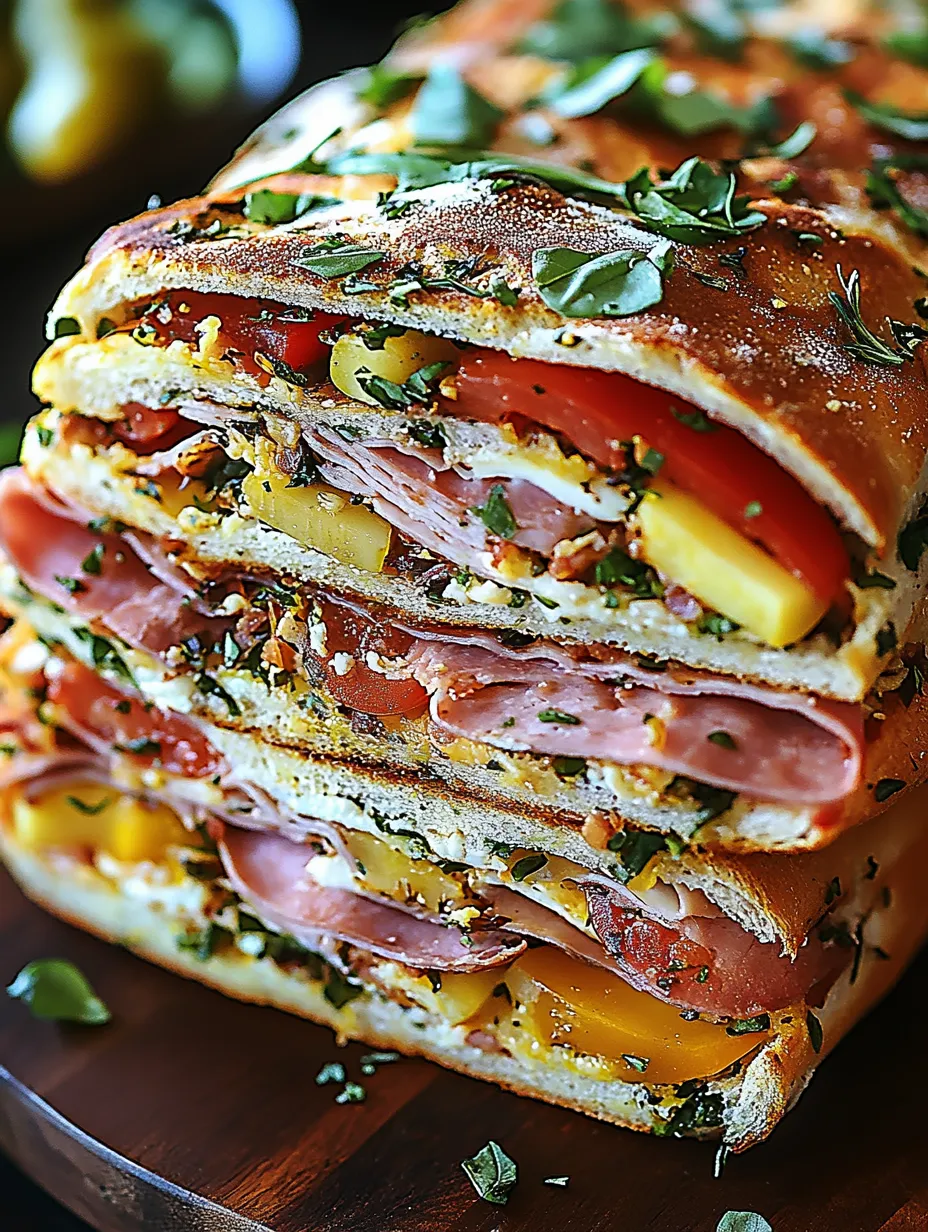
- Slice your bread horizontally and hollow out some of the interior to create space for fillings. Spread half the olive salad across the bottom half, pressing it slightly into the bread. Layer your meats - first mortadella, then salami, followed by capicola - overlapping each slice slightly. Add provolone next, then mozzarella, being sure to cover the entire surface. Top with remaining olive salad, then close the sandwich with the upper bread half.
- Wrap the entire sandwich:
- Tightly in plastic wrap and place a heavy skillet on top for at least 30 minutes. This crucial compression helps marry the flavors and creates a more manageable sandwich. When ready to serve, unwrap and slice into wedges with a sharp knife.
My grandmother always insisted on adding extra capers to her olive salad. "That extra hit of brine makes all the difference," she'd say while chopping everything by hand. I've followed her advice for years and can confirm - those little capers pack serious flavor punch.
Serving Your Masterpiece
Try serving this gorgeous sandwich as the centerpiece of an antipasto spread. Pair it with marinated artichoke hearts, pepperoncini, and some crisp Italian wines. For a casual gathering, cut it into smaller wedges and serve as part of a buffet alongside other finger foods.
Customizing Your Creation
Switch up the meats by substituting prosciutto for capicola, or use turkey for a lighter version. For a vegetarian adaptation, replace meats with grilled vegetables like zucchini, eggplant, and portobello mushrooms. The olive salad works beautifully with these alternatives. For a spicier sandwich, add hot cherry peppers to your olive mix or use pepper jack instead of mozzarella.
 Pin it
Keeping It Fresh
Store any leftover sandwich tightly wrapped in the refrigerator for up to three days. The flavors continue developing, making day-two muffuletta often better than day one! Never microwave to reheat - instead, bring to room temperature naturally for about 30 minutes. If you want it warm, wrap in foil and heat in a 300°F oven for about 10 minutes.
Chef's Wisdom
- Toast the bread lightly before assembly if you're concerned about sogginess
- Weight distribution matters during pressing - use something flat rather than concentrated weight
- Slice carefully with a very sharp knife to maintain the sandwich's structure
I've been making muffulettas for nearly twenty years, and I still get excited when I slice into one. There's something magical about how simple ingredients transform into something extraordinary through careful layering and a bit of patience. My family requests this sandwich for every picnic and road trip - it's become our tradition. Whether you're new to Italian sandwiches or a seasoned pro, this muffuletta recipe delivers incredible results every time.
Practical Tips For Success
Be sure to drain your pickled vegetables thoroughly before chopping. Excess liquid can make your olive salad too runny and potentially soak your bread. I like to spread my chopped veggies on paper towels for about 15 minutes before combining them with the other ingredients. This simple step ensures the perfect consistency in your final sandwich.
Some recipes suggest using only extra virgin olive oil, but I've found that equal parts olive oil and vegetable oil create the perfect balance. The vegetable oil allows the mixture to remain spreadable when refrigerated, while the olive oil provides that authentic Mediterranean flavor. My aunt taught me this trick, and I've never looked back.
If you're making this sandwich for travel or a picnic, consider wrapping each wedge individually after cutting. This prevents the sandwich from falling apart and makes serving much simpler. I learned this the hard way after bringing a whole muffuletta to the beach and watching it collapse as I tried to slice it on a windy day!
The Muffuletta Magic
The true magic of a muffuletta happens in the waiting. While you can certainly eat it immediately after assembly, waiting at least a few hours allows something truly special to happen. The bread begins absorbing the flavorful oils from the olive salad, the meats release their savory essence, and the cheeses soften slightly. What starts as distinct layers transforms into a harmonious whole.
I discovered this transformation accidentally when I made my first muffuletta too early for a dinner party. By the time we served it, the flavors had melded beautifully, and guests were amazed at how complex it tasted. Now I deliberately make mine the morning before I plan to serve it.
Another fascinating aspect is how this sandwich celebrates preservation techniques that Italian immigrants brought to America. The cured meats, pickled vegetables, and marinated olives represent generations of food wisdom - practical methods for extending shelf life that resulted in incredible flavors.
 Pin it
Choosing The Perfect Bread
While traditional muffuletta bread can be hard to find outside New Orleans, several alternatives work beautifully. Look for Italian round loaves, focaccia, or even large ciabatta rolls. The key characteristics are a sturdy texture, slightly chewy interior, and ability to stand up to moisture.
Many bakeries will special-order muffuletta bread if you call ahead. I've developed a relationship with my local Italian bakery, and they now make it regularly knowing I'll stop by for my sandwich-making sessions. If you're feeling ambitious, making your own bread creates an even more authentic experience.
Remember that the bread-to-filling ratio matters tremendously. Too much bread makes the sandwich dry and dilutes the flavors. Too little means it falls apart. Aim for a ratio where the bread is substantial enough to hold everything together but doesn't overwhelm the fillings.
Chef's Helpful Tips
- Slice meats paper-thin for the most luxurious texture and optimal flavor distribution
- Create a cheese barrier by placing provolone directly on the bread before adding olive salad to prevent sogginess
- Rest before slicing - allowing the pressed sandwich to sit for 10 minutes after unwrapping helps maintain its structure
I discovered the cheese barrier technique through trial and error. After making countless muffulettas that became too soggy, I realized that creating a protective layer of cheese between the bread and olive salad makes all the difference. It's now my signature move that friends always comment on - "How do you keep the bread so perfect?"
The muffuletta sits at the intersection of practicality and luxury. It was originally created as a convenient lunch for workers, combining several antipasto items in a portable format. Yet today, it's celebrated as a gourmet creation worthy of special occasions. This humble sandwich represents the beautiful evolution of immigrant cuisine in America - practical foods elevated through care and attention to detail.
Whether you're making this for a casual family dinner or an elegant gathering, the muffuletta brings joy through its bold flavors and beautiful presentation. The time you invest in properly layering and pressing this sandwich pays tremendous dividends in the finished product. As someone who's made hundreds of these over the years, I can assure you that the extra effort creates something truly unforgettable.
Frequently Asked Questions
- → Can I make the olive salad ahead?
- Yes, it actually improves with flavor when made 1-2 days ahead.
- → What can I substitute for giardiniera?
- Mixed pickled vegetables or chopped pepperoncini can work.
- → How long will the sandwich keep?
- Up to 24 hours in the refrigerator when wrapped tightly.
- → Can I use different meats or cheeses?
- Yes, though traditional ones provide the authentic flavor.
- → Why do I need to press the sandwich?
- Pressing helps flavors meld and makes the sandwich easier to eat.