
 Pin it
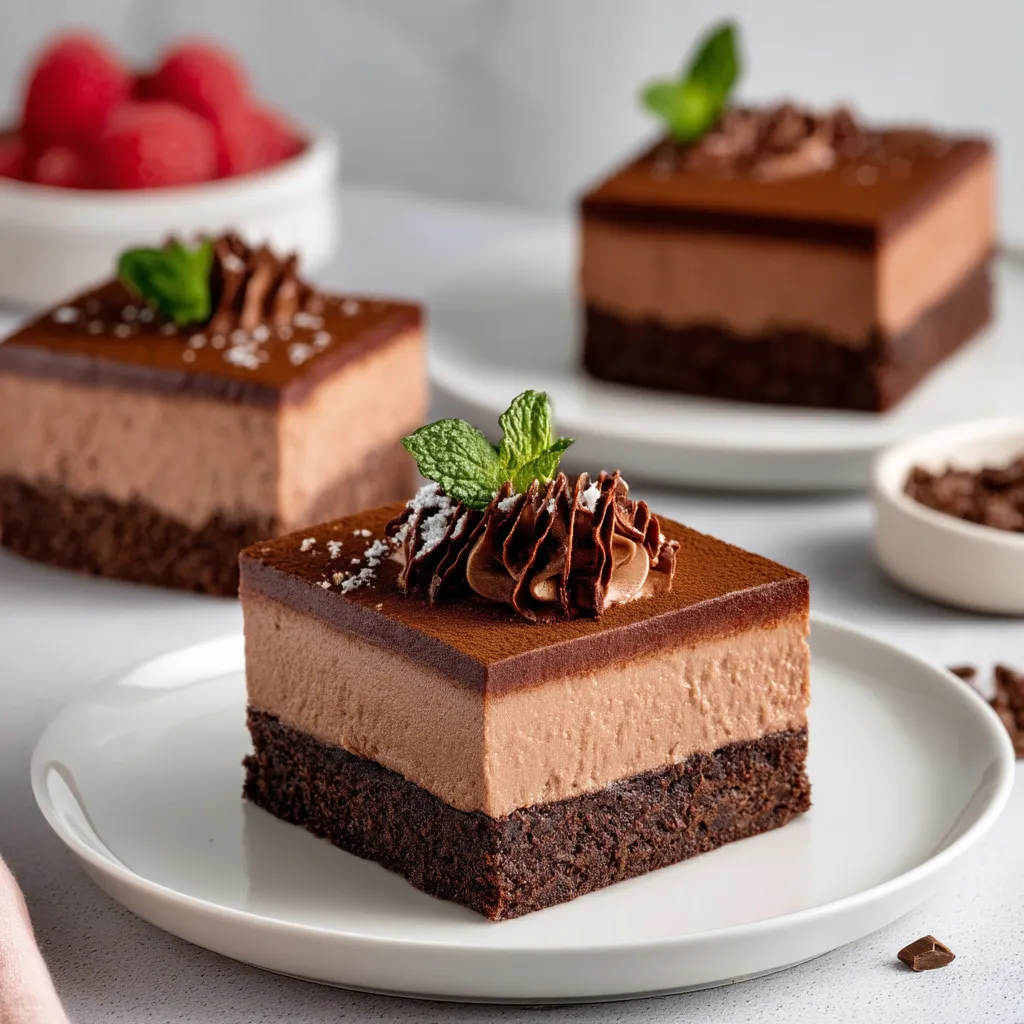
Rich fudgy brownies topped with velvety chocolate mousse and finished with a glossy ganache create the ultimate chocolate lover's dream. This triple-layer dessert combines three different chocolate textures in every bite - chewy, airy, and smooth. I developed this recipe after a late-night baking challenge from my best friend who wanted something with both smoothness and chew. After several attempts perfecting each layer, these decadent brownies have become my most requested dessert for special occasions.
The first time I brought these brownies to a family gathering, my uncle who claimed he "wasn't a dessert person" ate three pieces. Something about the combination of that fudgy base, cloud-like mousse, and shiny ganache top converts even the most reluctant sweet-eaters. Now I can't show up at family events without them!
Brownie Foundation Ingredients
- High-Quality Butter: Creates tender, moist texture and rich flavor. Always use unsalted butter at room temperature for best incorporation.
- Fresh Cocoa Powder: Provides deep chocolate flavor. Dutch-processed offers a smoother, less acidic taste than natural cocoa.
- Large Eggs: Add structure and richness. Room temperature eggs incorporate more easily than cold ones.
- Pure Vanilla Extract: Enhances chocolate notes. The real extract (not imitation) makes a noticeable difference.
- All-Purpose Flour: Gives structure without toughness. Measure by spooning into measuring cups then leveling for accuracy.
- Granulated Sugar: Provides sweetness and helps create that crackly top. Don't reduce the amount or texture will suffer.
Building Your Brownie Base
- Prepare The Pan:
- Line your 8×8-inch baking pan with parchment paper, leaving overhang on two sides. This creates handles that make removing the finished brownies much easier and prevents any sticking issues.
- Mix With Care:
- Whisk together the melted butter and sugar until completely combined, then add eggs one at a time, fully incorporating each before adding the next. This methodical approach creates the perfect emulsion for fudgy texture.
- Fold Gently:
- Add the dry ingredients to your wet mixture and fold with a spatula just until no dry streaks remain. Overmixing activates gluten, which can make your brownies tough rather than tender and fudgy.
- Bake With Precision:
- Pour the batter into your prepared pan and bake at 350°F for exactly 20 minutes, or until a toothpick inserted comes out with a few moist crumbs. The brownies will continue cooking slightly as they cool.
My grandmother always said chocolate desserts are forgiving but never forget they remember your patience. Her wisdom rings especially true with these brownies - rushing any step results in problems like sunken middles or grainy mousse. I once tried to speed up the cooling process in the freezer and ended up with condensation droplets that ruined my ganache. Now I give each layer the time it deserves.
Triple Chocolate Magic
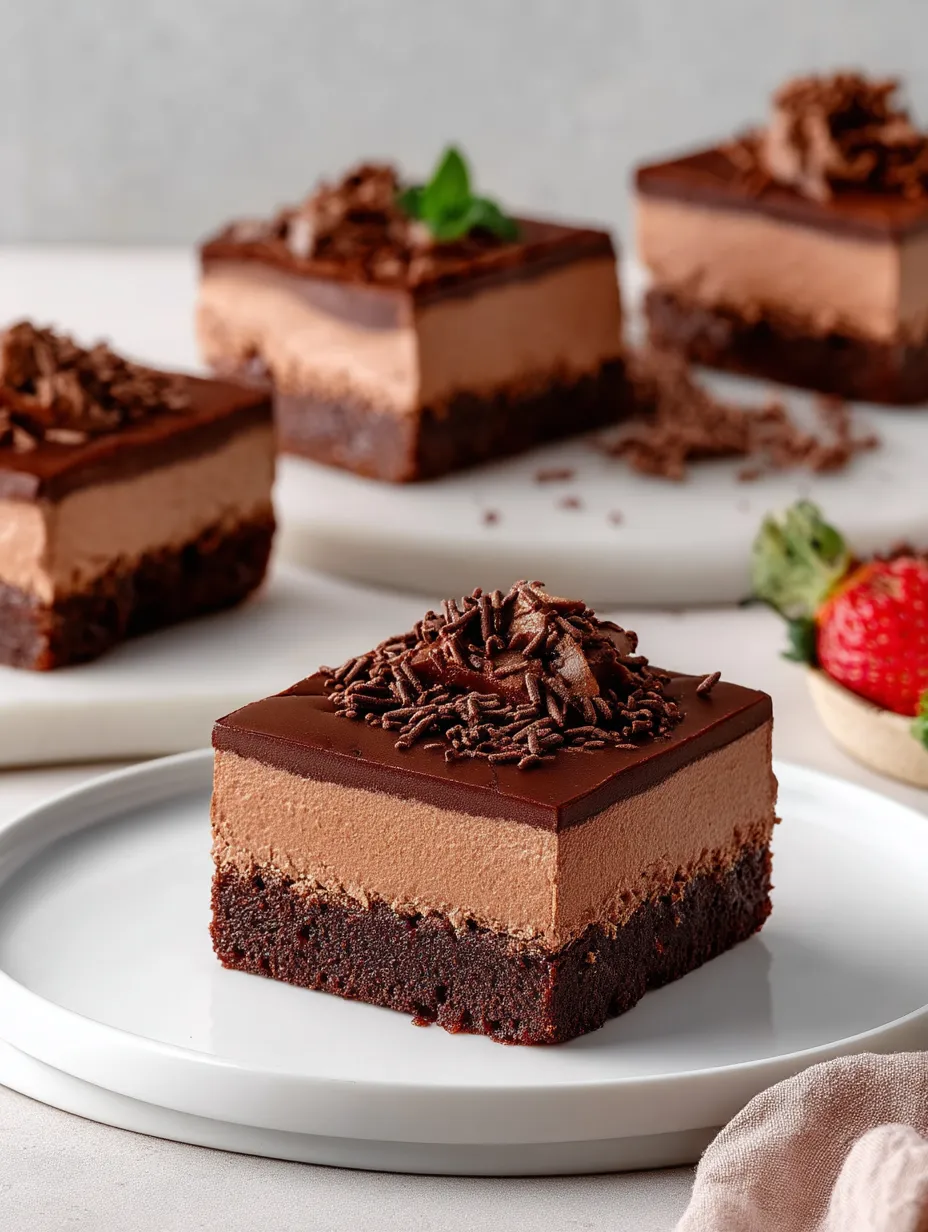
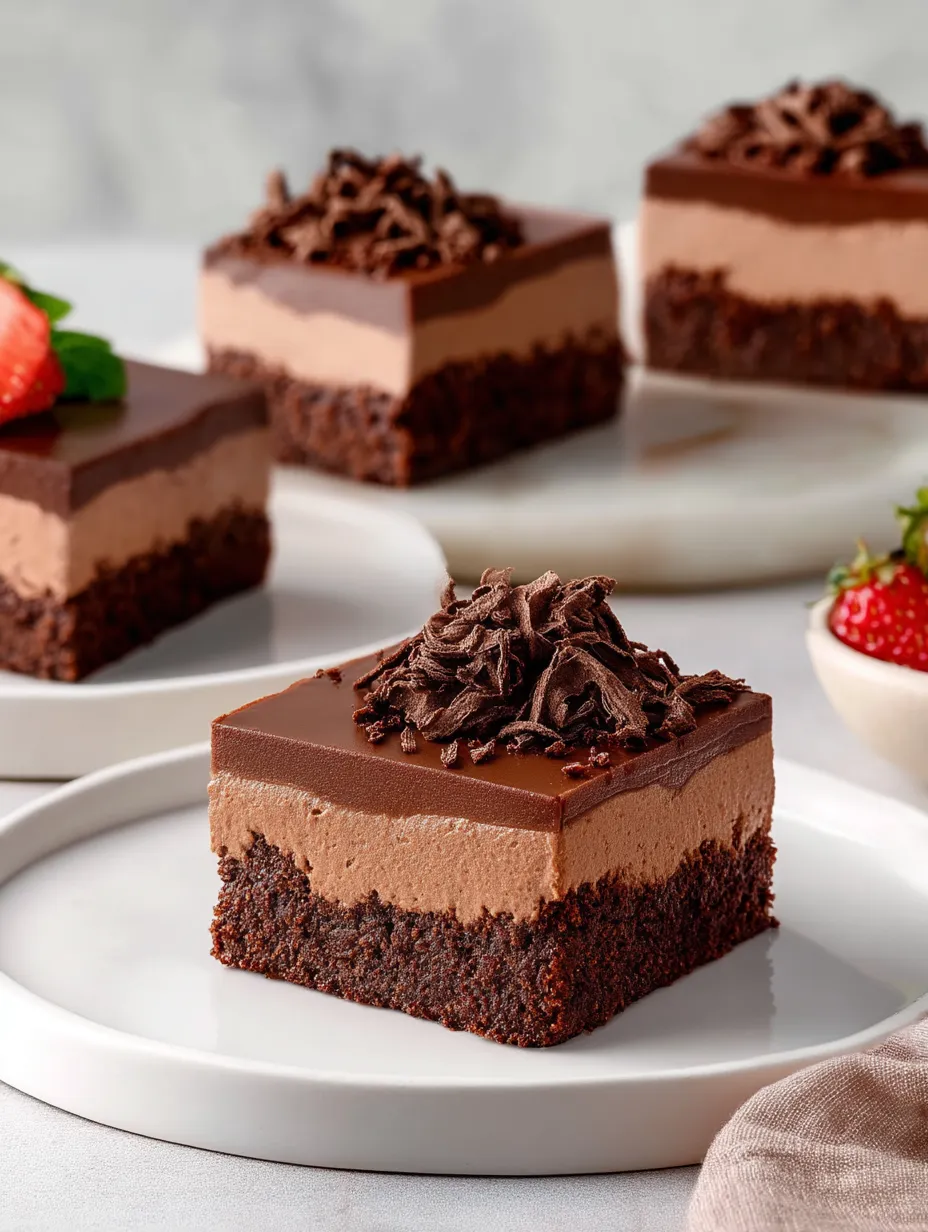
These triple-layer brownies transform ordinary ingredients into something truly extraordinary. The contrast between the dense, fudgy brownie base and the light, airy chocolate mousse creates a textural experience that keeps you coming back for another bite. The ganache top adds that final touch of elegance and intense chocolate flavor.
What makes these brownies special is how each layer complements the others. The brownie base provides structure and that satisfying chew, while the mousse lightens the overall experience. The ganache delivers that final hit of pure chocolate indulgence that lingers on your palate. I've found the perfect ratio after many trials - a thick brownie base, generous mousse layer, and thin but impactful ganache topping.
The visual appeal of these brownies adds to their allure. When sliced, the three distinct layers create a stunning presentation that promises something special before you even take the first bite. I've served these at birthday celebrations, holiday gatherings, and even a small wedding reception to universal praise.
Perfect Pairings
These rich brownies pair beautifully with strong coffee or espresso. The bitter notes in coffee cut through the sweetness while enhancing the chocolate flavors. For special occasions, try serving with a small glass of port wine for an elegant after-dinner treat that will impress any guest.
 Pin it
For a spectacular dessert plate, add a few fresh raspberries or sliced strawberries alongside each brownie square. The bright acidity of fresh berries provides the perfect counterpoint to the rich chocolate layers. A light dusting of powdered sugar over the berries adds visual appeal and subtle sweetness.
During summer gatherings, I serve these brownies with a scoop of vanilla bean ice cream. The contrast of warm and cold creates a wonderful temperature play, and the vanilla highlights the complex chocolate flavors in each layer. This combination never fails to elicit sighs of contentment from around the table.
Brownie Variations
Create a mint chocolate version by adding 1/2 teaspoon of peppermint extract to the mousse layer. The cool mint flavor pairs beautifully with the rich chocolate and adds a refreshing dimension to this decadent dessert. Top with a few crushed peppermint candies for extra flair.
For coffee lovers, dissolve 1 tablespoon of instant espresso powder in the hot milk before pouring it over the chocolate for the mousse layer. This subtle coffee undertone enhances the chocolate flavor without overpowering it. Garnish with chocolate-covered espresso beans for an elegant touch.
During holiday seasons, add a festive touch by incorporating orange zest into the brownie batter and a tablespoon of Grand Marnier to the ganache. The bright citrus notes cut through the richness and create a sophisticated flavor profile perfect for special occasions or gift-giving.
Storage Success
Store these layered brownies in an airtight container in the refrigerator for up to five days. The flavors actually continue to develop and meld together, making them even better on the second or third day. This make-ahead quality makes them perfect for entertaining.
For longer storage, these brownies freeze beautifully for up to three months. Cut into individual portions and wrap each tightly in plastic wrap before placing in a freezer-safe container. Thaw overnight in the refrigerator before serving for the best texture and flavor profile.
When serving from the refrigerator, allow the brownies to sit at room temperature for about 15-20 minutes before enjoying. This slight warming softens the ganache just enough and allows the full flavor of the chocolate to bloom. The contrast between the fudgy base and mousse becomes more pronounced at this perfect serving temperature.
 Pin it
I've made these chocolate mousse brownies countless times, and they never fail to bring joy to those who try them. There's something deeply satisfying about creating a dessert with such distinct layers and watching people's faces light up when they take that first bite. The combination of textures and the intense chocolate flavor create something truly special that transforms an ordinary meal into a memorable occasion. Whether you're an experienced baker or trying a layered dessert for the first time, these brownies are worth every minute of effort.
Frequently Asked Questions
- → Can I make these Chocolate Mousse Brownies ahead of time?
- Yes! These brownies are actually perfect for making ahead because they need significant chilling time. You can prepare them up to 2 days in advance and keep them refrigerated. In fact, many people find the flavors improve after the first day as they have time to meld together. Just cover them well and keep refrigerated until about 20 minutes before serving.
- → Why does my mousse layer sometimes collapse or become watery?
- This typically happens for two reasons: either the chocolate was too warm when folded into the whipped cream (causing it to deflate), or the cream wasn't whipped to soft peaks. Make sure your melted chocolate mixture has cooled to room temperature but is still fluid before folding it in. Also, be gentle when folding to preserve as much air as possible in the mixture. Using high-quality chocolate with adequate cocoa butter content also helps create a more stable mousse.
- → Can I freeze these brownies?
- Yes, these brownies freeze surprisingly well! Cut them into squares first, then freeze them in a single layer until solid before transferring to an airtight container with parchment between layers. Thaw them overnight in the refrigerator before serving. The texture of the mousse may change slightly, becoming a bit more dense after freezing, but they'll still be delicious.
- → What type of chocolate works best for these layers?
- For the best flavor, use good quality chocolate with 55-70% cocoa content. Baking chocolate bars work better than chocolate chips because they melt more smoothly (chips contain stabilizers). However, if you only have chips, they'll work in a pinch. Different chocolates can be used for different layers—a darker chocolate (65-70%) for the ganache will create a nice flavor contrast with a slightly sweeter chocolate (55-60%) used in the mousse.
- → How do I get clean, neat cuts when slicing these brownies?
- The secret to clean cuts is a hot knife and patience! Fill a tall container with hot water, dip your sharp knife in for about 30 seconds, wipe it completely dry, then make one clean cut. Wipe the blade clean, reheat it, and repeat for each cut. Don't drag or saw through the layers. You can also refrigerate the brownies until very firm (or even freeze them for 15 minutes) before cutting, which helps maintain the distinct layers.