
 Pin it
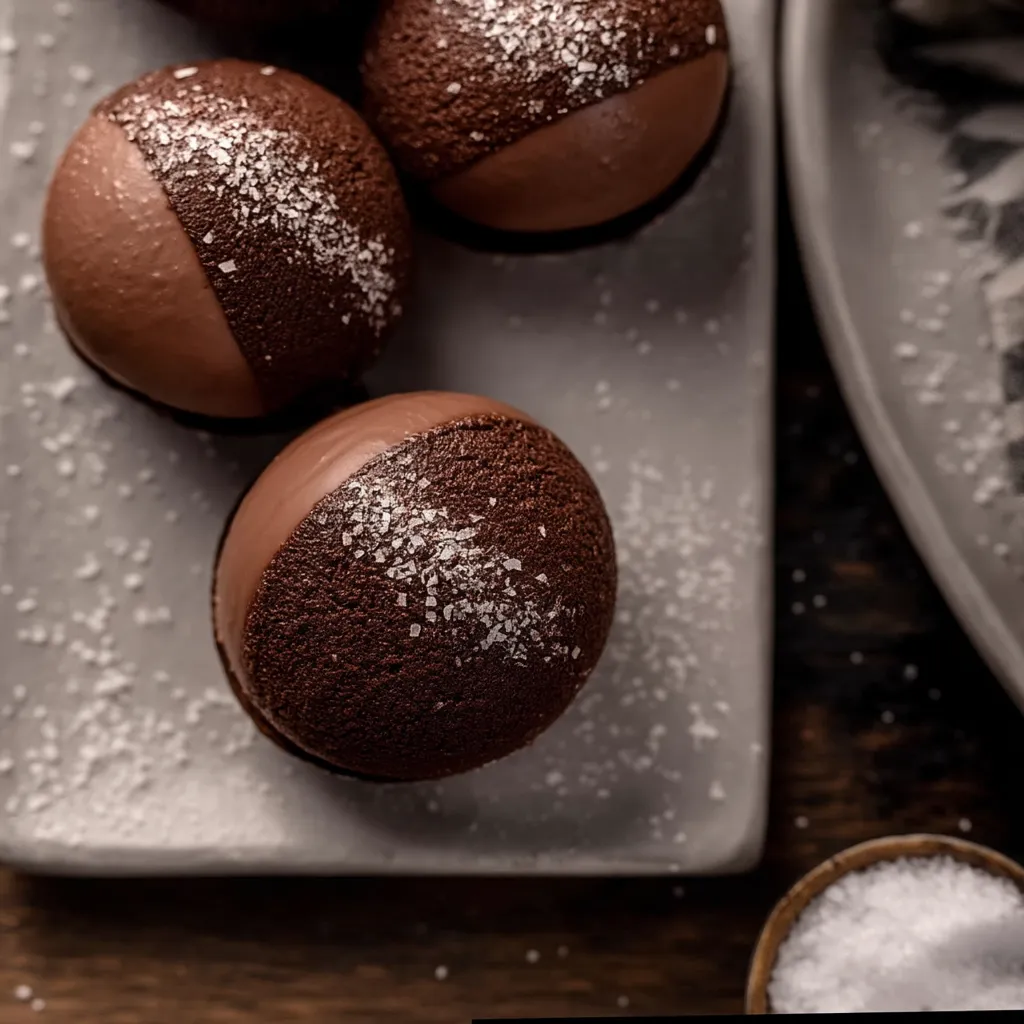
This chocolate-infused take on classic Maritozzi brings together decadent cocoa-kissed brioche buns filled with luscious chocolate whipped cream. The perfect balance of light, airy bread with rich, creamy filling makes these Italian treats irresistible for breakfast or dessert.
Ingredients
- Bread flour: Gives these buns their delightful structure and chew while still remaining tender.
- All purpose flour: Balances the bread flour for the perfect texture that isnt too dense.
- Dutch process cocoa powder: Provides a deep chocolate flavor and gorgeous color. Look for high quality cocoa for the best flavor profile.
- Instant yeast: Ensures a reliable rise without the need for proofing. Make sure yours is fresh for best results.
- Whole milk: Adds richness to the dough creating a more tender crumb than water would.
- Heavy whipping cream: Must be very cold to whip properly for the filling. I recommend chilling your bowl and beaters beforehand too.
Step-by-Step Instructions
- Mixing the dough:
- Combine all ingredients in your stand mixer bowl with the dough hook. Start on low speed to incorporate everything, then increase to medium. The dough will take about 8 minutes to develop proper gluten structure. You know its ready when it pulls away from the sides but still sticks slightly to the bottom of the bowl. The dough should feel smooth but tacky when touched.
- First rise:
- Transfer the dough to a lightly oiled bowl, turning once to coat. Cover with plastic wrap or a damp kitchen towel. Let rise in a warm spot until doubled in size, approximately 1 to 2 hours depending on your kitchen temperature. Look for a dough that has visibly expanded and feels puffy when gently poked.
- Shaping the buns:
- Divide the dough into equal portions using a bench scraper or knife. To shape each bun, flatten the piece slightly, then fold edges toward center, pinching to seal. Place seam side down and cup your hand around the dough. Use gentle pressure while moving in a circular motion to create surface tension, forming a perfect ball with a smooth top.
- Second rise:
- Arrange shaped buns on a parchment lined baking sheet, leaving room for expansion. Cover loosely with plastic wrap or a kitchen towel. Allow to rise until visibly puffy, about 30 minutes to an hour. They should nearly double in size and when gently pressed with a finger, the indentation should slowly spring back.
- Baking to perfection:
- Brush the risen buns with egg wash for a subtle shine. Bake in a preheated oven until done, about 16 minutes. Since these are chocolate buns, color change will be difficult to see. Test for doneness by tapping the bottom they should sound hollow. Cool completely on a wire rack before filling.
- Creating the filling:
- Combine heavy cream, cocoa powder, powdered sugar, and salt in a chilled bowl. Whip until medium stiff peaks form. The cream should hold its shape but still have a slight softness to it. Refrigerate until ready to use to maintain stability.
- Filling the buns:
- Slice each bun horizontally about three quarters of the way through, creating a pocket while keeping the bun intact. Pipe or spoon generous amounts of chocolate whipped cream into each bun. Smooth the top of the cream with an offset spatula for a clean presentation. Dust lightly with powdered sugar just before serving.
 Pin it
You Must Know
- These buns are best eaten within 24 hours of making for the optimal texture and freshness.
- The dough can be made ahead and refrigerated overnight for the first rise for enhanced flavor.
- I personally believe the secret to these Maritozzi is in the quality of your cocoa powder. I discovered this after trying several brands and finding that a premium Dutch process makes all the difference in creating that rich, complex chocolate flavor that elevates these from simple buns to something truly special. My grandmother always said good ingredients speak for themselves, and nowhere is that more true than in these chocolate buns.
Storage and Make Ahead Tips
Unfilled buns stay fresh in an airtight container at room temperature for up to 2 days. Once filled, they must be refrigerated and consumed within 24 hours before the bread begins to dry out from refrigeration.
For make ahead convenience, you can freeze baked unfilled buns for up to 1 month. Thaw at room temperature and refresh in a 300°F oven for 5 minutes before filling. The whipped cream can be made up to 4 hours ahead and kept refrigerated.
 Pin it
Flavor Variations
The chocolate base of these Maritozzi makes them incredibly versatile for different fillings and additions. Try folding crushed chocolate cookies into the whipped cream for texture. For a more complex flavor profile, add a tablespoon of instant espresso powder to the dough to enhance the chocolate notes.
Consider incorporating orange zest into the dough and a splash of orange liqueur in the whipped cream for a classic chocolate orange combination. You could also swap the chocolate whipped cream for hazelnut cream, pastry cream, or even mascarpone for delightful variations.
Cultural Context
Maritozzi originated in Rome as sweet bread rolls traditionally enjoyed during Lent. The classic version features plain brioche filled with whipped cream, often enjoyed for breakfast alongside espresso. This chocolate variation is a modern interpretation that maintains the spirit of the original while adding a contemporary twist.
The name Maritozzi comes from the Italian word marito meaning husband, as these buns were historically given as gifts from fiancés to their betrothed. Today, they represent a beloved part of Roman culinary tradition that has spread throughout Italy and beyond.
Frequently Asked Questions
- → How do I ensure soft and fluffy buns?
Knead the dough until smooth and allow it to rise properly. Ensure the dough doubles in size before shaping the buns.
- → Can I use a different type of flour?
For the best texture, it's recommended to use a combination of all-purpose and bread flour. Substitutions may affect the fluffiness.
- → How can I customize the filling?
In addition to whipped cream, you can add jam, fresh fruits, or chocolate chips for a more personalized touch.
- → What is the best way to store the buns?
Unfilled buns can be stored in an airtight container at room temperature. Filled buns should be refrigerated to keep the cream fresh.
- → How do I evenly portion the dough?
Use a kitchen scale to weigh the dough pieces for even sizing, or divide the dough into equal segments visually.