
 Pin it
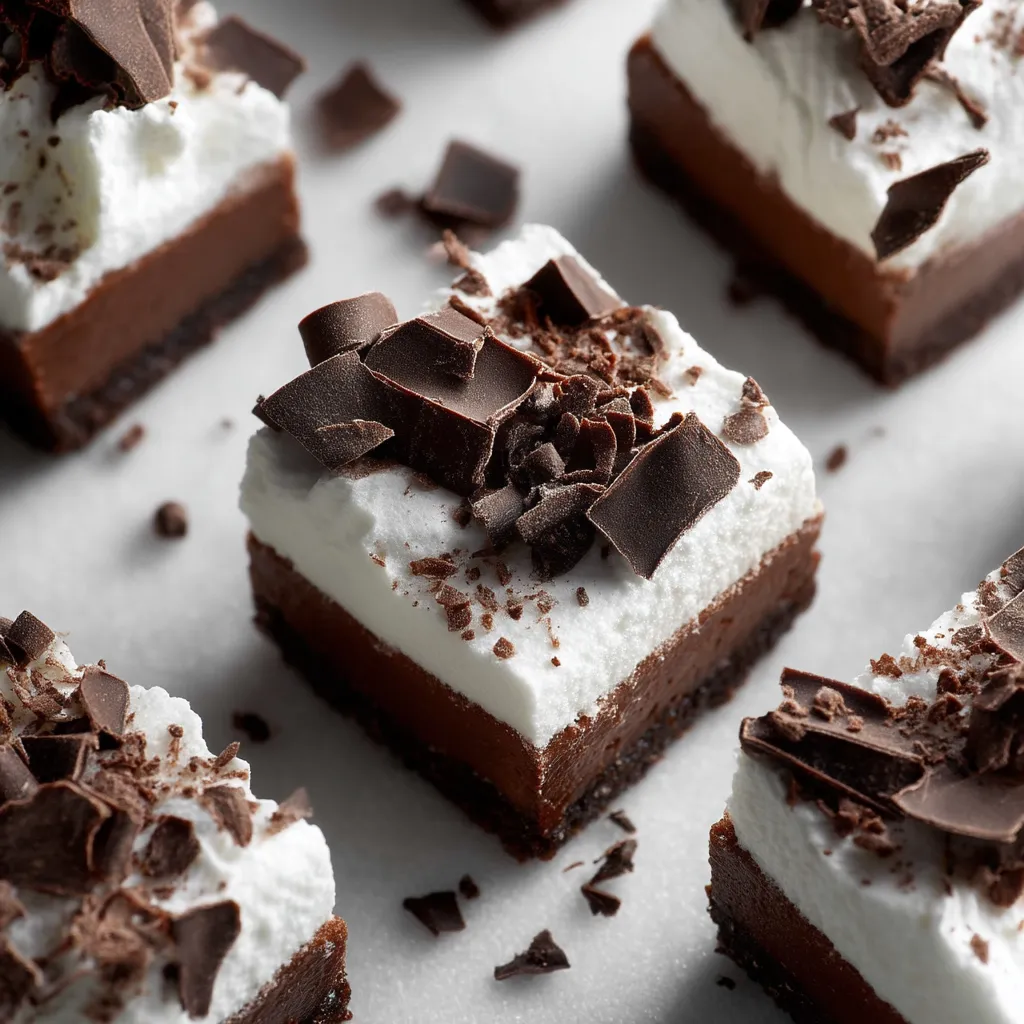
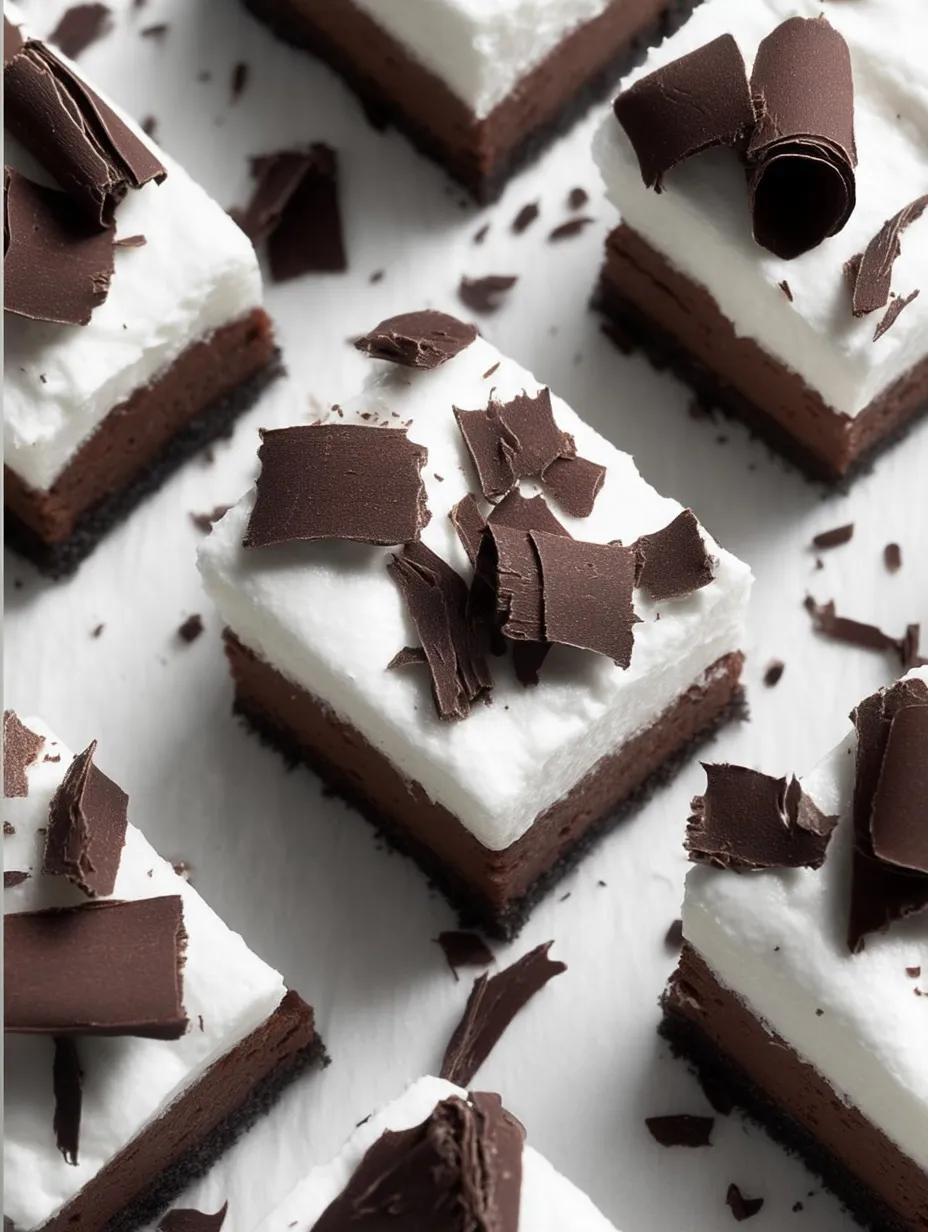
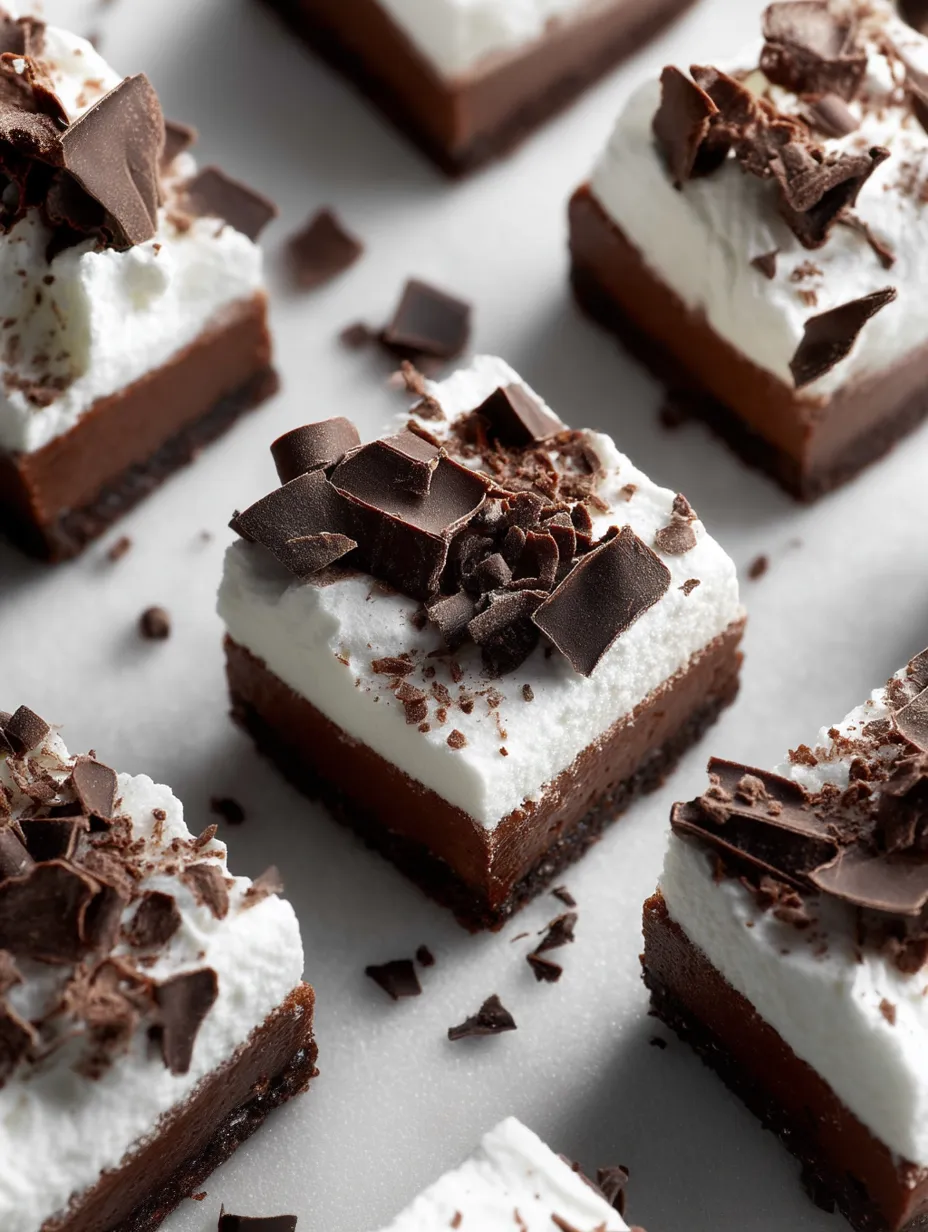
This decadent three-layer chocolate cream pie in bar form transforms the classic dessert into something even more irresistible. The combination of crispy cookie crust, velvety chocolate filling, and cloud-like whipped cream creates a chocolate lover's dream that's perfect for any occasion.
I first created these bars for a neighborhood potluck when I wanted something more portable than a traditional pie. They disappeared within minutes, and I've been getting requests for them at every gathering since.
Ingredients
- Oreo cookie crumbs: Creates the perfect chocolatey base that complements the filling beautifully
- Unsalted butter: Binds the crumbs together and adds richness to the crust
- Heavy whipping cream: Creates the pillowy texture that makes this filling irresistible
- Semisweet chocolate chips: Use high quality chocolate for the best flavor profile
- Unsalted butter: Adds silky richness to the chocolate mixture
- Full fat cream cheese: Provides tang and structure to balance the sweetness
- Powdered sugar: Sweetens without grittiness for the smoothest texture
- Unsweetened cocoa powder: Intensifies the chocolate flavor I recommend Hershey's Special Dark for depth
- Vanilla: Enhances all the chocolate notes with warm aromatic flavor
- Salt: Essential for balancing sweetness and intensifying chocolate flavor
- Heavy whipping cream: Use cold cream for the best volume when whipping
- Powdered sugar: Stabilizes the whipped cream so it holds its shape longer
- Vanilla: Adds subtle flavor that complements the chocolate layers
- Shaved chocolate: Optional but adds beautiful visual appeal and extra chocolate flavor
Step-by-Step Instructions
- Prepare the Pan:
- Line your baking pan with parchment paper allowing excess to hang over the sides. This creates handles that make removing the finished bars incredibly easy without damaging your creation.
- Create the Cookie Base:
- Process those Oreos until they reach a fine sand-like consistency. Remember to remove the filling first for the best texture. When mixing with melted butter, ensure every crumb is coated for proper binding. Press firmly into the pan using the bottom of a measuring cup for an even compact layer that won't crumble when sliced.
- Bake the Crust:
- Ten minutes at 350°F is just enough time to set the crust without making it too crisp. The perfect crust should have a slight give but hold together when the bars are sliced.
- Melt the Chocolate:
- Patience is key when using the double boiler method. Keep the water at a gentle simmer rather than a rolling boil to prevent overheating the chocolate. Stir continuously for a silky smooth mixture with no lumps or grainy texture.
- Whip the Cream:
- For the filling, beat the heavy cream until firm peaks form where the tips stand up straight when you lift the beaters. Refrigerate immediately to maintain that perfect structure while preparing the other components.
- Create the Chocolate Base:
- When mixing the cream cheese with dry ingredients, start on low speed to prevent a powdery explosion, then increase to medium to incorporate air for a lighter texture. The mixture should be completely smooth with no lumps before adding the chocolate.
- Combine the Elements:
- Folding technique matters here. Use a large spatula and cut through the center, then sweep around the edge of the bowl and turn the mixture over itself. This preserves the air in the whipped cream for a mousse-like texture.
- Chill for Setting:
- Three hours is the minimum, but overnight chilling develops the flavors more deeply and ensures clean slices when serving.
- Top with Whipped Cream:
- Wait until just before serving to add this final layer for the freshest presentation. The contrast between the dark chocolate filling and snow-white cream creates a stunning visual.
- Slice with Precision:
- Clean your knife between each cut for picture-perfect squares. Hot water helps the knife glide through the layers without dragging the filling.
 Pin it
My secret weapon in this recipe is the special dark cocoa powder. I discovered its transformative powers years ago when making these bars for my daughter's birthday. She declared them better than any bakery dessert, and now making them together has become our special tradition.
Storing Your Chocolate Cream Pie Bars
These bars maintain their perfect texture and flavor for up to four days when refrigerated in an airtight container. For longer storage, you can freeze them individually wrapped in plastic followed by a layer of aluminum foil. The texture remains remarkably intact after thawing in the refrigerator overnight. I recommend freezing them without the final whipped cream layer and adding that fresh after thawing.
Customizing Your Bars
While the original recipe is divine, you can create delicious variations with simple substitutions. Try using graham crackers or shortbread cookies for the crust for a different flavor profile. For a mocha version, add 1 tablespoon of espresso powder to the chocolate filling. White chocolate lovers can substitute white chocolate chips in the filling for a completely different experience. My family particularly enjoys a peppermint version during the holidays with a few drops of peppermint extract in both the filling and topping.
 Pin it
Serving Suggestions
These bars are elegant enough for formal gatherings yet approachable for casual get-togethers. Serve them on their own or elevate them with accompaniments. A drizzle of raspberry coulis adds a beautiful color contrast and fruity brightness. For coffee lovers, a shot of espresso alongside brings out the chocolate notes. During summer, fresh berries add a seasonal touch. I love serving these at dinner parties with tiny forks and encouraging guests to savor each layer independently before experiencing them together.
Frequently Asked Questions
- → How should I prepare the cookie crust?
Pulse Oreo cookies (filling removed) into fine crumbs, mix with melted butter, press into a baking pan, and bake at 350°F for 10 minutes.
- → Can I substitute semi-sweet chocolate chips in the filling?
Yes, you can use a chopped chocolate bar or other types of chocolate, but keep the sweetness balance in mind.
- → Why is chilling necessary for the dessert?
Chilling allows the layers to set properly, ensuring the bars hold their shape and flavors meld perfectly.
- → How can I make the whipped cream topping stand out?
Add vanilla extract for extra flavor and top the whipped cream with chocolate shavings or curls for a decorative touch.
- → Can these bars be frozen for later use?
Yes, you can freeze the bars for several weeks. Thaw them in the refrigerator before serving for best texture and flavor.