
 Pin it
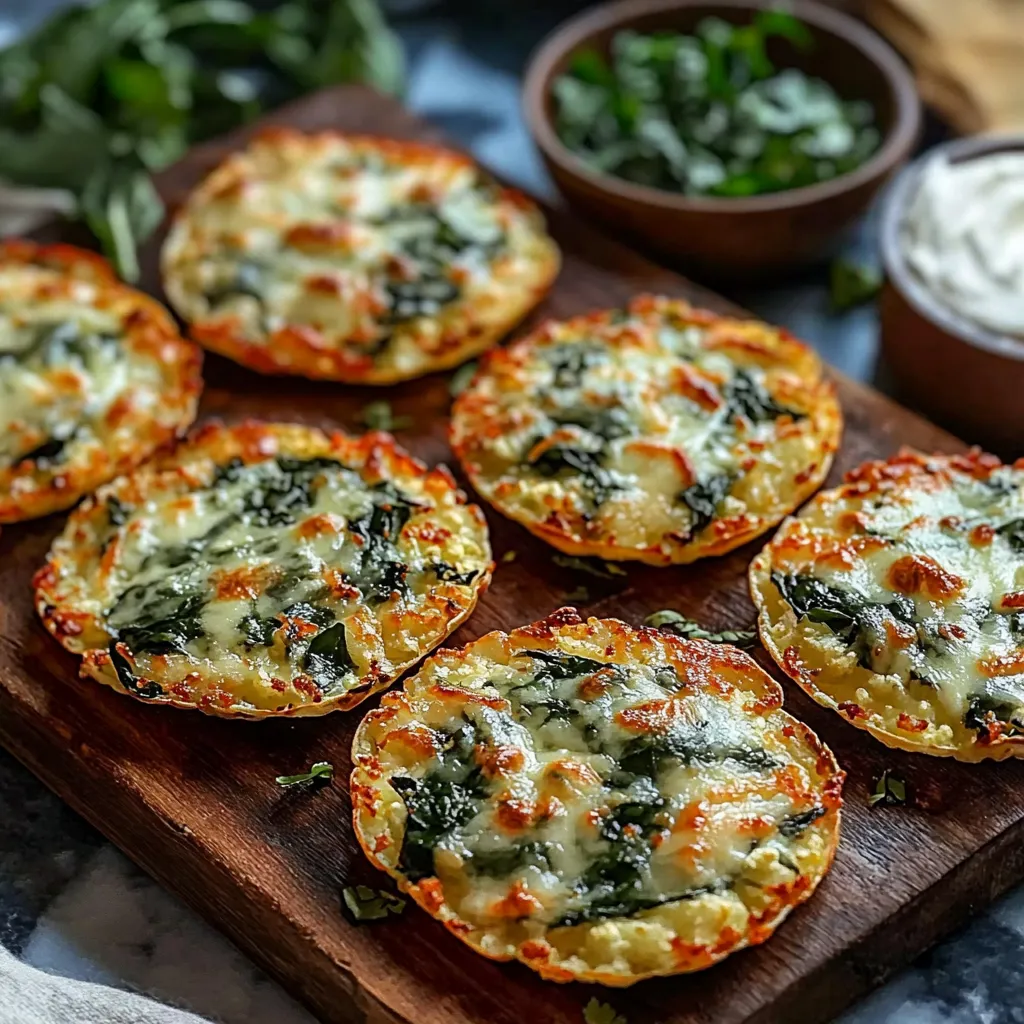
Cauliflower spinach taco shells transform taco night into a nutritional powerhouse without sacrificing flavor or fun. These vibrant green shells combine the mild taste of cauliflower with nutrient-rich spinach, creating a gluten-free, low-carb vessel for all your favorite taco fillings. Perfect for health-conscious families or anyone looking to incorporate more vegetables into their meals.
I first created these shells when trying to find creative ways to incorporate more vegetables into my family's diet. What began as a kitchen experiment quickly became a staple in our meal rotation. The moment my children saw the bright green shells, they were intrigued rather than suspicious—and once they tasted them filled with their favorite toppings, they were completely sold on this veggie-packed alternative.
Key Ingredients
- Cauliflower: Creates a neutral-tasting base with a texture that holds together beautifully
- Fresh spinach: Provides vibrant color, nutrients, and a mild flavor that blends perfectly with cauliflower
- Eggs: Act as the essential binder that keeps the shells from falling apart
- Mozzarella cheese: Adds stretchiness and helps create a pliable texture when warm
- Garlic powder: Enhances flavor without overpowering the delicate vegetables
Preparation Method
- Prepare The Vegetables:
- Begin by preheating your oven to 375°F and lining a baking sheet with parchment paper. Process a medium head of cauliflower in a food processor until it reaches a rice-like consistency. Transfer the cauliflower rice to a microwave-safe bowl and heat for approximately 5 minutes to soften. This cooking step is crucial for achieving the right texture in the final shells.
- Remove Excess Moisture:
- Allow the cauliflower to cool until comfortable to handle, then transfer it to a clean kitchen towel. This step is absolutely essential: gather the corners of the towel and squeeze firmly to remove as much moisture as possible. The drier your cauliflower, the better your shells will hold together. You'll be surprised by how much water comes out—keep squeezing until very little moisture remains.
- Create The Mixture:
- In a large mixing bowl, combine the dried cauliflower with finely chopped fresh spinach, two beaten eggs, shredded mozzarella cheese, salt, pepper, and garlic powder. Mix thoroughly until all ingredients are evenly distributed and the mixture holds together when pressed. The consistency should be somewhat sticky but moldable.
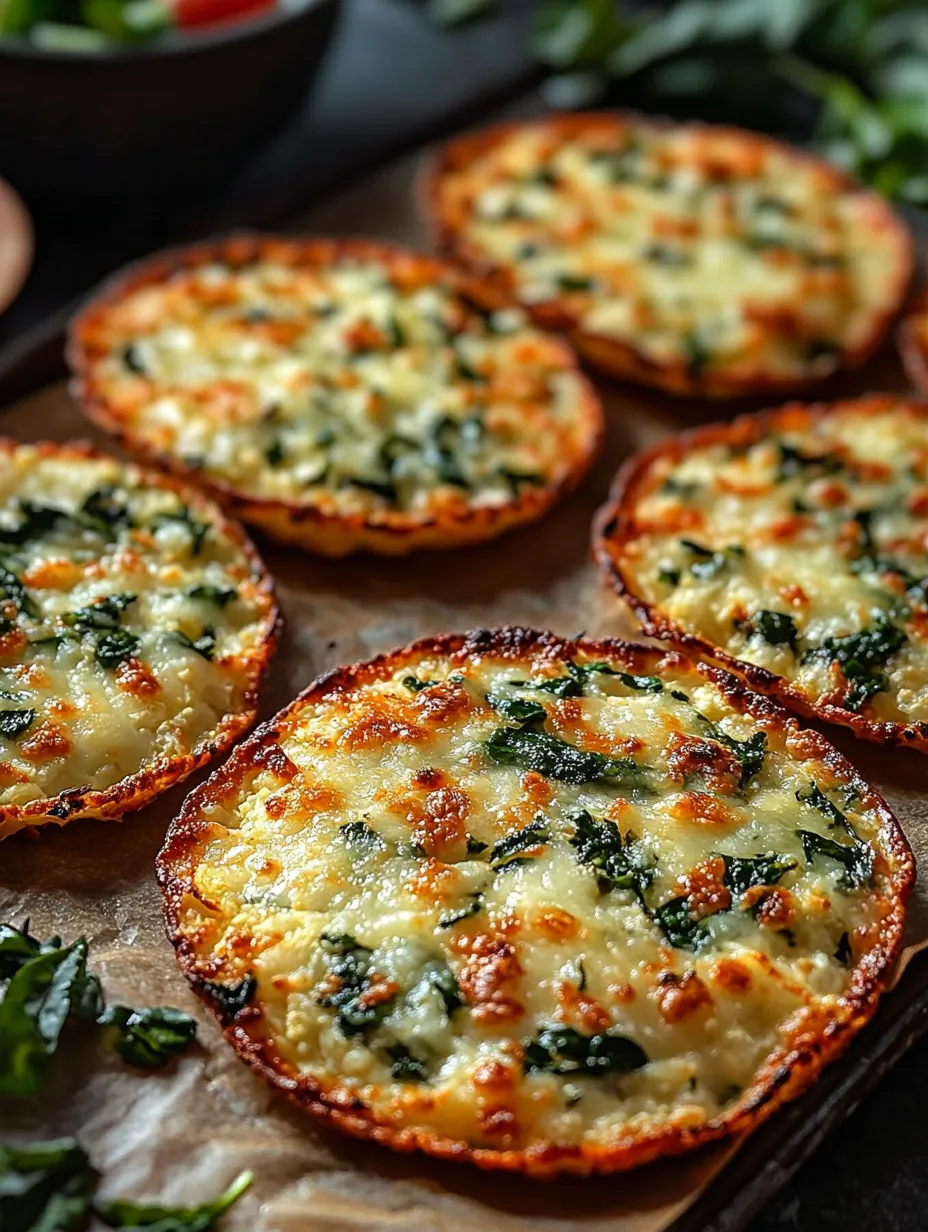
- Form And Bake:
- Scoop approximately 1/4 cup of the mixture onto the prepared baking sheet. Using your hands or the back of a spatula, shape the mixture into a thin circle about 5-6 inches in diameter and 1/4 inch thick. Repeat with the remaining mixture, leaving space between each shell. Bake in the preheated oven for 15-20 minutes until the edges become golden brown and the centers are firm to the touch.
My grandmother always said the secret to great cooking is patience, and that wisdom applies perfectly to these taco shells. The first time I made them, I rushed the moisture-removal step and ended up with soggy shells that fell apart. Taking those extra minutes to thoroughly squeeze the cauliflower transformed the recipe from a kitchen failure to a family favorite.
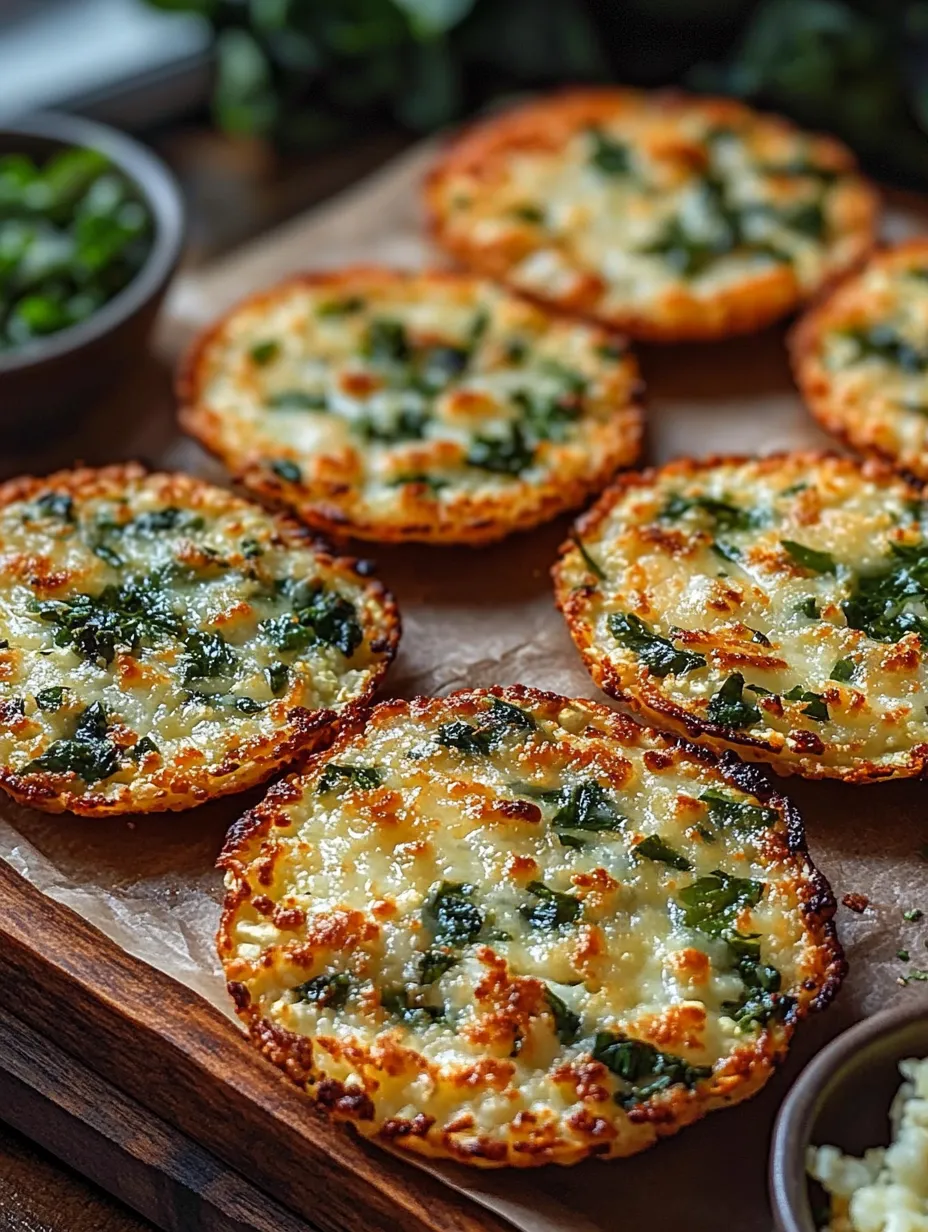
Serving Suggestions
- These shells pair beautifully with seasoned ground beef or turkey for a traditional approach.
- Create a vegetarian option with black beans, corn, and bell peppers seasoned with cumin and chili powder.
- For a fresh twist, try filling with citrus-marinated grilled fish topped with mango salsa and avocado slices.
 Pin it
Complementary Sides
- Serve alongside cilantro lime rice for a complete meal that balances the low-carb shells.
- A simple side salad with a cumin-lime vinaigrette complements the Mexican flavors perfectly.
- Roasted sweet potato chunks seasoned with similar spices create cohesion across the entire plate.
Storage Wisdom
- Store cooled shells in an airtight container in the refrigerator, placing parchment paper between layers to prevent sticking. They'll maintain quality for up to three days.
- Reheat briefly in a 350°F oven for 3-5 minutes to restore crispness before filling.
- The shells also freeze well—simply place in a freezer-safe container with parchment between layers and freeze for up to one month.
Creative Variations
- Add a tablespoon of nutritional yeast to the mixture for a cheese-like flavor boost in dairy-free versions.
- Incorporate finely chopped fresh herbs like cilantro or parsley for additional color and flavor notes.
- For a spicier shell, mix in a teaspoon of taco seasoning or a pinch of cayenne pepper.
 Pin it
I've served these cauliflower spinach taco shells to guests who approach "vegetable alternatives" with skepticism, only to watch them reach for seconds. What began as a way to incorporate more vegetables into our diet has become a celebrated meal that everyone looks forward to. The vibrant color, satisfying texture, and nutritional benefits make these shells much more than just a substitute—they're a delicious choice in their own right.
Frequently Asked Questions
- → Can I use frozen cauliflower rice instead of fresh?
- Yes, you can use frozen cauliflower rice. Thaw it completely and squeeze out as much moisture as possible before mixing with the other ingredients.
- → How do I know if I've removed enough moisture from the cauliflower?
- The cauliflower should feel dry to the touch and no water should drip when you squeeze it. The more moisture you remove, the crispier your shells will be.
- → Can I make these dairy-free?
- Yes, you can substitute the mozzarella cheese with a dairy-free cheese alternative or try adding an extra egg and 2 tablespoons of nutritional yeast for flavor.
- → What are the best fillings for these taco shells?
- These shells work well with any traditional taco fillings. Try seasoned ground beef or turkey, grilled chicken, fish, or vegetarian options like black beans and corn. Add your favorite toppings like avocado, salsa, and a squeeze of lime.
- → Can I make these ahead of time?
- Yes, you can make these shells ahead of time and store them in the refrigerator for up to 3 days. Reheat them in a 350°F oven for about 5 minutes to crisp them up before serving.