
 Pin it
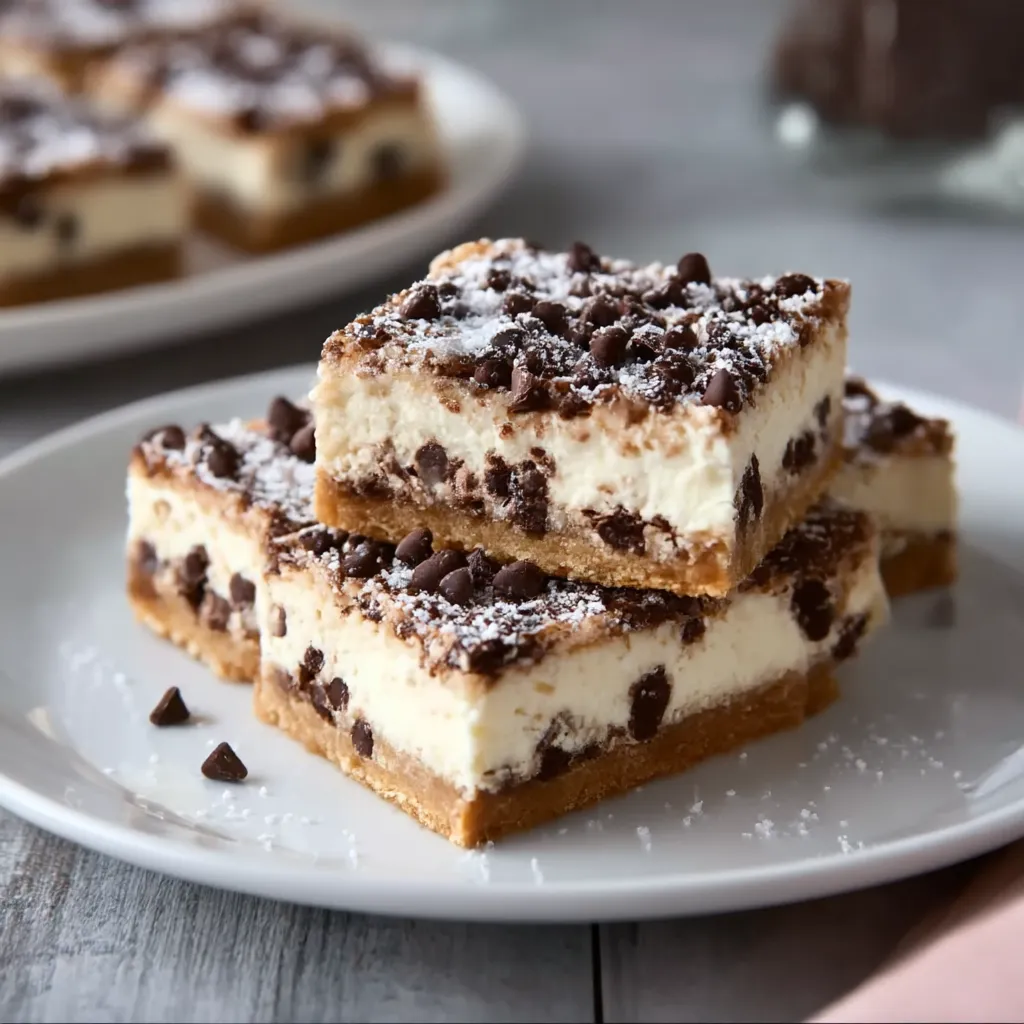
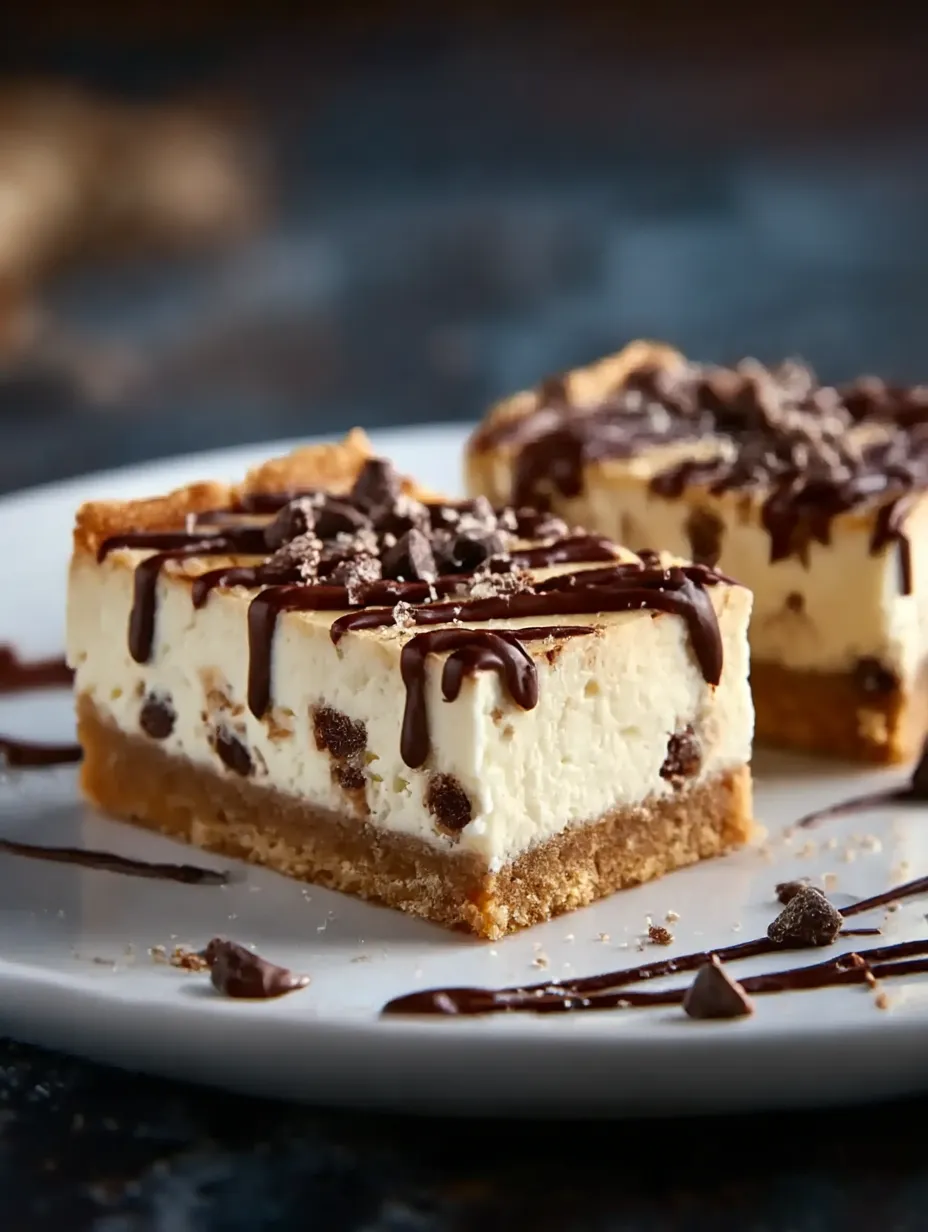
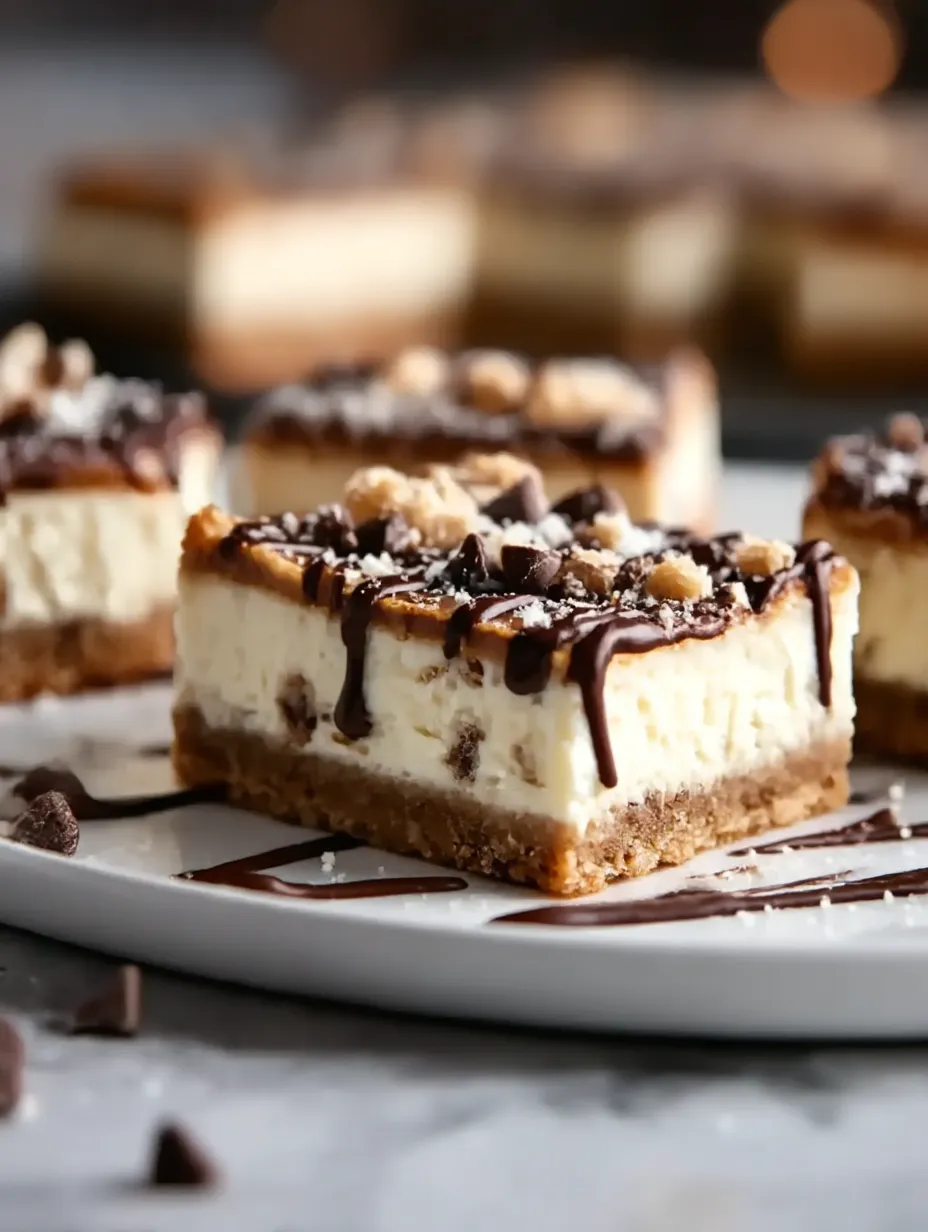
Cannoli cheesecake bars are the best way to blend two Italian dessert favorites in one unforgettable bite. The creamy ricotta and mascarpone filling has hints of orange and cinnamon plus plenty of mini chocolate chips. With a crisp crust made from waffle cones these bars have the familiar crunch and flavor of real cannoli shells without the fuss of frying or piping.
A hit at parties and perfect for all seasons. My family adores these bars for Sunday dinners and I first made them to bring a taste of our heritage to a potluck. Now they are requested at every gathering.
Ingredients
- Waffle cone crumbs: Bring authentic cannoli crunch and flavor plus a lightly sweet note Use cones that feel crisp and smell fresh Substitute with graham crackers for a milder base
- Butter: Adds richness and holds the crust together Melt and use quality butter for the best results
- Ricotta cheese: The signature creamy texture of Italian cheesecakes Make sure it is full-fat and as thick as possible Strain overnight if there is excess liquid
- Mascarpone cheese: Adds smoothness and a gentle tang A fresher tub will taste best Pick full-fat varieties and strain if loose
- Granulated sugar: Provides baseline sweetness Use pure cane sugar for a clean flavor that lets the cheeses shine
- Large eggs: Create structure and silkiness Use at room temperature to incorporate smoothly
- Vanilla extract: Lends warmth and enhances the Italian flavors Choose real vanilla for depth
- Fresh orange zest: Lifts the flavor and mimics a cannoli filling Opt for bright deeply colored oranges for the most aromatic zest
- Ground cinnamon: Highlights the orange and brings subtle warmth Use freshly ground if possible for bold flavor
- Mini chocolate chips: Scatter through the filling for chocolate in every bite Choose a semi-sweet brand that tastes good to eat out of hand
- Powdered sugar (optional): A dusting tops the bars like powdered sugar on classic cannoli Pick a fine pure sugar for a clean white finish
Step-by-Step Instructions
- Prepare the Pan:
- Line the bottom and two sides of your 9x9-inch square pan with parchment paper leaving a little overhang This helps you lift the cheesecake out easily for neat slicing
- Make the Crust:
- Mix your waffle cone crumbs with melted butter in a medium bowl Combine well until all crumbs look evenly moist Then press this mixture firmly and evenly into the bottom of your pan Aim for a thin compact layer that goes fully edge to edge Pressing in tightly makes sure the crust holds together after baking
- Mix the Cheesecake Filling:
- In a large mixing bowl beat together the ricotta mascarpone and sugar using an electric mixer Start on low then increase to medium when they are mostly blended Continue mixing until the mixture is smooth and creamy with no streaks This step is key to a silky texture
- Add Eggs and Flavorings:
- Beat eggs into the cheese one at a time waiting until the first egg is mostly mixed in before adding the second Add the vanilla fresh orange zest and cinnamon Mix again on medium speed until everything is well integrated and the mixture looks uniform
- Assemble and Add Chocolate Chips:
- Pour the cheesecake filling evenly over your prepared crust Use a spatula to smooth the top for an even layer Scatter mini chocolate chips evenly across the surface so every square gets some chocolate in each bite
- Bake:
- Place in oven at 350 F and bake for 30 to 45 minutes Check the color the edges should be just golden brown and the center should look barely set It may jiggle slightly at the center but will firm up as it cools
- Cool and Chill:
- Remove from oven and let cool at room temperature Once cooled transfer the pan to your refrigerator and chill for at least four to six hours overnight is best for neat slicing
- Slice and Serve:
- Lift the cheesecake from the pan using the parchment overhang Transfer to a cutting board and cut into eight bars or any size you like Dust with powdered sugar if you want that classic finished look
 Pin it
I always look forward to the moment I zest the orange it transforms the standard cheesecake into something that smells like my Nonna’s kitchen and makes the bars so special for family gatherings
Storage Tips
These bars store best tightly sealed in the refrigerator and stay fresh for up to seven days For longer storage freeze individual bars wrapped in parchment and placed in a freezer bag They thaw quickly at room temperature and keep their texture beautifully making them perfect for baking ahead of a party or holiday
Ingredient Substitutions
If you cannot find waffle cones you can use sugar cones for a similar crisp or graham crackers for a more neutral base Out of mini chocolate chips Use chopped chocolate or substitute with toasted nuts for a new twist Mascarpone can sometimes be swapped with full-fat cream cheese though the flavor will be tangier and less silky
Serving Suggestions
Try cutting the bars into small bite-size squares and arranging them on a platter with fresh berries for parties For special occasions you can top each piece with a dollop of lightly sweetened whipped cream a little grated chocolate or a few chopped candied orange peel pieces Letting the bars sit out for a few minutes before eating lets the flavors come alive
 Pin it
Cultural Context
These cheesecake bars are inspired by the beloved Sicilian cannoli a symbol of celebration throughout Italian American communities Baking them in bar form is a practical modern twist that captures the best flavors without the challenge of shaping and frying pastry shells I always feel a connection to tradition when I make these but the updated approach fits perfectly with busy family life
Frequently Asked Questions
- → What kind of crust works best?
A base made from waffle cone or graham cracker crumbs mixed with melted butter gives a crisp, flavorful layer.
- → Do the cheeses need to be strained?
Thick, full-fat ricotta and mascarpone work best. Strain ricotta overnight if it's watery to prevent a soggy texture.
- → Can I use other mix-ins besides chocolate chips?
Chopped nuts or a mix of chocolate and nuts work well as alternatives for added flavor and texture.
- → How do I know when the bars are done baking?
The center should be nearly set and edges lightly golden. If using different pan sizes, check baking time accordingly.
- → How should I store these bars?
Refrigerate or freeze the bars after cooling. Chilling firms the texture and makes slicing easier.