
 Pin it
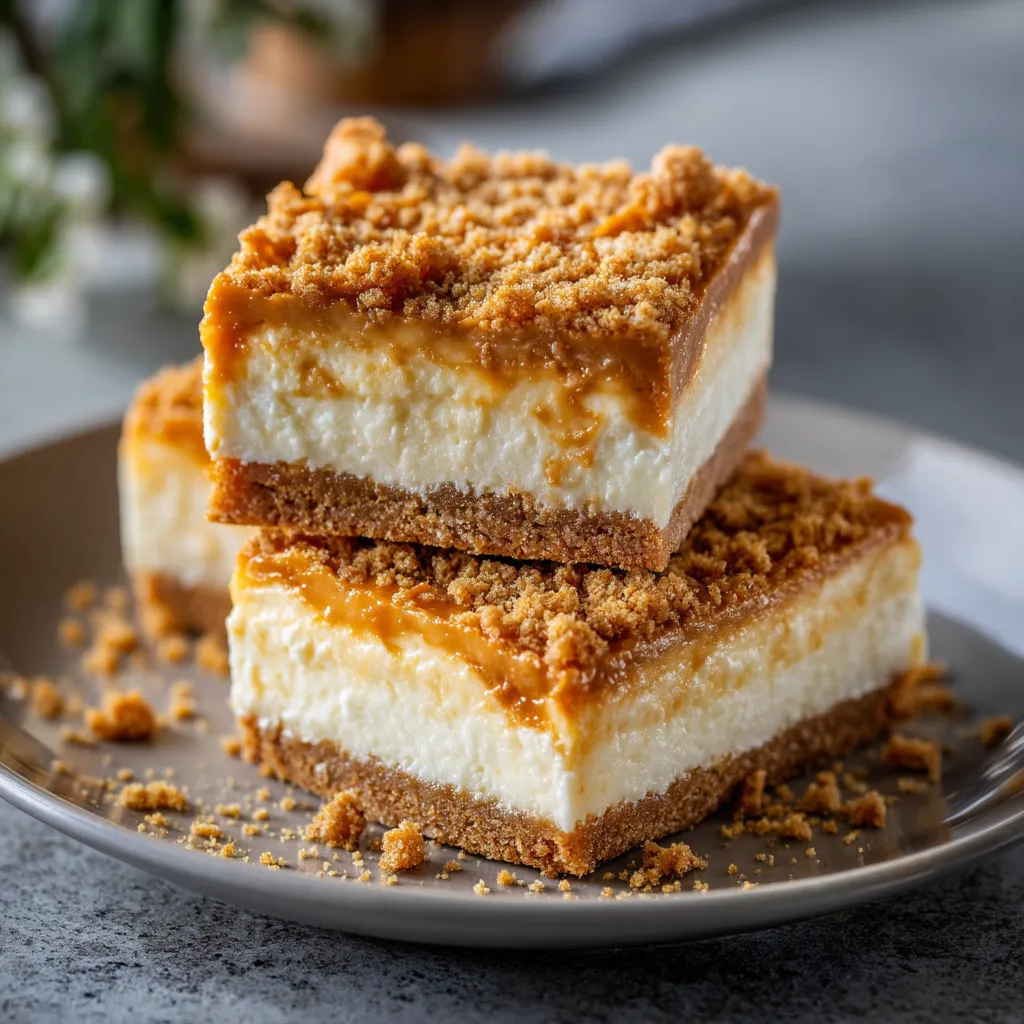
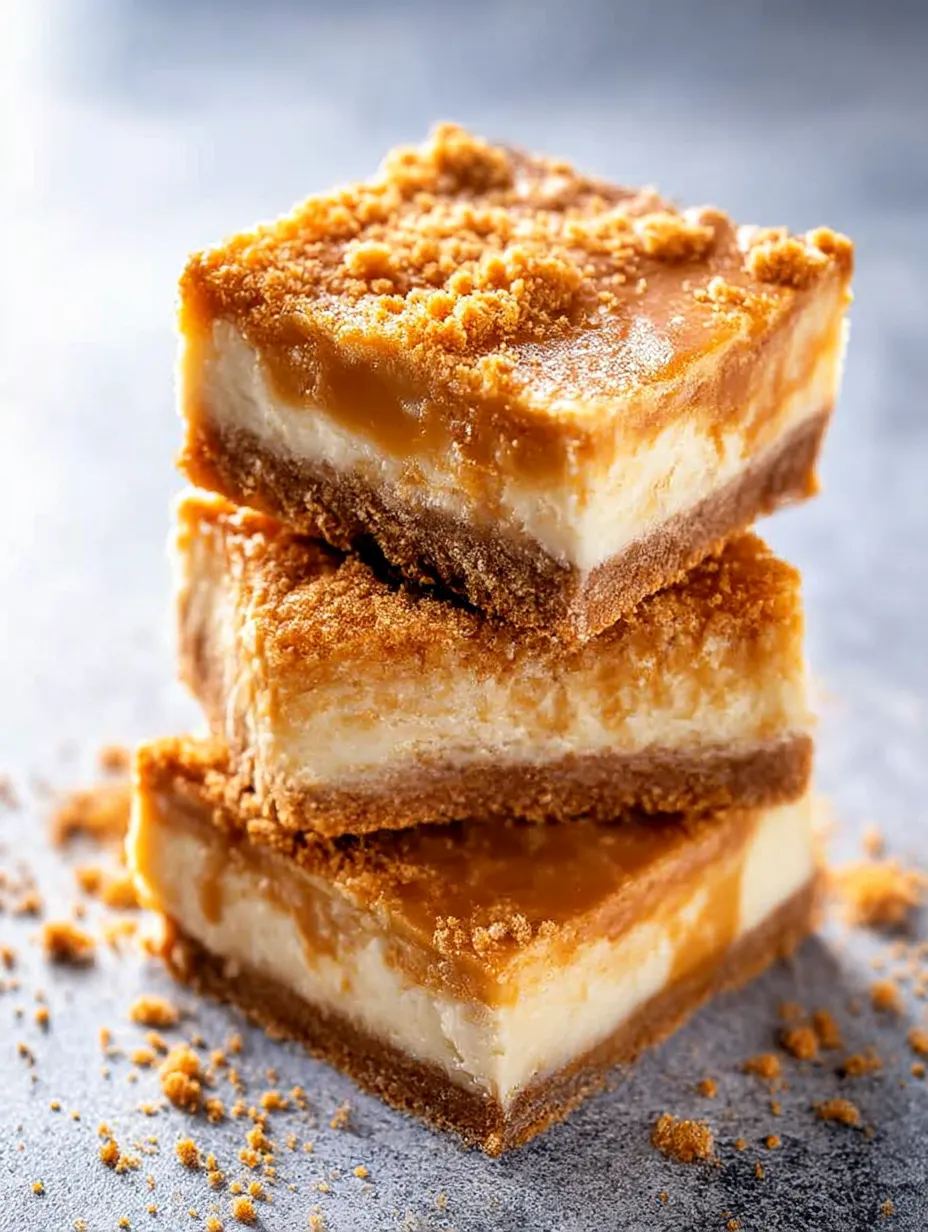
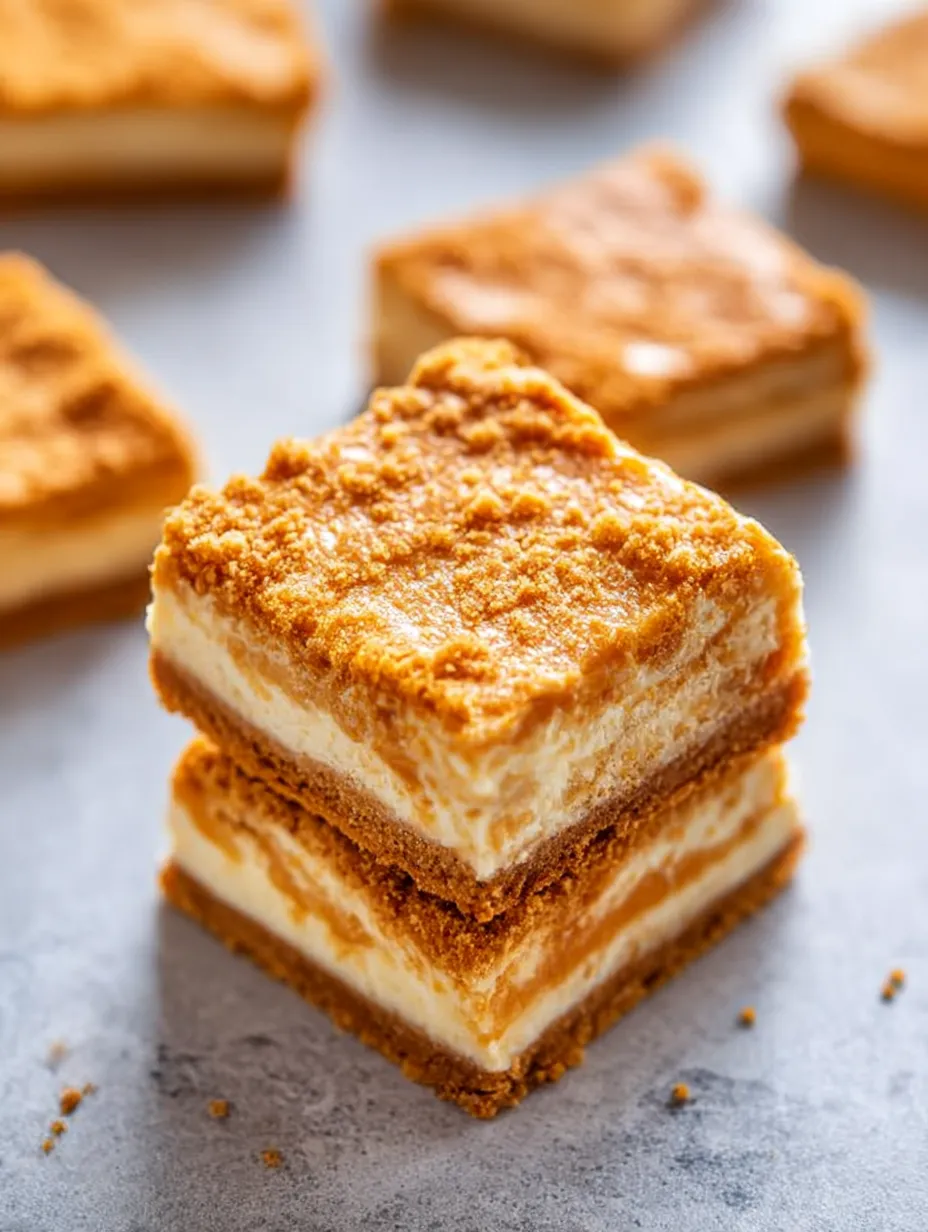
This butterscotch graham cracker cheesecake bar recipe combines two perfect textures for an irresistible dessert. The butterscotch-infused graham cracker mixture creates both a chewy base and crumbly topping that sandwiches a silky smooth cream cheese filling. The contrast between the sweet butterscotch crumbs and tangy cheesecake layer creates a dessert that far exceeds expectations with every bite.
I first made these bars for a neighborhood potluck when I needed something special but didn't have time for a complicated recipe. The butterscotch aroma filling my kitchen as they baked had everyone asking for the recipe before they even tasted them. Now they're requested at every gathering.
Ingredients
- Butterscotch chips: Provide the signature sweet caramel flavor that makes these bars unique. Look for high quality chips that melt smoothly.
- Unsalted butter: Adds richness and helps the crust hold together. Using unsalted lets you control the overall saltiness.
- Graham cracker crumbs: Create the perfect textural base. You can purchase pre-made crumbs or crush your own for a more rustic texture.
- Cream cheese: Forms the heart of the cheesecake layer. Make sure it's completely room temperature for the smoothest filling.
- Large egg: Provides structure to the cheesecake filling. A room temperature egg incorporates more easily.
- Sweetened condensed milk: Gives the filling its creamy sweetness without needing additional sugar.
- Vanilla extract: Enhances all the flavors. Use pure vanilla for the best taste.
- Salt: Balances the sweetness and amplifies the butterscotch flavor. Even in sweet recipes it's an essential ingredient.
Step-by-Step Instructions
- Prepare the Pan:
- Preheat your oven to 350°F and line a 9x9-inch baking pan with aluminum foil. The foil overhang makes removing the bars much easier after cooling. Spray with cooking spray to ensure nothing sticks.
- Melt the Butterscotch Base:
- Add butterscotch chips and butter to a medium saucepan over medium to medium-low heat. This step requires patience as the mixture takes at least 5 minutes to melt completely. Whisk constantly to prevent scorching. The mixture will go through an unappealing phase where it looks separated and grainy before it finally comes together into a smooth emulsion.
- Create the Crust Mixture:
- Once the butterscotch mixture is smooth, add the graham cracker crumbs and stir until fully combined. The mixture will be thick and somewhat crumbly but should hold together when pressed. Remove 1 heaping cup of this mixture and set aside for the topping.
- Form the Crust:
- Transfer the remaining butterscotch crumb mixture to your prepared pan. Press firmly and evenly to create a solid base. Use the bottom of a measuring cup to really compact the crumbs for the best foundation.
- Make the Cheesecake Filling:
- In a stand mixer or with a handheld electric mixer, beat the cream cheese until completely smooth and fluffy, about 2-3 minutes. This step is crucial for a silky texture. Add the egg, sweetened condensed milk, vanilla, and salt, beating until fully incorporated. If you notice small cream cheese lumps, continue beating for another minute or two until they disappear.
- Assemble and Bake:
- Pour the cheesecake filling over the crust, spreading it evenly to the edges. Sprinkle the reserved butterscotch crumb mixture evenly over the top. Bake for 32-35 minutes until the top is set but still slightly jiggly when gently shaken. The top should feel springy when lightly touched.
- Cool and Chill:
- Allow the bars to cool at room temperature for about an hour before covering and refrigerating until completely chilled, at least 2 hours. The chilling time allows the flavors to develop and the bars to set properly for clean cutting.
 Pin it
The butterscotch chips are truly the star ingredient in this recipe. I discovered their potential when experimenting with different crusts for cheesecake bars. That first bite with the buttery graham cracker and rich butterscotch had my family fighting over the last piece. Now I always keep butterscotch chips in my pantry for unexpected guests or dessert emergencies.
Perfecting the Butterscotch Mixture
The most challenging part of this recipe can be melting the butterscotch chips properly. Unlike chocolate chips that melt smooth and glossy, butterscotch chips go through an awkward phase where they look separated or grainy. Keep your heat medium-low and whisk constantly. The mixture will eventually become smooth and glossy. If it seems too thick, you can add a teaspoon of neutral oil to help it along. Trust the process even when it looks like it might not come together.
Make Ahead and Storage Options
These bars actually improve with a day in the refrigerator as the flavors meld together. You can make them up to three days before serving. Store them covered in the refrigerator for up to a week. They also freeze beautifully for up to three months if wrapped tightly in plastic wrap and then foil. Thaw overnight in the refrigerator before serving. Cut only what you need and return the rest to storage for the freshest taste.
Serving Suggestions
While these bars are perfect on their own, you can elevate them for special occasions. A small scoop of vanilla ice cream or a dollop of lightly sweetened whipped cream creates an elegant dessert. For a finishing touch, drizzle with warm butterscotch sauce or sprinkle with toffee bits. I like to serve these cut into small squares on a dessert buffet alongside chocolate options for variety. The butterscotch flavor offers something unique that always gets noticed.
 Pin it
Frequently Asked Questions
- → What is the best way to melt butterscotch chips?
Melt butterscotch chips over medium-low heat while whisking continuously. Be patient as they take some time to fully melt and combine with butter into a smooth, emulsified mixture.
- → Can I make these bars ahead of time?
Yes, these bars can be made ahead and stored in an airtight container in the refrigerator for up to one week. They are best enjoyed chilled.
- → What size pan should I use for this recipe?
Use a 9x9-inch baking pan lined with aluminum foil for easy cleanup and even baking results.
- → How can I ensure the cheesecake layer is smooth?
To achieve a smooth cheesecake layer, beat the cream cheese on high power until fluffy before mixing in other ingredients. Scrape down the sides of the bowl regularly to avoid lumps.
- → How should I store these bars after baking?
Allow the bars to cool at room temperature for about an hour, then cover and refrigerate them. They can be stored airtight in the fridge for up to a week.